This guide will show you how to manage EFS and BitLocker certificates, including backup and restore. The certificates are important in order for EFS and BitLocker to work correctly, if they are lost then your data may be too. Therefore it is important that we backup these certificates and also know how to restore them.
This post is part of our Microsoft 70-744 Securing Windows Server 2016 exam study guide series. For more related posts and information check out our full 70-744 study guide.
Manage EFS and BitLocker Certificates
BitLocker and EFS certificates can both be backed up and restored in a similar manner. We’ll start with backing up a certificate, followed by restoring a certificate.
You can see our guide if you’re interested in creating an EFS recovery certificate, or this guide from Microsoft to setup a data recovery agent for BitLocker.
Backup Certificates
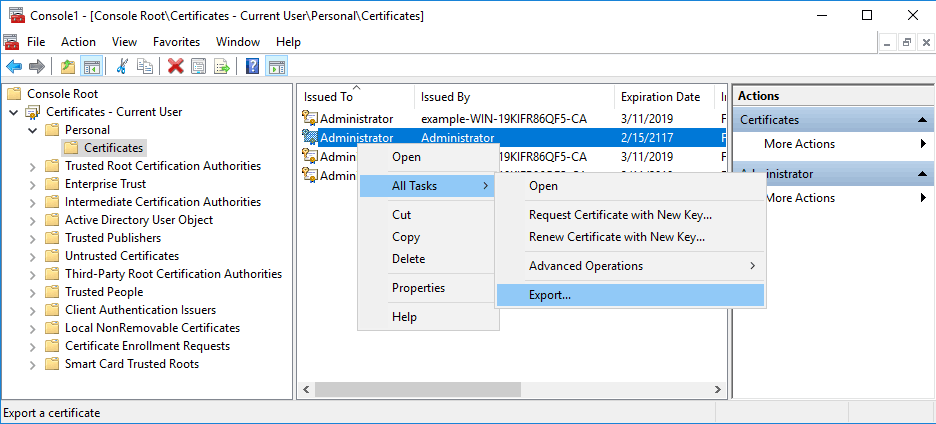
To backup a certificate, we can open the MMC and add the Certificates snap in. From here we can browse certificates associated with the user or machine. In this case we have selected user and are browsing the personal store. We can simply right click a certificate that we wish to backup and select All Tasks > Export.
On the welcome to the certificate export wizard window, select next.

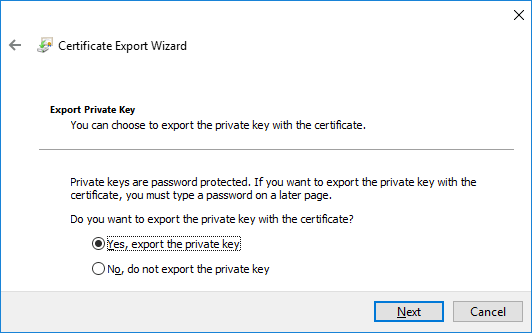
We have the option to also export the private key, this should always be kept secure. In this example we will also export the private key as we would like to back this up too.
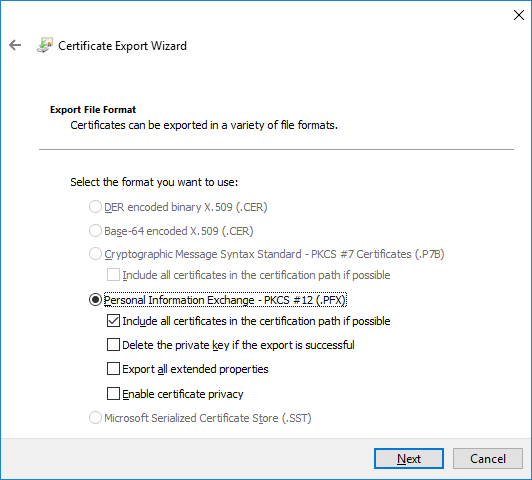
Next we select the format that we want to export as. When exporting the private key the .PFX format is fairly standard in Windows. If we were only exporting the certificate we could simply export it as a .CER file instead.
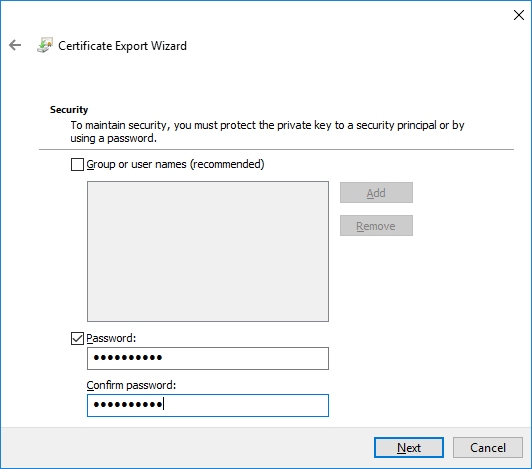
As the private key must remain secure, we have to put a password on the file.
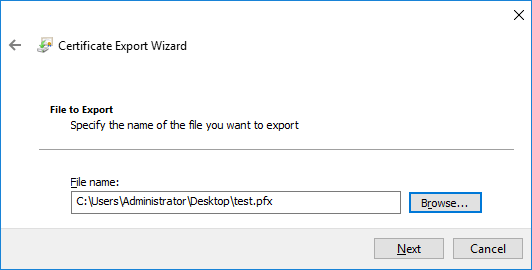
Now we select the location and name for the exported file.
Finally we are presented with a summary of all of our selected options, confirm these and then click the finish button to complete the process.
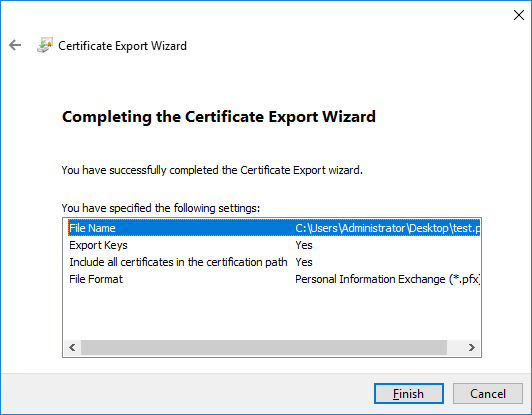
Once complete a pop up noting that the export was successful will appear. We now have a .pfx file that contains our exported certificate and private key in the location specified.
We can also backup a certificate with PowerShell using the Export-Certificate cmdlet.
Restore Certificates
To restore a certificate we essentially reverse the process, we import an existing certificate that we have previously backed up through export.
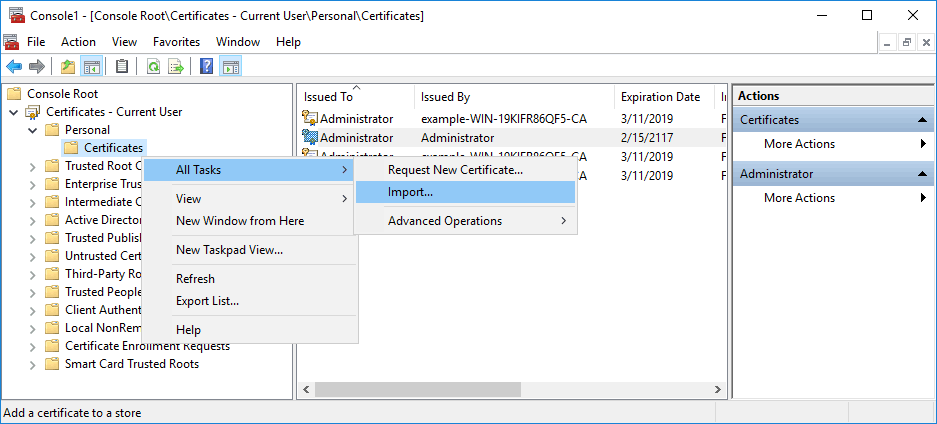
Again through the certificates MMC console we can right click the certificates folder under personal (or where ever you wish to import the certificate to), select All Tasks, followed by Import.
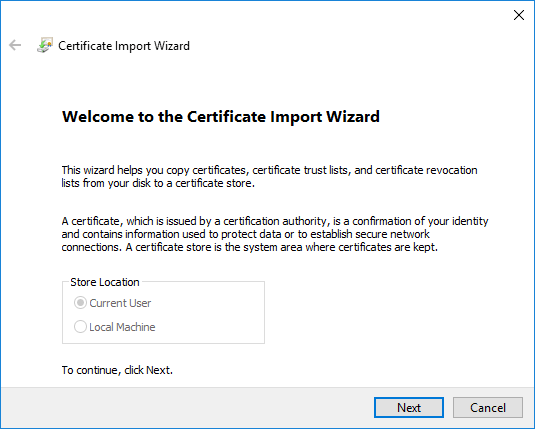
On the welcome to the certificate import wizard window, click next.
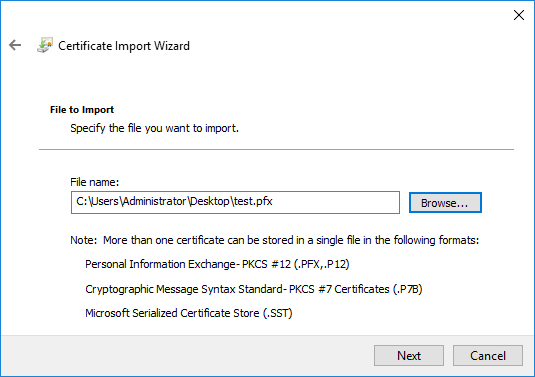
Next we specify the certificate file that we want to import. In this example we’ll use the test.pfx file that we exported earlier.
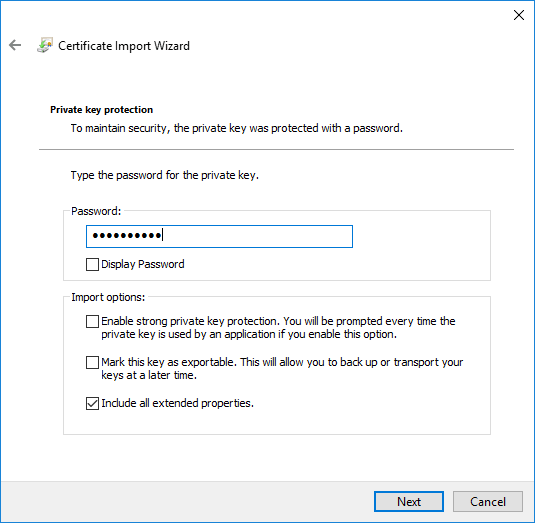
As this file contains the private key, we have to also provide the password. Note that if you are just importing a simple .CER file this step is not required.
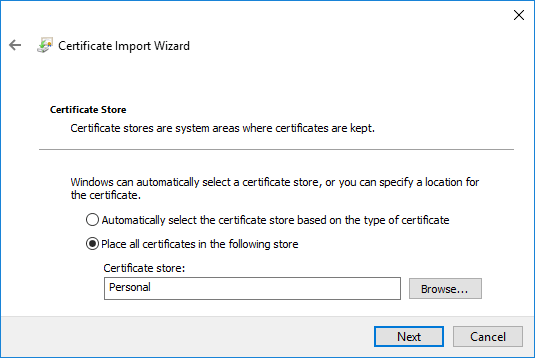
Now we pick the certificate store that we want to use, by default the personal store is selected. We can change this, however as this is where we exported the certificate from we’ll import it back here to the same location.
Finally we can view all the options that we selected and click finish to complete the process.
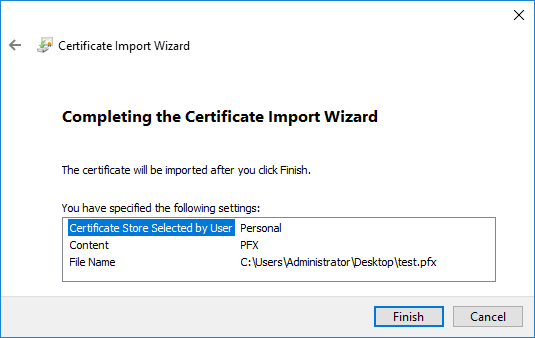
Once complete a pop up noting that the export was successful will appear. The certificate that was imported will now display in the certificates MMC.
We can also do this with PowerShell using the Import-Certificate cmdlet.
Summary
We have shown you how to manage EFS and BitLocker certificates, including backup and restore tasks in Windows Server 2016.
This post is part of our Microsoft 70-744 Securing Windows Server 2016 exam study guide series. For more related posts and information check out our full 70-744 study guide.
0 Comments.