I recently purchased a Raspberry Pi as a cheap and low power alternative PC to leave online 24/7. This is just a quick post covering with a few pictures of the unboxing and set up process I went through with the Raspberry Pi.
My purpose
The Raspberry Pi is a very small, cheap and low power consuming PC. Along side my primary desktop computer, I previously ran a smaller low powered PC running the Linux based Gentoo operating system. The purpose of this was to stay connected to various XMPP and IRC chats I frequented all the time, as well as to seed torrents in order to keep ratios up.
After this old PC had endless hardware failures, I started looking into alternatives to replace it with, and landed on the Raspberry Pi. It looked capable of doing what I wanted so I purchased it from element 14. It took a couple of weeks to get in stock, as at the time of writing this is quite a popular device and they can only be manufactured so fast. It cost me just over $40 including shipping. There are also lots of Raspberry Pi kits on Amazon that come with a whole lot of accessories which makes it easier to get everything you need in one go.
Unboxing and setting up the Raspberry Pi
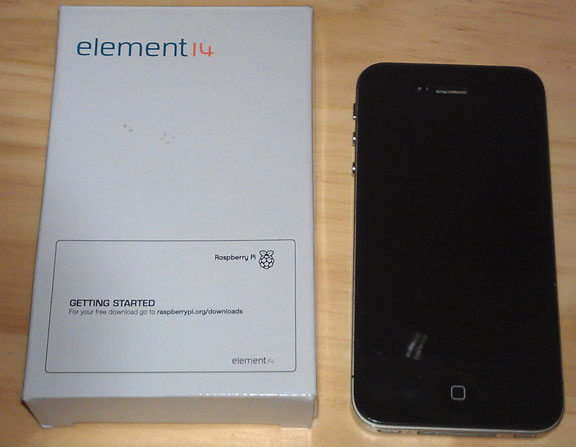
Below is a picture of the box my Raspberry Pi came in from element 14, for a size comparison I’ve placed an iPhone 4S next to the box.
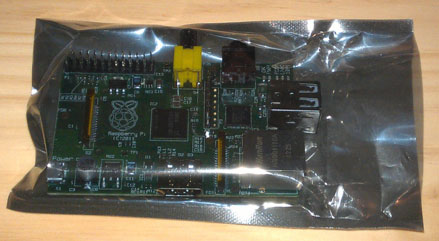
Once out of the box it’s quite simple, just the board inside an antistatic bag. There was also a single piece of paper containing brief instructions.
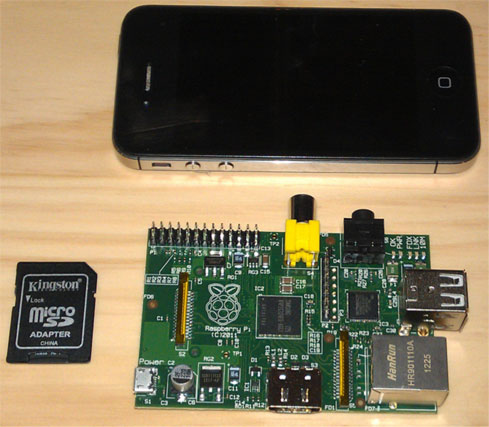
Here is a picture of it out of the bag, next to the Micro SD card adapter and iPhone again for size comparison.
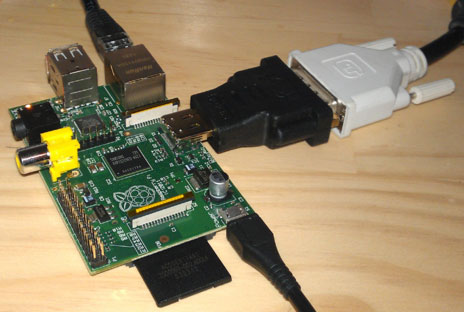
Here is it running, I don’t require a keyboard and mouse after set up as I manage it through Synergy on my main PC, one keyboard and mouse is always better. I did however use a keyboard and mouse plugged in via the two USB ports while configuring it.
I have posted here about the steps I went through to compile Synergy from source on the Raspberry Pi.
The connection for the monitor is HDMI, however only having a DVI monitor spare I used a very inexpensive HDMI to DVI converter.
Installing the Raspbian OS
The Raspberry Pi uses an SD card for it’s primary hard disk, I’m using an 8GB Micro SD card (Class 10) which is sitting inside of an adapter that is then plugged into the SD slot, as shown in the above image.
I downloaded Raspbian, this is basically a distribution of Linux based on Debian wheezy which is available on the Raspberry Pi downloads page. It’s the recommended operating system and can be downloaded directly over HTTP or by torrent.
The file is an image and can be copied to the SD card on linux using dd, however I did this on Windows with the recommended tool Win32DiskImager. All I did was place the SD card into my Windows 7 laptop, run the disk imager and select the image file I downloaded from the Raspberry Pi downloads page and write it to the SD card.
Once complete after a couple of minutes, I safely removed the SD card from the laptop and then inserted it into the Raspberry Pi. I plugged in the micro USB cable that was plugged into the wall outlet and then it powered on.
Once booted up you will be presented with a menu allowing for some initial configuration, when you are done it will reboot and then boot into the OS.
Power consumption
Using a low end tool for measuring power, it shows my Raspberry Pi as using between 6.5 and 7 Watts. This is generally why it’s continually sitting on a 0.5 load average, with half of the available RAM in use and a fair few CPU spikes due to the heavy (in comparison to the hardware) chat programs I’m currently running.
Summary
The Raspberry Pi is great and full of potential for all sorts of projects, the hardware is decent and the price is extremely cheap while the power consumption of the device is minimal.
Disclaimer:
We are a participant in the Amazon Services LLC Associates Program, an affiliate advertising program designed to provide a means for us to earn fees by linking to Amazon.com and affiliated sites.
2 Comments.