This post will show you how to implement policy changes and staging with regards to auditing using Dynamic Access Control (DAC). This allows us to stage and test a central access policy before actually using it in production. This is a useful feature, as implementing DAC can be complex to work with.
In order to stage a policy, we must first have a policy. Check out our guide on Creating and Configuring Central Access Rules and Policies for assistance on this topic.
This post is part of our Microsoft 70-744 Securing Windows Server 2016 exam study guide series. For more related posts and information check out our full 70-744 study guide.
Implement Policy Changes and Staging
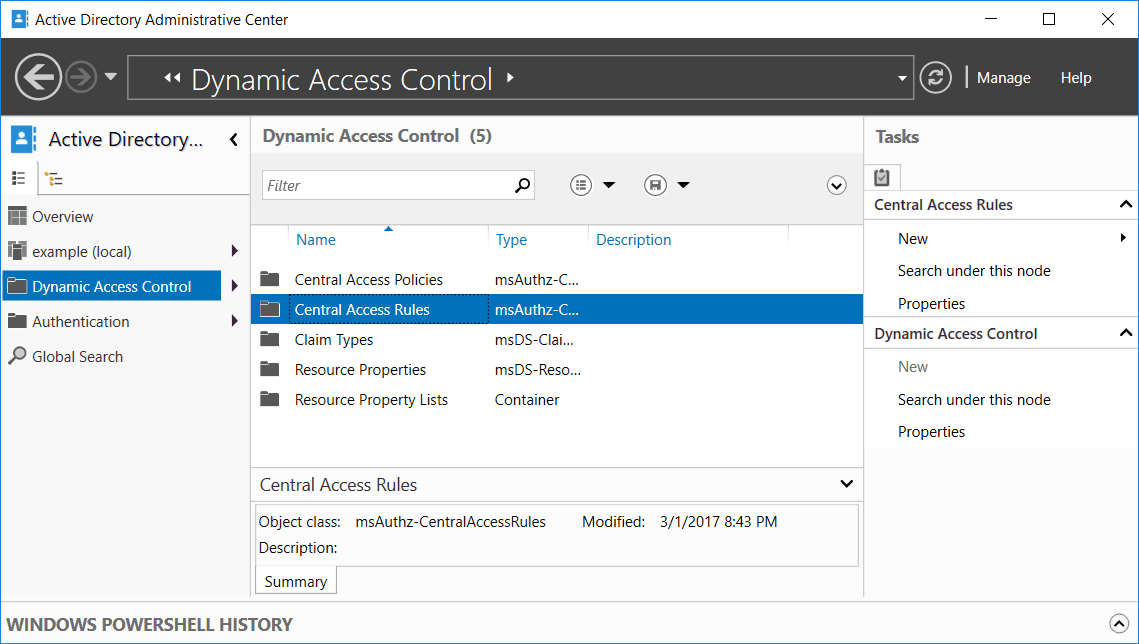
First open Active Directory Administrative Center (ADAC). This can be done through Server Manager > Tools > Active Directory Administrative Center, or by simply typing ‘dsac’ into PowerShell. Select Dynamic Access Control from the menu on the left, followed by Central Access Rules.
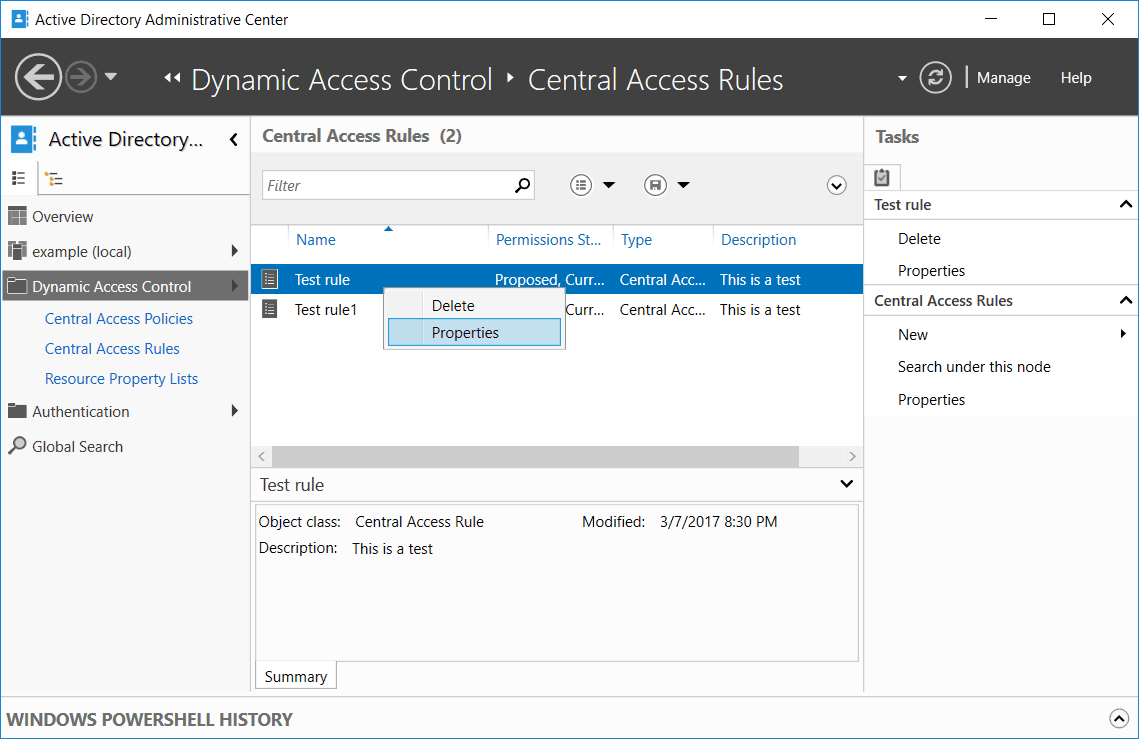
Next double click Central Access Rules from this screen to enter it, and open the properties of a central access policy. If you don’t have any Central Access Rules here, you’ll first need to Create and Configure Central Access Rules.
Under the Proposed Permissions section we can change and stage proposed permissions. In this example, proposed permissions is already selected as this was done when the central access rule was created. Once complete, select OK. The policy is now ready for staging.
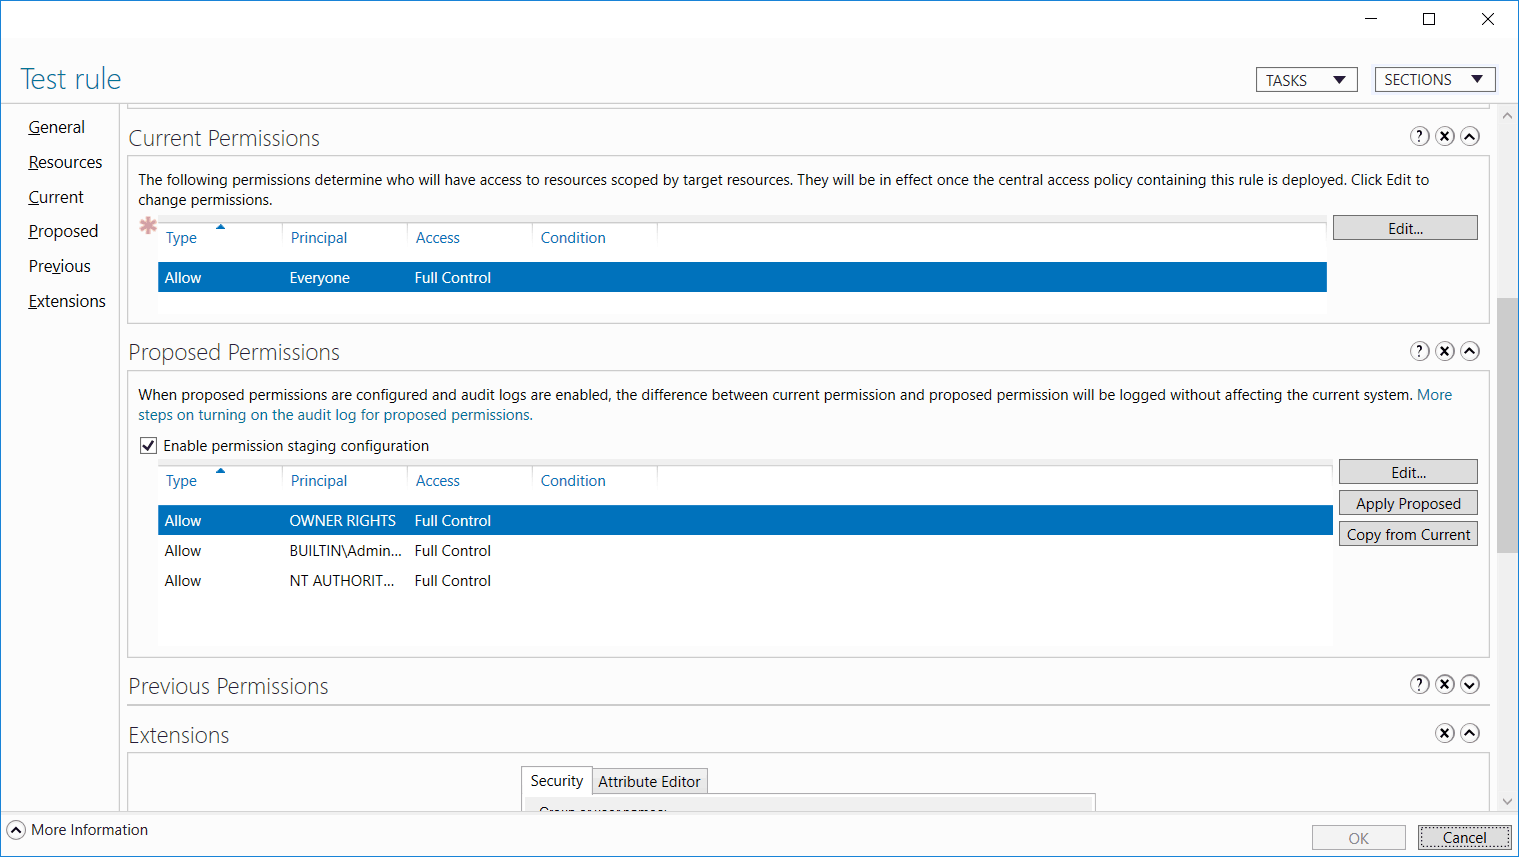
If we go to the file server and update group policy to get these changes, we’ll find that the action that was defined in the proposed permissions section has been logged. This is because we are staging the permission change. If we view the event logs we can see that it was allowed due to the staging policy. As the policy is proposed and staged, we are advised of how the action in the proposed permission differs from what’s currently in place.
We also need to set the “Audit Central Access Policy Staging” group policy setting from within Computer Configuration > Policies > Windows Settings > Security Settings > Advanced Audit Policy Configuration > Audit Policies > Object Access. As shown below, we simply tick the check box to enable it, then select if we want to audit success, failure, or both events.

This policy allows us to audit requests where the permission granted or denied by a proposed policy differs from the current central access policy on an object. We can now check the security event log for 4818 auditing events which will show us if the proposed central access policy does not grant the same access permissions as the current central access policy.
Once our testing of the staged policy is complete, we can apply it. This is done through the properties of the central access rule, simply select the Apply Proposed button in the Proposed Permissions area. This will enable the staged policy, moving the proposed permission changes up to the Current Permissions section instead to show that it’s no longer staged. The image below shows what the interface looks like just after we pressed the apply proposed button.

Summary
We have shown you how to implement policy changes and staging as part of a central access rule through the ADAC interface. This can be used to test and log proposed permissions changes prior to rolling them out as part of a central access rule, and by extension a central access policy to our file servers within the domain.
This post is part of our Microsoft 70-744 Securing Windows Server 2016 exam study guide series. For more related posts and information check out our full 70-744 study guide.
0 Comments.