Here we’re going to show you how to install Hyper-V in Microsoft’s Windows Server 2016 operating system.
Hyper-V is a hypervisor built into Windows which can be used to host virtual machines. The role can be installed either through the command line interface (CLI) with PowerShell, or through the graphical user interface (GUI). We’ll cover both of these options below, starting with PowerShell first.
Note: In order to use Hyper-V your CPU will need to support either Intel VT-x or AMD-V for hardware assisted virtualization.
Install Hyper-V With PowerShell
We can install the Hyper-V role in Windows Server 2016 easily with the Install-WindowsFeature cmdlet, as shown below. Note that after installation a reboot is required. We can specify this to happen straight away with the -Restart flag, or otherwise we can omit this and perform the restart later.
Install-WindowsFeature -Name Hyper-V -IncludeManagementTools -Restart
In the image below I did not run the -Restart, as I wanted time to obtain the screenshot prior to the reboot.
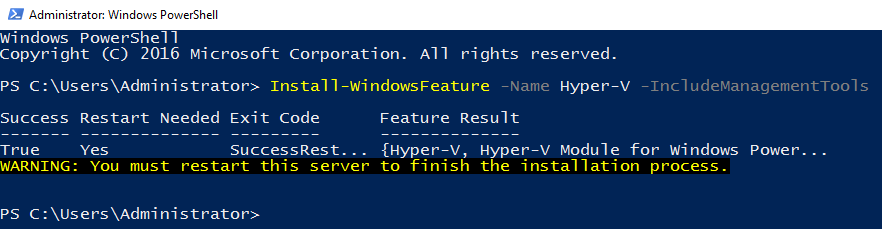
This includes the management tools required to manage Hyper-V through the GUI on this server itself. If you are going to manage Hyper-V externally, you can remove the -IncludeManagementTools option.
That’s essentially it, after the reboot you will be able to make use of Hyper-V to configure and build virtual machines. While there are also PowerShell cmdlets available for these tasks, the GUI tool Hyper-V Manager makes this process a whole lot easier.
Install Hyper-V Through GUI
If your server has the graphical user interface component installed you can also install Hyper-V by following these steps.
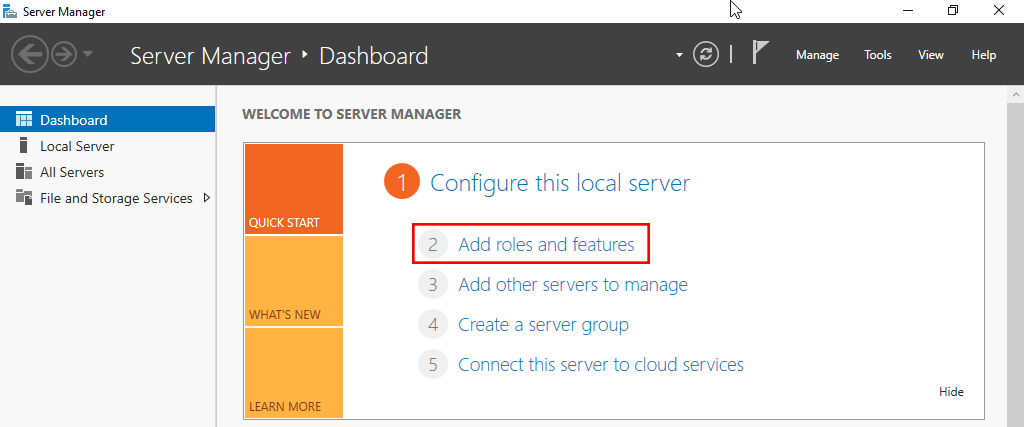
- Open Server Manager, this can be found in the start menu. If it’s not there simply type “Server Manager” with the start menu open and it should be found in the search.

- Click the “Add roles and features” text.
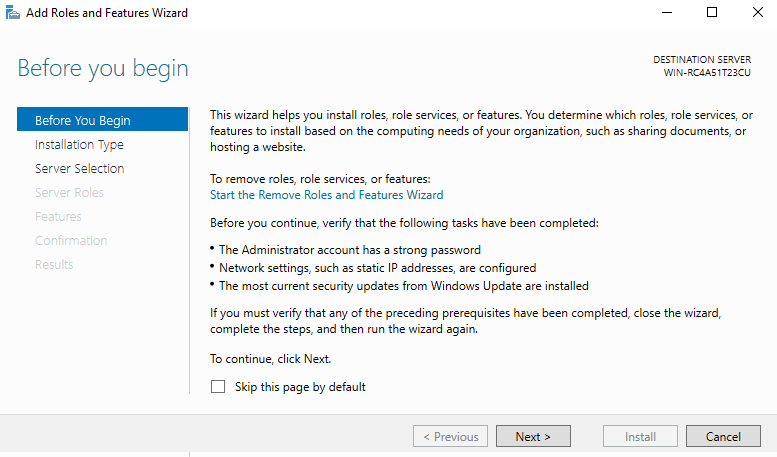
- On the “Before you begin” window, simply click the Next button.
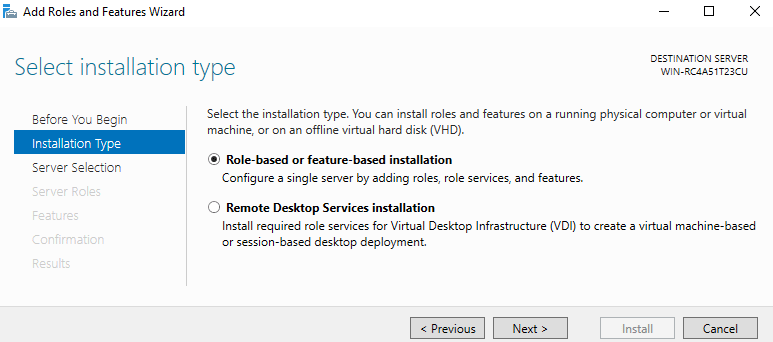
- On the “Select installation type” window, leave “Role-based or feature-based installation” selected and click Next.
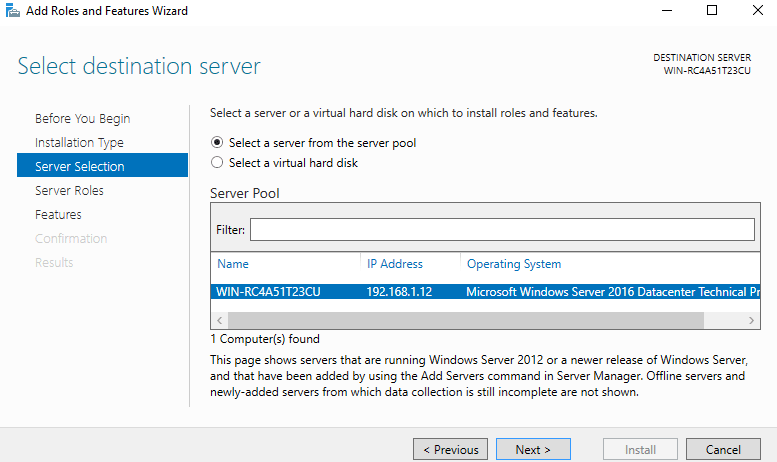
- As we’re installing to our local machine, leave “Select a server from the server pool” with the current machine selected and click Next. Alternatively you can select another server that you are managing from here, or a VHD.
-
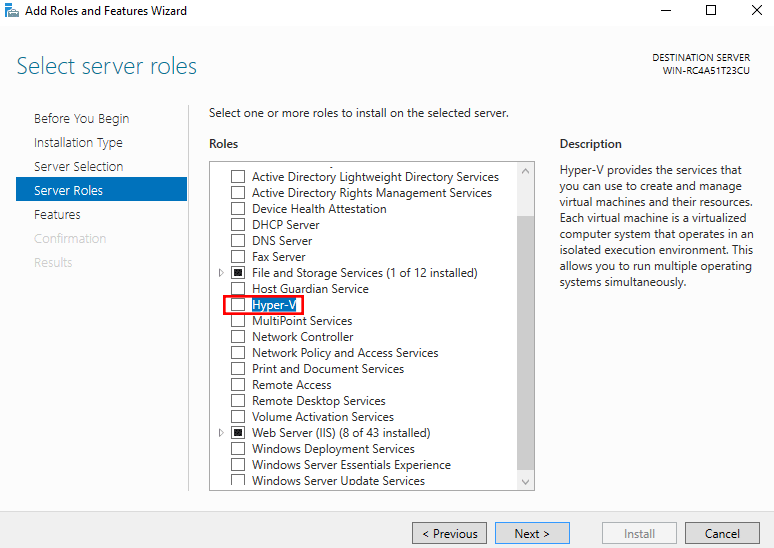
From the “Select server roles” window, check “Hyper-V”.
-
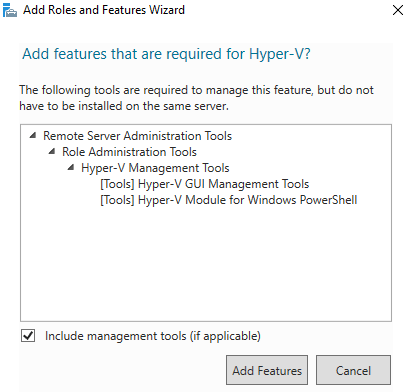
This will then open the optional add features to Hyper-V window, prompting you to install GUI tools that allow you to manage Hyper-V with (Hyper-V Manager tool). Click “Add Features” if you want these.
-
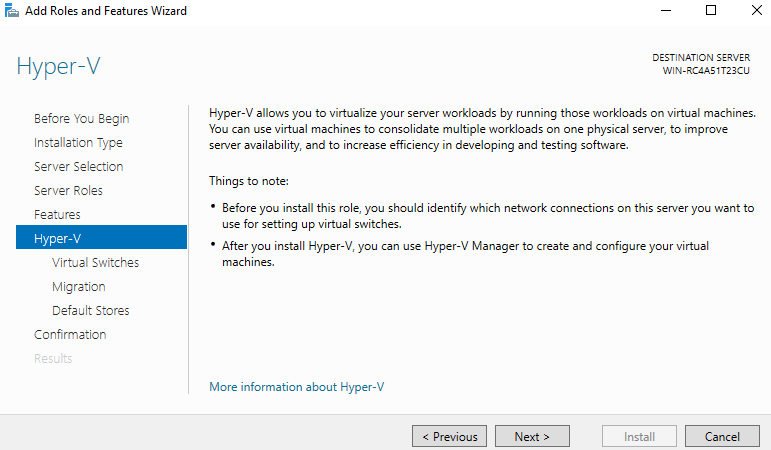
Click Next on the Hyper-V window which advises some basic information.
-
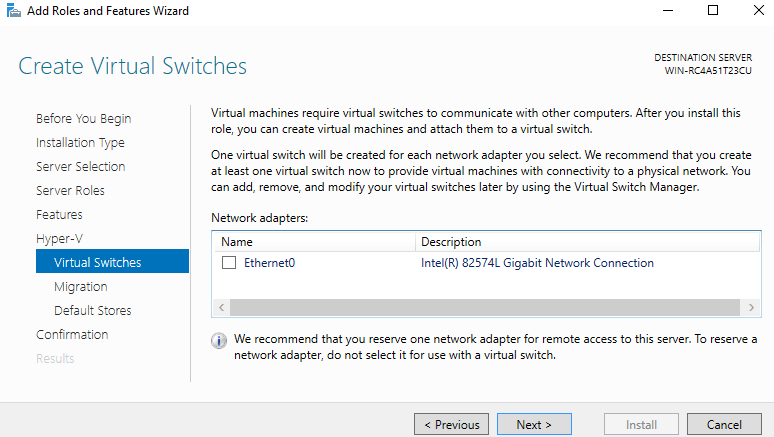
Next you can optionally create virtual switches based on available network adapters, this can be skipped and configured later, or you can do it now.
-
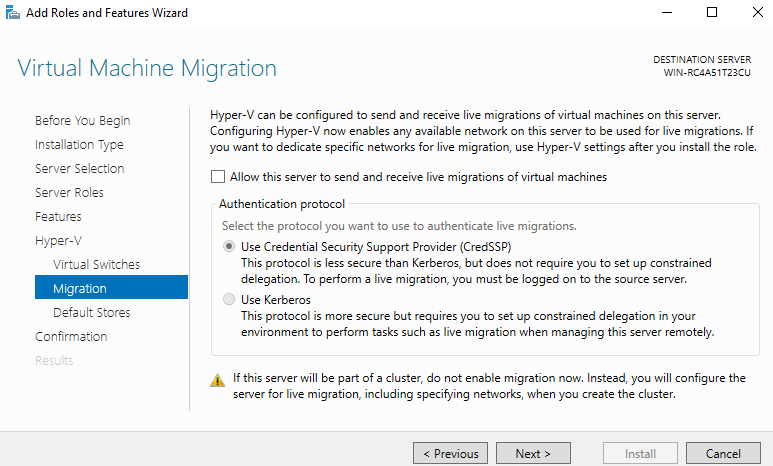
On the “Virtual Machine Migration” Window you can optionally configure the Hyper-V host to perform live migrations, again this can be modified later and skipped during the installation.
-
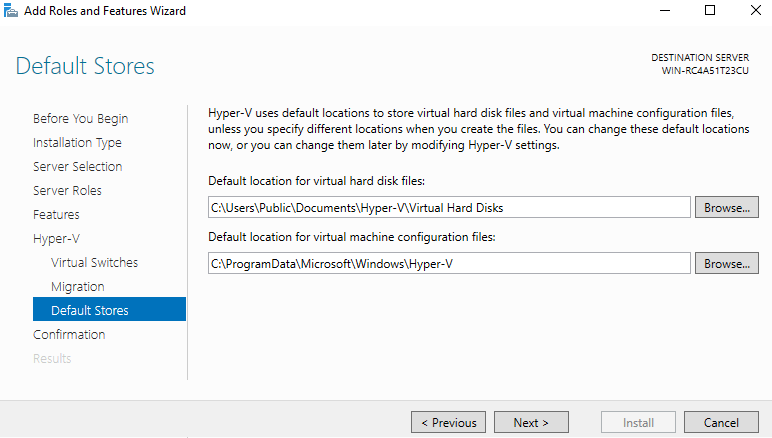
Define the default location to store virtual hard disk (VHD) and virtual machine configuration files and click Next to proceed.
-
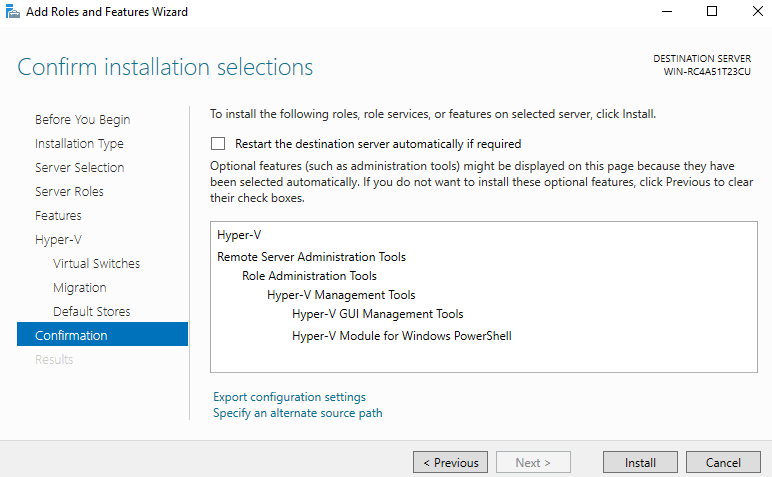
Finally confirm your selections, and optionally tick the “Restart the destination server automatically if required” and click the Install button. The installation of Hyper-V will require a system reboot, so you can tick the check box to perform this automatically, or otherwise perform the reboot later.
As you can hopefully see, it’s quite a lot faster to use PowerShell to perform the same task.
Summary
As shown we can easily install the Hyper-V hypervisor in Windows Server 2016 with both the PowerShell command line or the graphical user interface. From here you can perform further configuration and deploy virtual machines onto the hypervisor either through the GUI using Hyper-V Manager or with PowerShell.
Hi,
Thanks for this.
Where can I find the server 2016 hyper-v download?
I have access to Datacenter and Standart with our MSDN, but I can´t find the Hyper-V version (only evaluation and Preview)
This is what I would use, it’s the evaluation but it appears to be all that’s currently out but it should be fine to use: https://www.microsoft.com/en-us/evalcenter/evaluate-hyper-v-server-2016