Access-denied remediation, also known as access-denied assistance, allows us to set a predefined error message to be provided to a user that attempts to access a file or folder that they do not have permissions to. Rather than receiving a generic permission denied error, an administrator can instead customize the error message. We can perform access-denied remediation by both setting it up manually on a file server, or automatically for many file servers through group policy.
It’s also possible for the user to request access through the interface that appears, which will send a message to an administrator with the user’s request, making the whole process easier to manage and more efficient.
This feature is available in Windows Server 2012 and newer, our example here is done with Windows Server 2016.
To use this feature you must first install the FSRM role.
This post is part of our Microsoft 70-744 Securing Windows Server 2016 exam study guide series. For more related posts and information check out our full 70-744 study guide.
Perform Access-Denied Remediation
First we’ll cover how we can perform access-denied remediation manually on a per file server basis, followed by how we can centrally configure it across all file servers in our domain using group policy.
Manually Perform Access-Denied Remediation
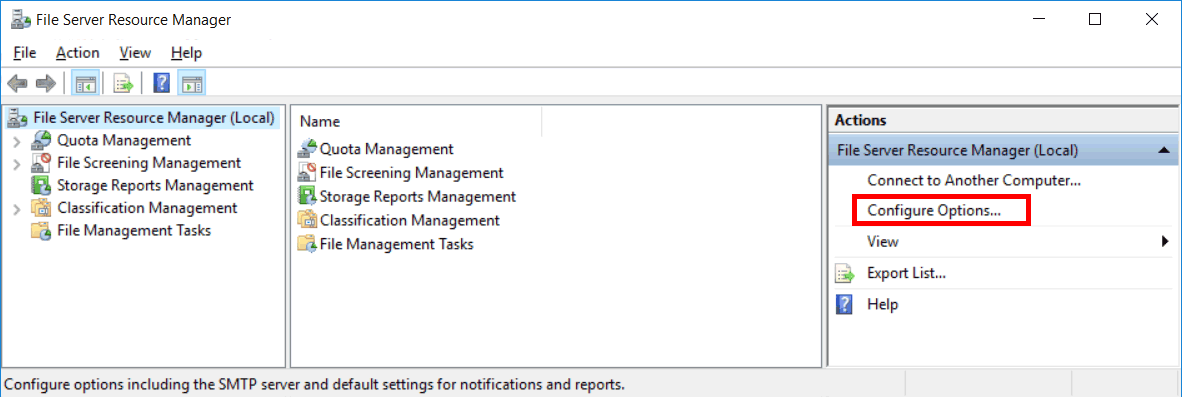
First open File Server Resource Manager (FSRM), this can be done through Server Manager > Tools > File Server Resource Manager. From the FSRM window select Configure Options from the actions menu on the right.
This will open the File Server Resource Manager Options window, select the Access-Denied Assistance tab, as shown below. We will select the check box next to “Enable access-denied assistance” to turn the feature on. This is also where we can set our custom message that is displayed to users who are denied access to a folder or file. Note that this message applies server wide, we can use File Classification Infrastructure (FCI) to create a custom message on a per file or folder basis.
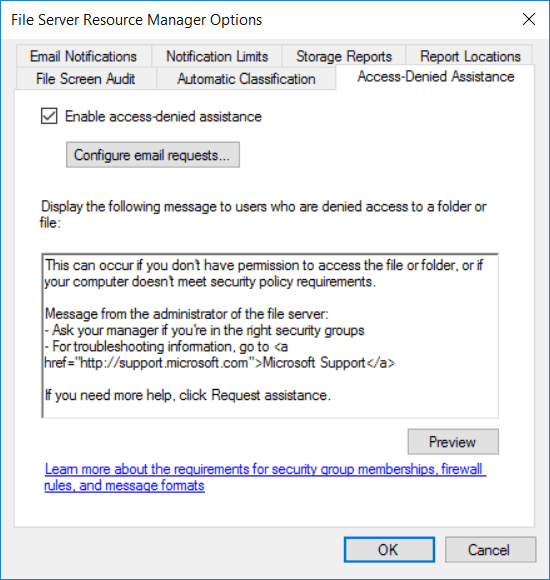
We can click Configure email requests to enable users to request assistance. This will allow the user to send an email to the folder owner, administrator, or custom recipient list with their request.
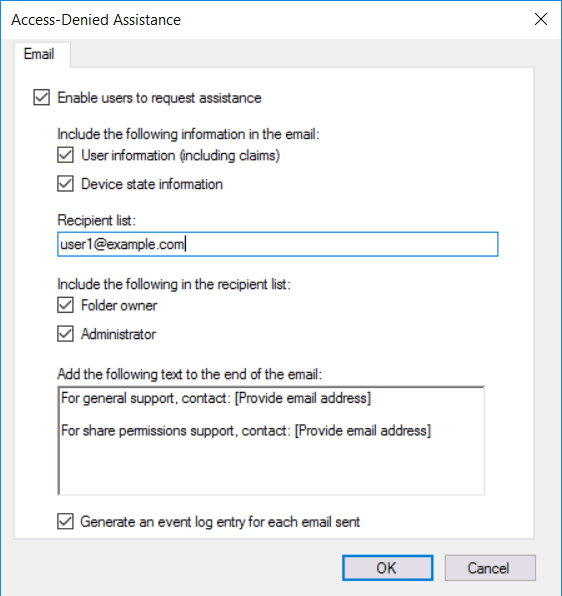
There are four macros available for use within the email, we can use these to automatically include useful information to the administrator who will read the message.
- [Original File Path]: This is the original file path that the user was attempting to access.
- [Original File Path Folder]: This is the parent folder path of the original file path that the user was attempting to access.
- [Admin Email]: This is the administrator email recipient list.
- [Data Owner Email]: This is the data owner email recipient list.
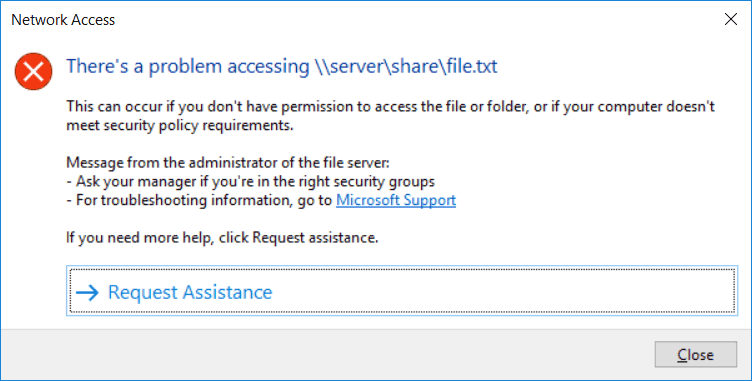
From the File Server Resource Manager Options window, we can click preview to get an idea of what the user will see when they are denied access to a file or folder with these settings. We can see our specified message displays, and the user can click Request Assistance to send an email to the users we have specified to ask for access.
Using PowerShell
We can also manually perform access-denied remediation using PowerShell, take a look at the cmdlet below which covers what we’ve just done through the graphical user interface (GUI).
Set-FSRMAdrSetting -Event "AccessDenied" -DisplayMessage "The user will see this custom message" -Enabled:$true -AllowRequests:$true
Automatically Perform Access-Denied Remediation
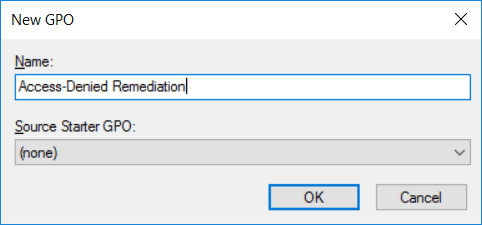
We’ll now cover how to perform access-denied remediation automatically to all file servers in our domain using group policy. To begin open up Group Policy Management, this can be done either through Server Manager > Tools > Group Policy Management, or by running ‘gpmc.msc’ in PowerShell or Command Prompt. At this point you can either create a new policy, or edit an existing policy. In this example we create a dedicated GPO to perform access-denied remediation.
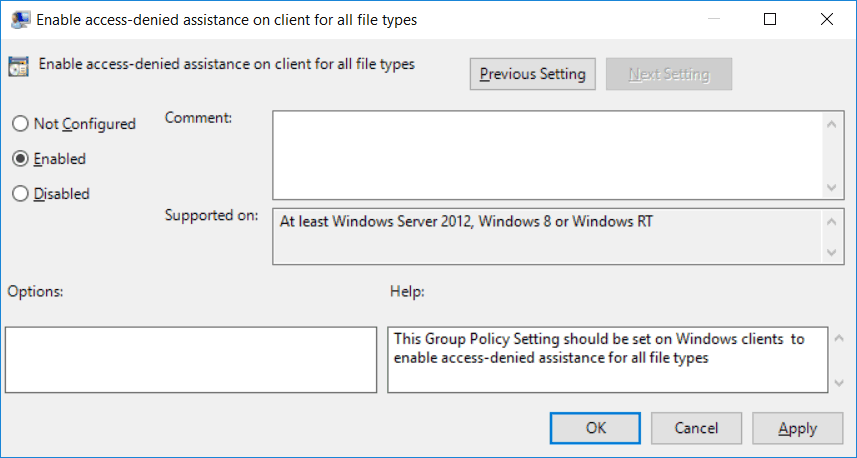
Once complete edit the policy which will open the Group Policy Management Editor (GPME). We need to enable the “Enable access-denied assistance on client for all file types” group policy setting from within Computer Configuration > Policies > Administrative Templates > System > Access-Denied Assistance.
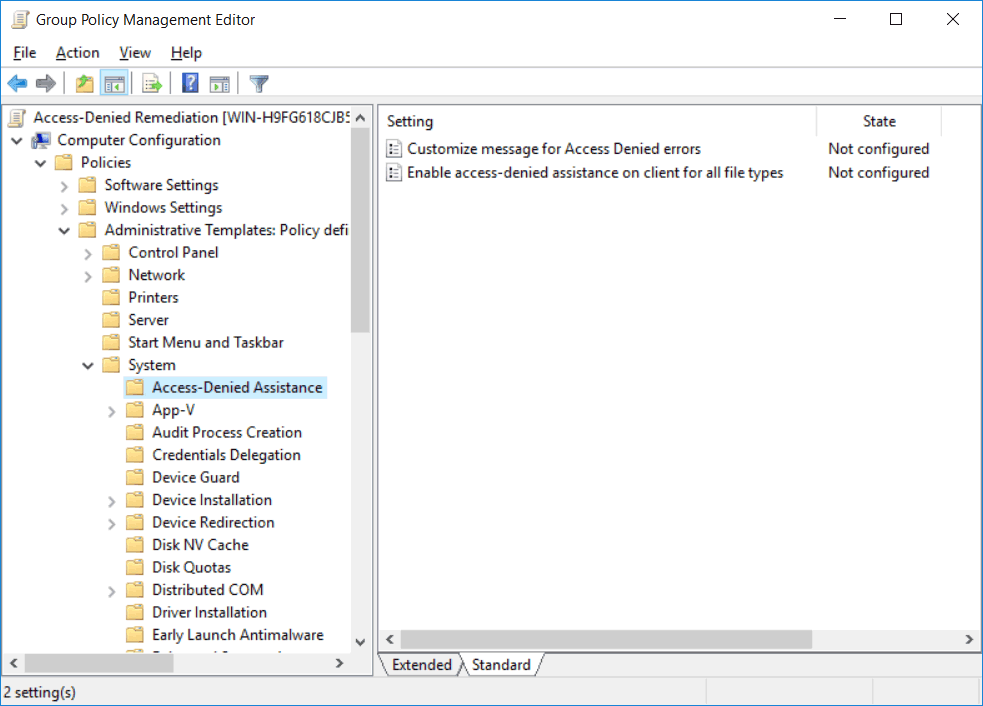
As stated, the policy simply applies to Windows clients that we wish to enable access-denied remediation for.
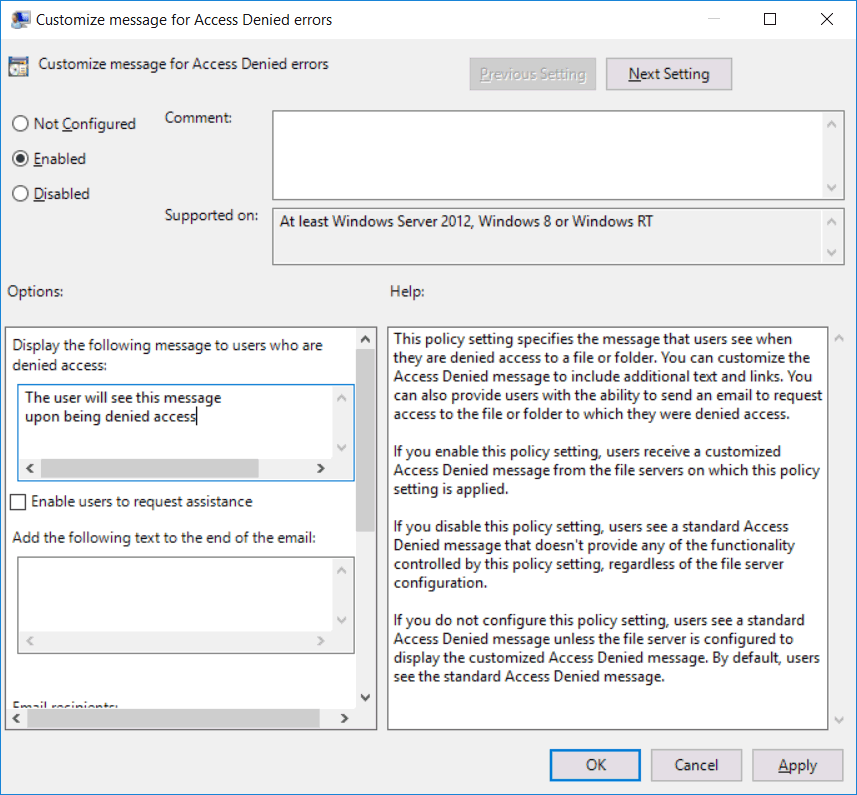
From within the same area, we can also enable the “Customize message for Access Denied errors” policy and configure the custom message that we want to display. We can optionally select if we want to enable users to request assistance and edit the content of the email that will be sent to an administrator. By default the email recipients are the folder owner and file server administrator, however these can be modified in the policy with custom addresses specified too.
We can now attach the GPO to the site, domain, or organizational unit (OU) that contains the Windows file servers that we wish to apply this to.
Summary
We can perform access-denied remediation with the File Server Resource Manager role in Windows Server 2016. This allows us to customize the error message that a user who is denied access to a file or folder will receive. We can also allow the user to send an email to the file server administrator to request access to the file or folder. All of this can either be configured manually on a per file server basis, or automatically through group policy, potentially to all file servers in our domain.
This post is part of our Microsoft 70-744 Securing Windows Server 2016 exam study guide series. For more related posts and information check out our full 70-744 study guide.
my id is not apply on me please sir give me my national id