This guide will show you how to install Linux Mint step by step. Mint is a distribution of Linux which is based on Debian and Ubuntu and aims to be both powerful and easy to use. As the most popular Linux distribution according to distrowatch, it seems to be achieving these goals.
Download Linux Mint
First you’ll need to download a Linux Mint ISO. I’ve already covered this in detail so check out that full guide if you need help selecting an ISO to use.
Linux Mint Requirements
Ensure that the machine you are installing Linux Mint on meets the requirements. Currently for version 18.1 with Cinnamon, the requirements are as follows:
- 512MB RAM (1GB Recommended)
- 9GB of disk space (20GB Recommended)
- 1024×768 resolution or higher
I’ll also note that when I attempted to install Linux Mint with an 8GB disk it noted that it needed at least 10.3GB to install, so you may find you need more than the 9GB noted as the minimum requirement.
Mount Boot Media
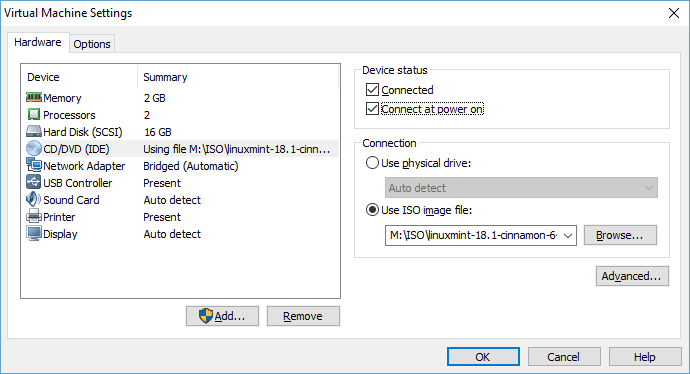
In this example I’m installing Linux Mint in a virtual machine (VM). I have created a new VM and attached the downloaded Linux Mint ISO to it.
If you need to create bootable USB media from Windows I suggest using Rufus.
Install Linux Mint
After powering on the VM, we are presented with the following splash screen.
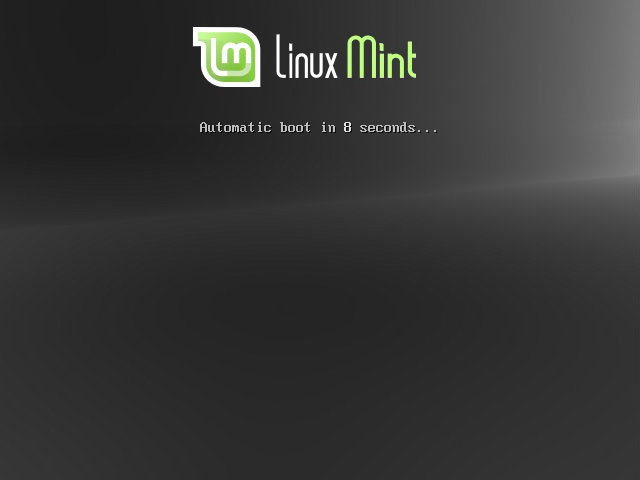
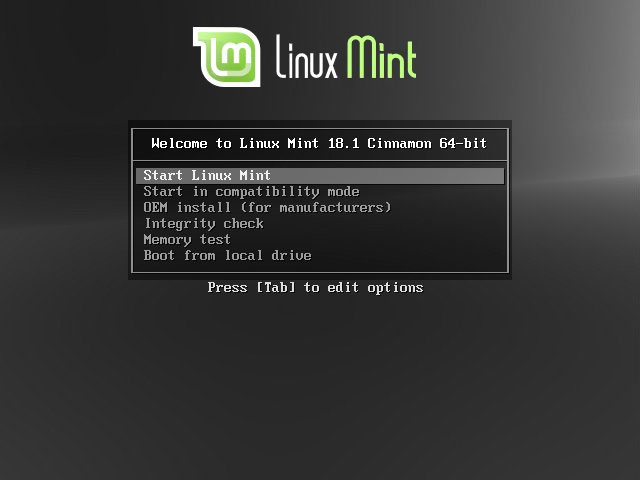
You can either wait for the 10 second countdown, or press the enter key to bring up the Linux Mint welcome screen. By default, “Start Linux Mint” is highlighted. With this selected, press the enter key to boot the Linux Mint live CD.
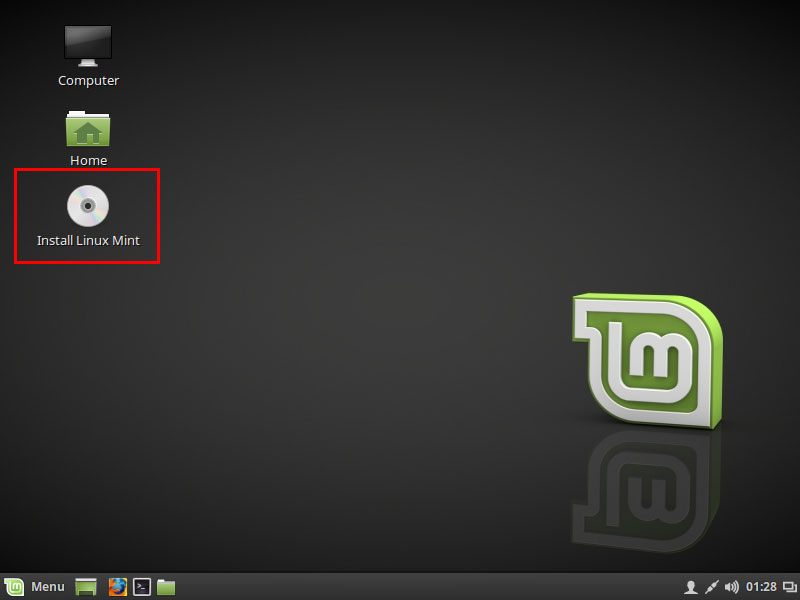
Linux Mint will now proceed to boot. Note that at this point, nothing is being installed on the disk. Linux Mint is simply running as a live CD in memory. Once system boot completes, double click “Install Linux Mint” on the desktop to start the installation process.
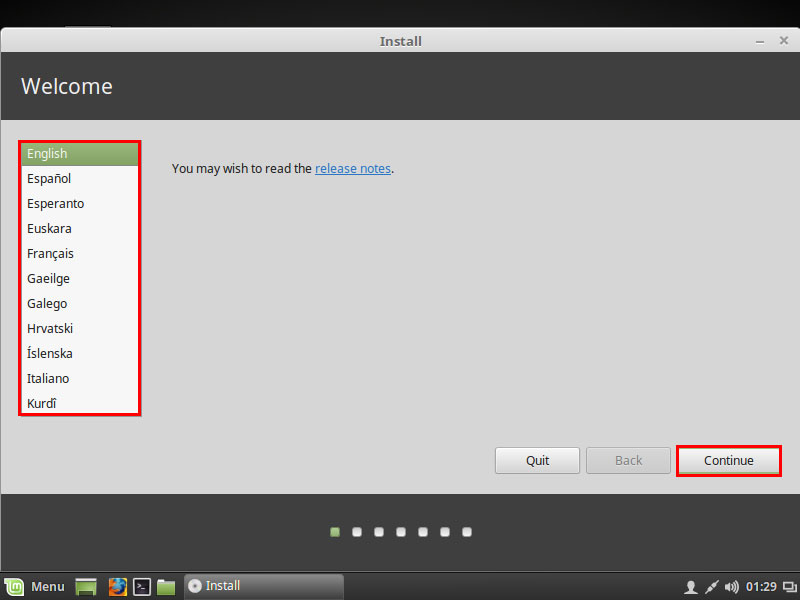
The install window will now open to the welcome screen. Select your language and then click the continue button to proceed.
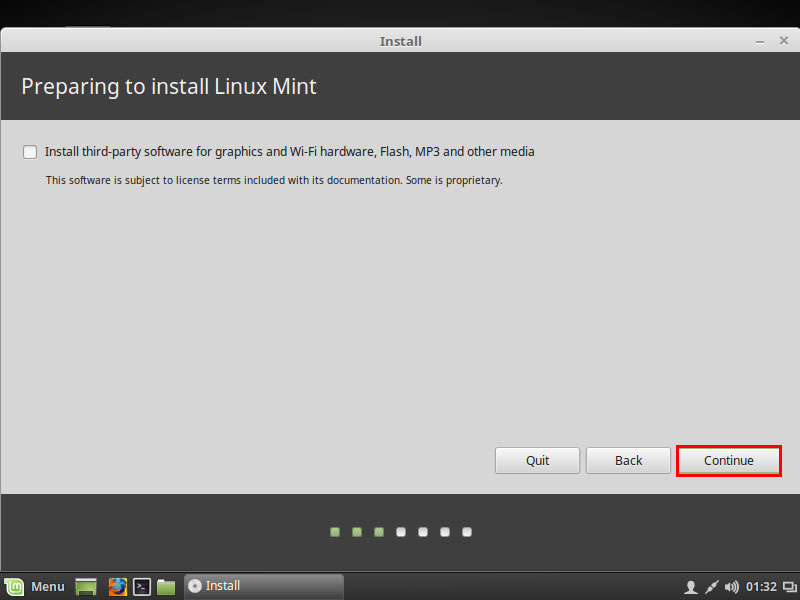
Next you can optionally select if you want to install third-party software. This may not be an option for you if you don’t want to install proprietary software, so the choice here is up to you. Make your selection and click the continue button to proceed.
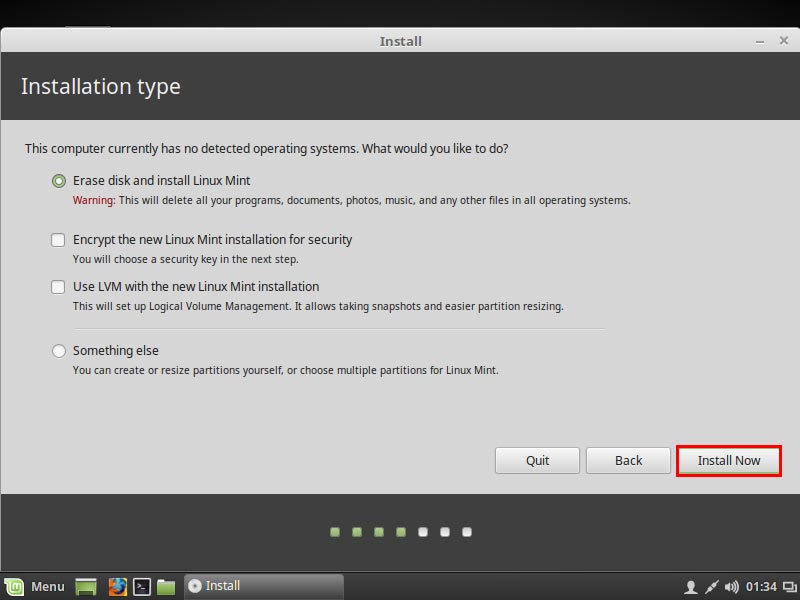
Next we select how we want to install Linux Mint. By default, installing Linux Mint will erase the current disk in order to install Linux Mint, so any existing operating system will be cleared. You can optionally select to encrypt Linux Mint for additional security, or to setup Linux Mint using LVM which is a more flexible method of partitioning the disks. The “Something else” option can be used if you’re planning on dual booting with another operating system, however we’re only installing a fresh copy of Linux Mint here. Once you’ve made your selection, click the Install Now button to continue. For this example, I’ve left the default selection.
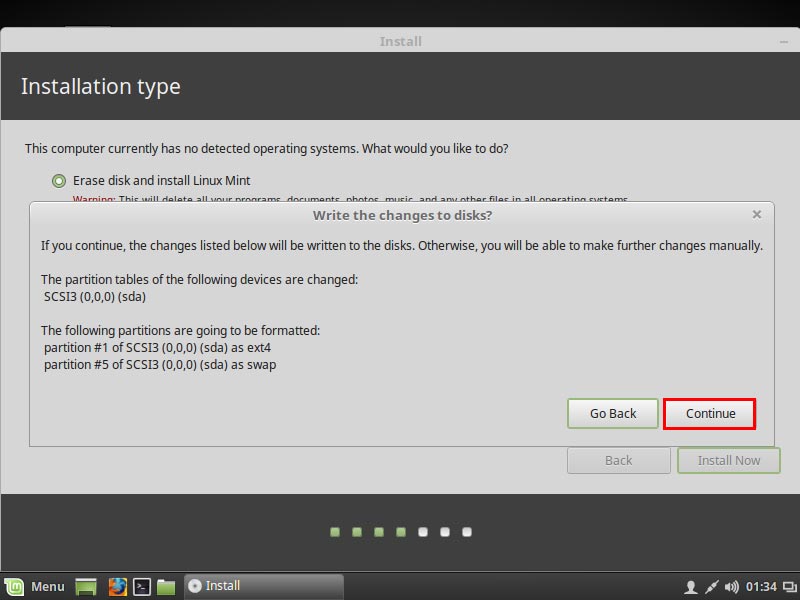
You’ll now be prompted to confirm that you want to write these changes to the disk, if you’re sure click Continue to proceed.
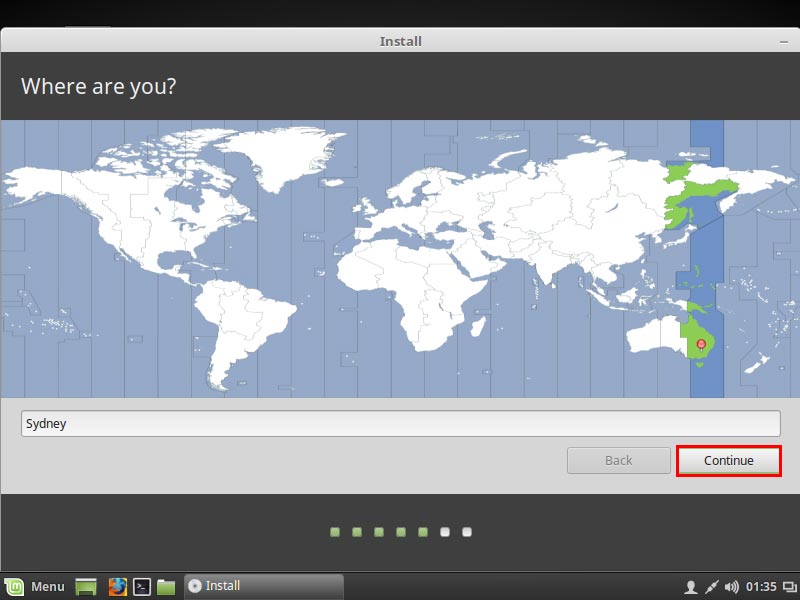
For the purposes of setting the timezone, select where the Linux Mint installation is located in the world.
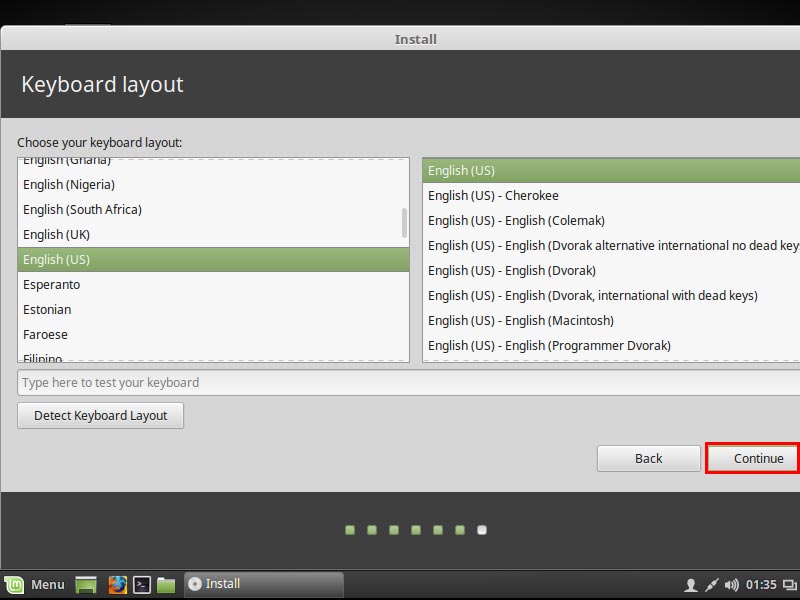
Next select the layout of your keyboard that you’ll be using to interact with Linux Mint.
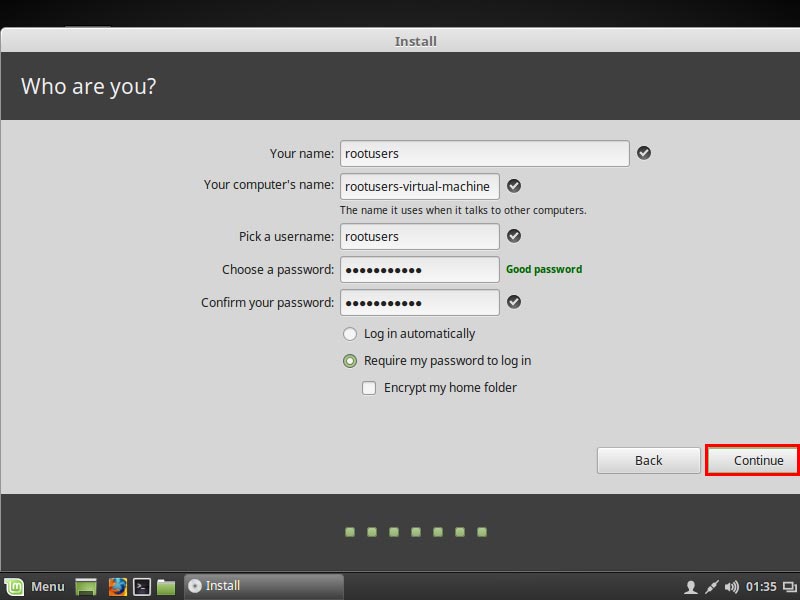
At this stage you will create the user account used to login to Linux Mint. Select a username and strong password. You also need to define a hostname for the installation, which is basically just the name of the computer. Click the continue button to proceed once you’ve set these.
Linux Mint will now start installing. You can click the arrow icon next to “Copying files…” to view the log of what’s happening. Otherwise go and make a coffee while the installation takes place.

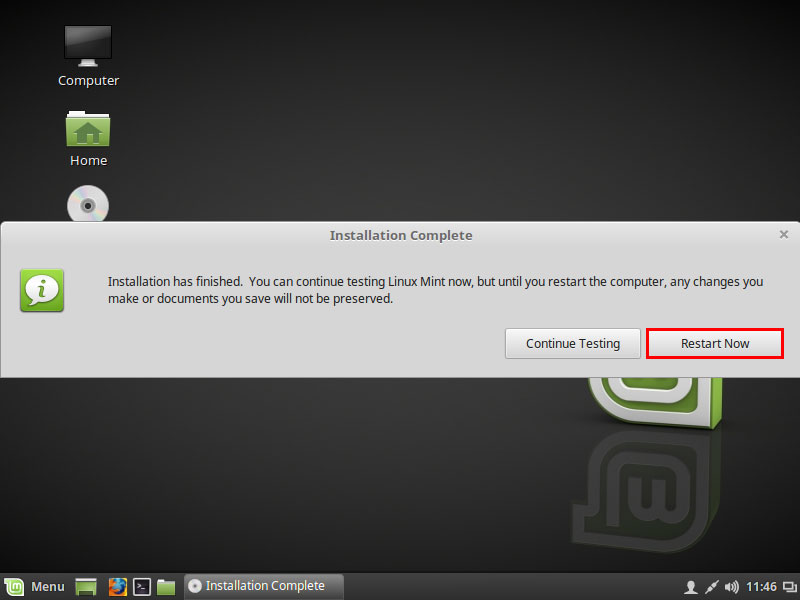
Once installation has completed, you’ll be advised with the following prompt. Click Restart Now to reboot the system and boot into your freshly installed instance of Linux Mint.
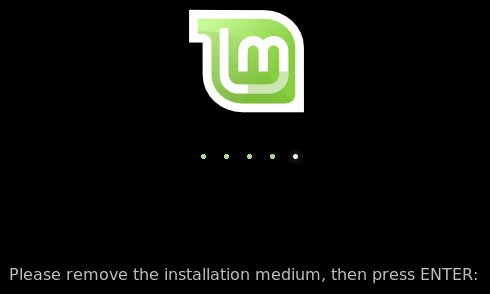
After initiating the restart, you’ll be advised to remove the installation media before proceeding. In my case I detached the ISO from the VM, however if you’re installing on a physical machine simply remove the USB stick or eject the CD that contains the installation media. Once removed, press the enter key to continue.
Once Linux Mint boots up, you can click the username that you created and enter the password to login.

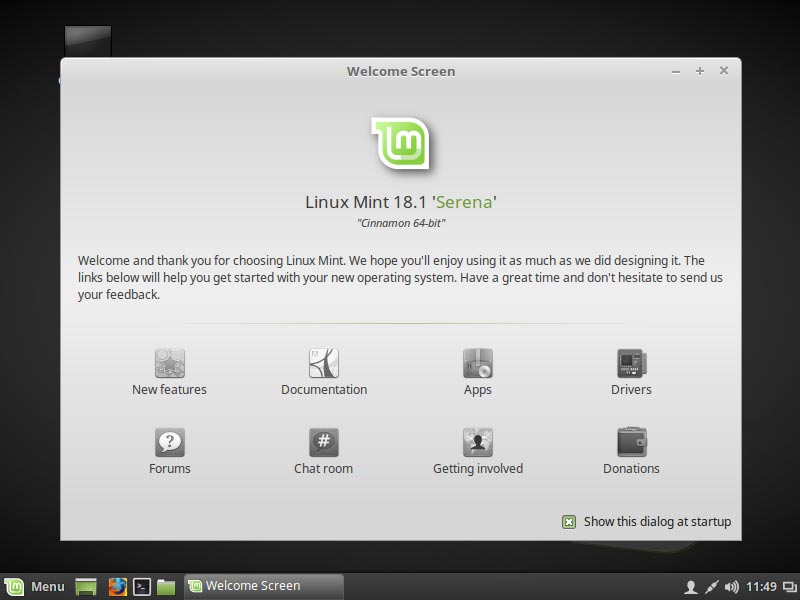
Once you login, you will be presented with the welcome screen. This provides some useful links to help you get started with using Linux Mint. Simply close the welcome screen when you’re done, and optionally untick the “Show this dialog at startup” option if you don’t want to see it in future.
Congratulations! Linux Mint is now installed and ready to use!
Summary
We have successfully installed the Mint distribution of Linux within a virtual machine. After downloading the ISO and attaching it to the VM, we booted the VM and stepped through the installation process. Once complete we were able to login to Linux Mint and start using it.
0 Comments.