Instead of manually configuring the same Windows Firewall rules on many different servers, we can import and export Windows firewall settings to transfer them between different servers.
We can also import the firewall rule policy file into a Group Policy Object (GPO) to apply it automatically throughout a whole domain.
This post is part of our Microsoft 70-744 Securing Windows Server 2016 exam study guide series. For more related posts and information check out our full 70-744 study guide.
Export Windows Firewall Settings
We can export windows firewall rules with both the graphical user interface (GUI) and command line interface (CLI). First we’ll start with the GUI then cover the CLI.
Graphical User Interface
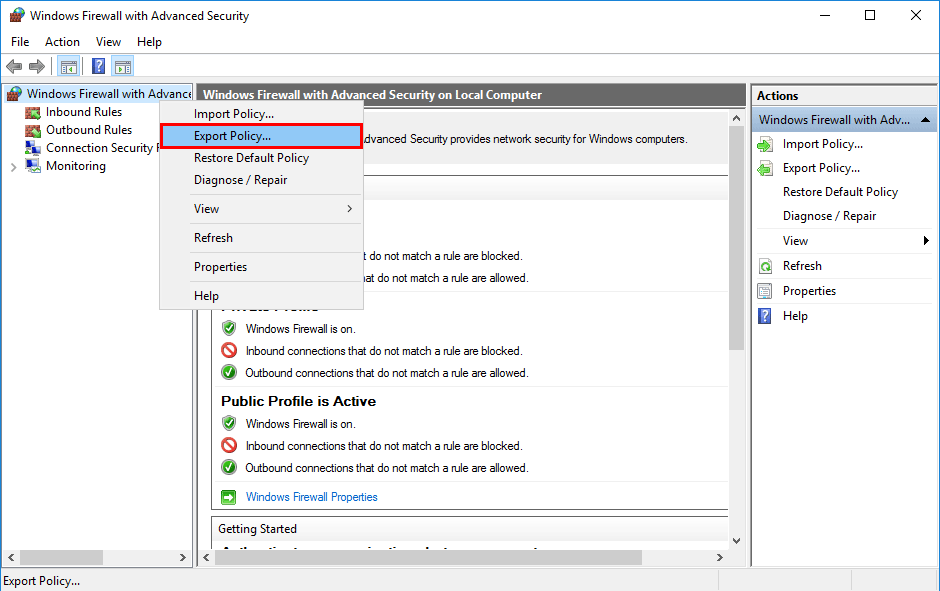
Open Windows Firewall with Advanced Security, right click the top node and select “Export Policy…”
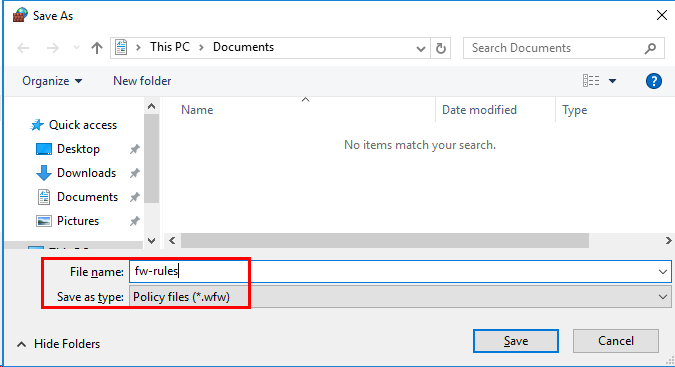
Save the file as a .wfw policy file.
You’ll be advised that the policy successfully exported with a pop up message.
Command Line Interface
This can also be done through the PowerShell or Command Prompt CLI instead with the netsh command, as shown below.
netsh advfirewall export "C:\fw-rules.wfw"
![]()
Import Windows Firewall Settings
We can import this file that we have exported to another server where we wish to also have the same set of firewall rules. Again we’ll first start with the GUI solution followed by how to do it in CLI.
Note that importing firewall rules will overwrite all existing firewall configuration and replace it with the exported contents of the .wfw file, you will be advised of this before proceeding in the GUI but not through CLI.
Graphical User Interface
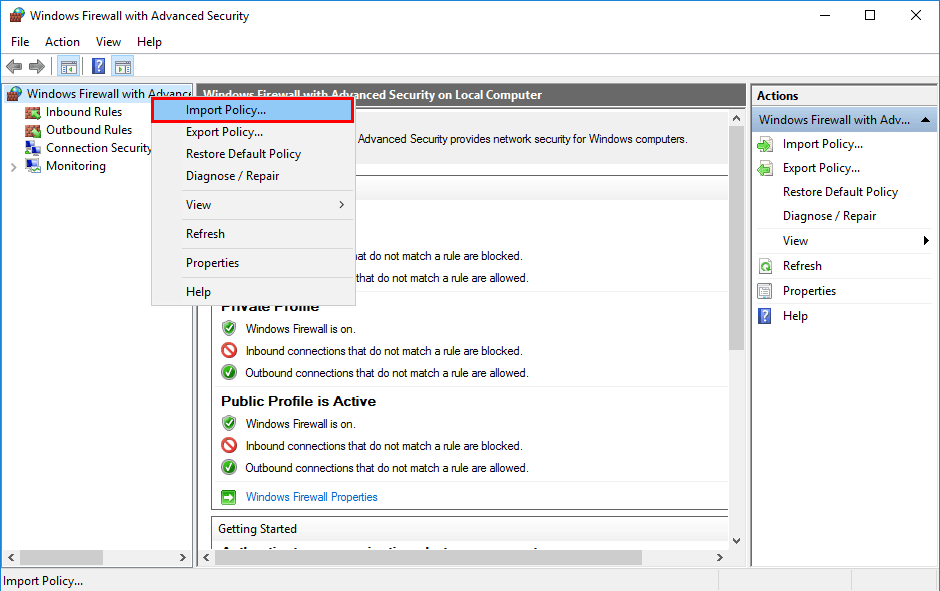
open up Windows Firewall with Advanced Security, right click the top node as before, but this time select “Import Policy…”
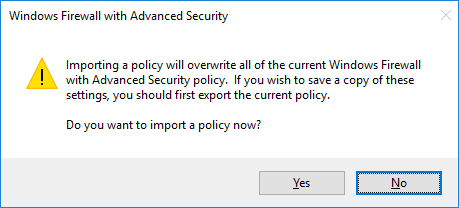
You’ll be warned that importing the policy will overwrite all current rules, select yes to proceed.
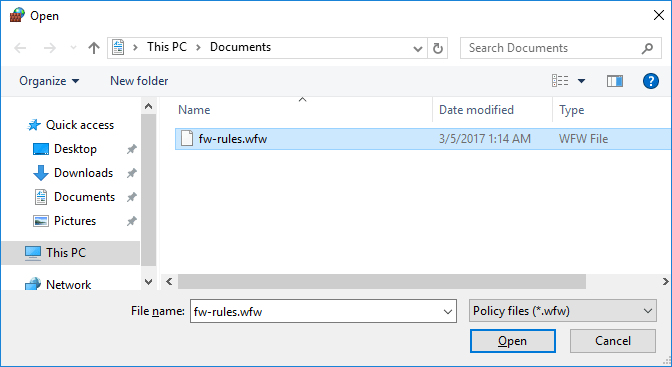
Next select the .wfw file that was exported previously.
Once the import has completed you’ll be advised by a pop up message.
Command Line Interface
This can also be done through the CLI instead with the netsh command, as shown below.
netsh advfirewall import "C:\fw-rules.wfw"
![]()
Note that if you import with the netsh command you will not be warned about overwriting all existing rules like you would be with the GUI.
Summary
As shown we can use either the GUI or CLI to import and export Windows Firewall settings in Windows Server 2016. This allows us to create a set of rules on a single server that we want to deploy elsewhere which is more efficient than implementing the same rules again and again on each server. We can also take this a step further and use group policy to deploy the exported firewall policy files in a domain.
This post is part of our Microsoft 70-744 Securing Windows Server 2016 exam study guide series. For more related posts and information check out our full 70-744 study guide.
This does NOT appear to work the same way. CLI vs GUI
When using the GUI method if you review the Firewall settings they are locked by the policy and can not be changed. But if you do this via the command line user’s can still make changes.