In this post I’ll show you how to implement Work Folders with a Windows Server 2016 file server and Windows 10 client. Work Folders allow a user to access their files from an internal file server remotely over the Internet.
As files are synchronized from the server to the client machine, it is possible to modify the files offline. Once the computer is back on the network, they will sync to the central file server. Work folders can be setup using failover clustering to provide highly available file sharing solution.
The file server provides a central access point for the files, a user can then connect to this from many devices. Security policy can be set to ensure the client system encrypts the contents of any work folders, this ensures that if a client machine is stolen the files remain safe.
The work folders role service can be installed in Windows Server 2012 R2 and above, and is also available in Windows 7 clients and newer. There’s even mobile application support for Android 4.4 and above and iOS 8 and above for iPhone. The work folders on the server must be stored on a disk formatted with the NTFS file system.
By default work folders are stored in the %USERPROFILE%\Work Folders directory on the client, and files cannot be larger than 10gb in size.
This post is part of our Microsoft 70-744 Securing Windows Server 2016 exam study guide series. For more related posts and information check out our full 70-744 study guide.
Install Work Folders
We can install the Work Folders role through either the graphical user interface (GUI) or command line interface (CLI).
GUI Install
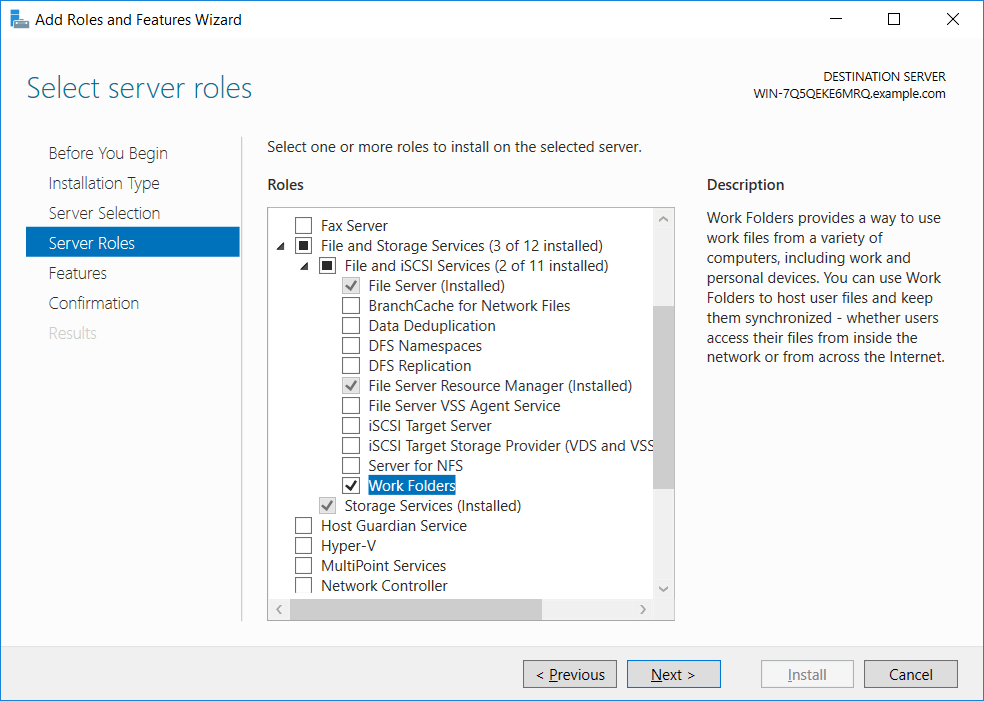
Simply open Server Manager and select to add a role. From the available server roles, select Work Folders found under File and Storage Services as shown below. This will also prompt you to add the IIS Hostable Web Core feature which is also required.
PowerShell Install
We can instead install the role much faster using the Install-WindowsFeature PowerShell cmdlet. The FS-SyncShareService is the Work Folders service, while Web-WHC is the IIS Hostable Web Core feature, which was suggested when installing the GUI.

Create Security Groups
We need to create specific groups to allow users permission to sync the shares. We need a group for each share that is to be synchronized, this contains the users that are allowed to sync the share. We can also create another group for work folder administrators which allows the users within to modify user object attributes which control the server that each user will use.
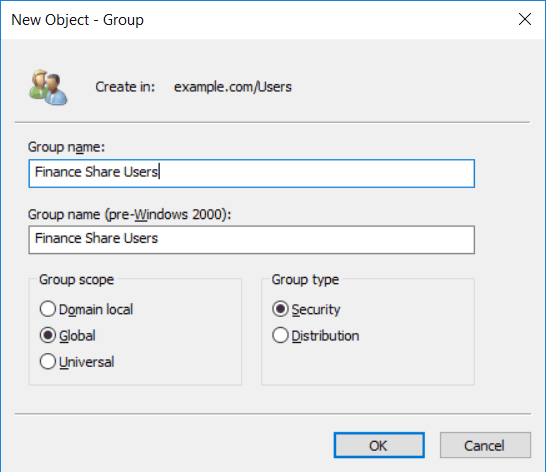
The two groups can be created in Active Directory, the names do no matter but should ideally be clear and make sense. For instance if there will be a share called “Finance Share” then perhaps a group name called “Finance Share Users” would make sense for this purpose.
Microsoft recommend only putting the specific users in the group required rather than using other existing or generic groups, as more items can reduce performance as the time for work folders to query Active Directory increases.
Create Sync Shares
We’re now ready to create a sync share on the file server, which is simply a work folder that we’re sharing. We’ll cover how to create sync shares both through the GUI and with Windows PowerShell.
First open Server Manager and select File and Storage Services followed by Work Folders.
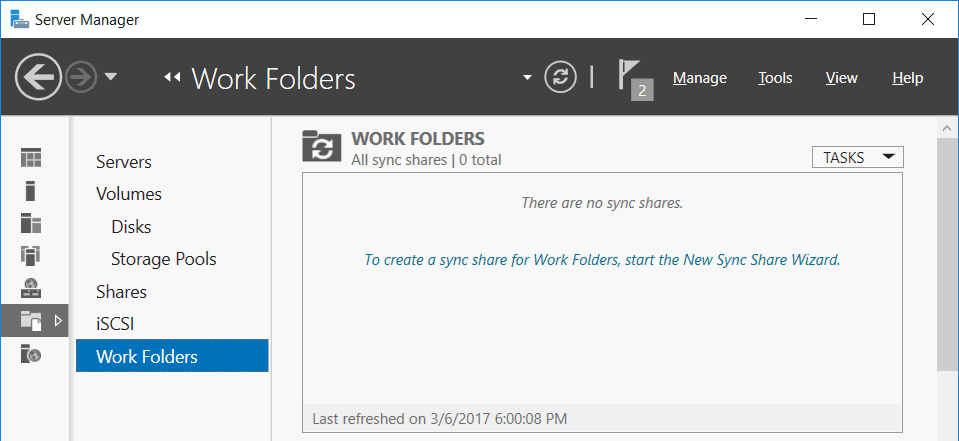
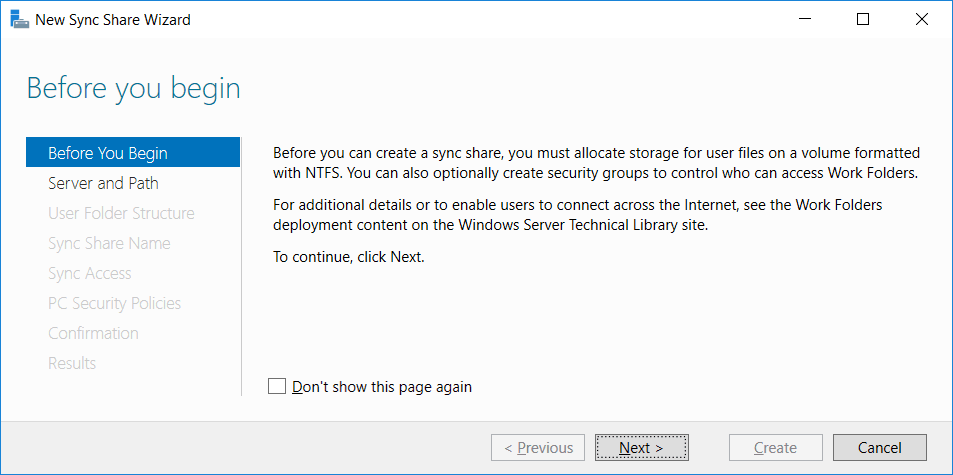
In this example we do not have any existing work folders so we can simply click the text shown under work folders. Alternatively if you already had work folders showing here, you would select the Tasks drop down menu and then select “New Sync Share”. This will open the New Sync Share Wizard, which notes that you need free space on an NTFS disk and security groups ready to use which we’ve already created.
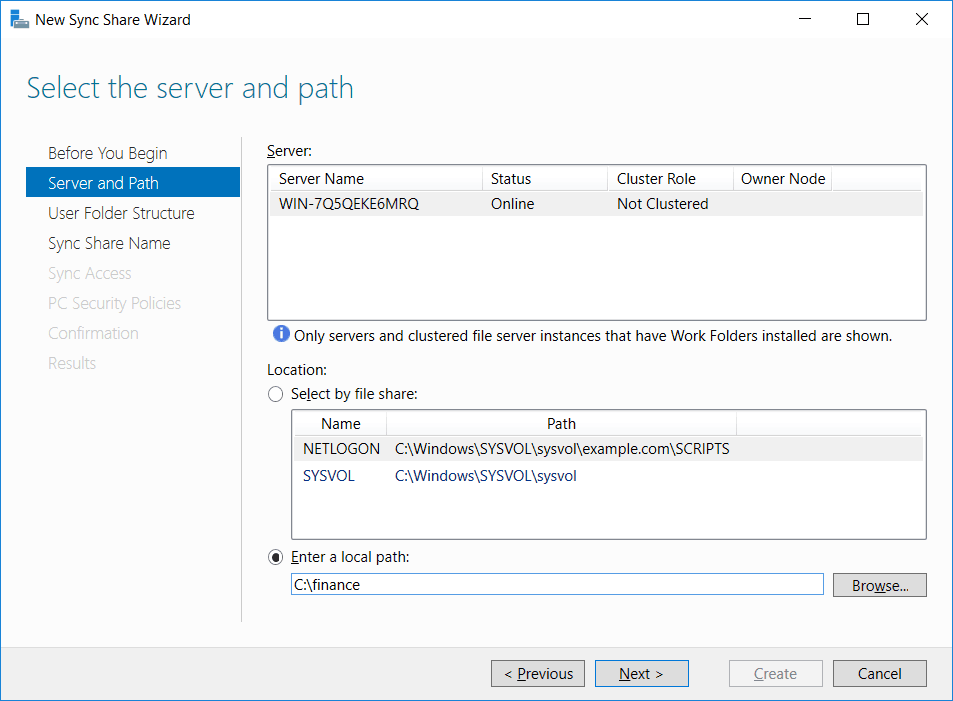
Next we need to specify the server and path to the folder that we’ll be sharing. In this example we’ll use the file server itself and the C:\finance folder path which is where we want to create our work folder for the finance group.
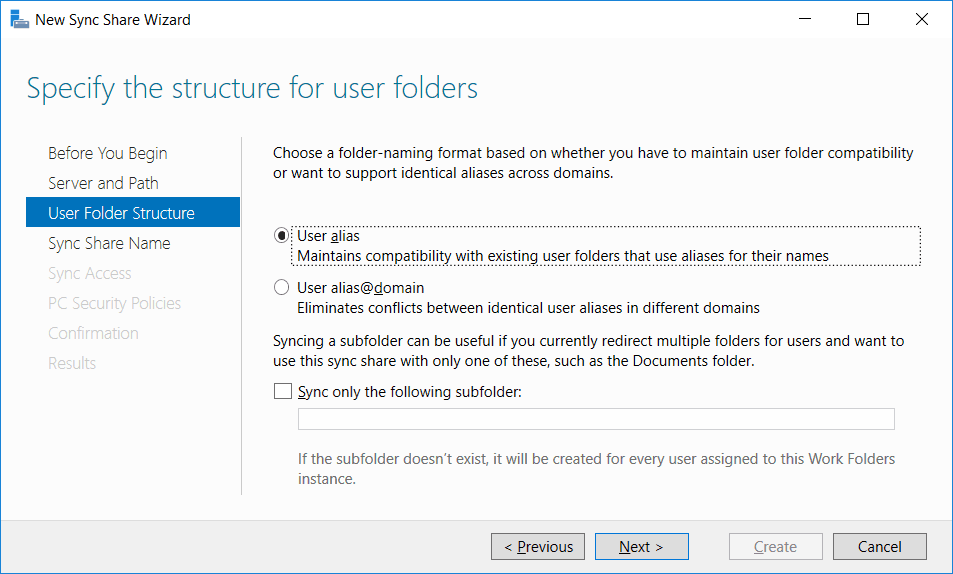
Next we can specify the structure for user folders, by default user alias is selected which is what we’ll be using here. We only have one domain in this example so there’s no need to specify user@domain.
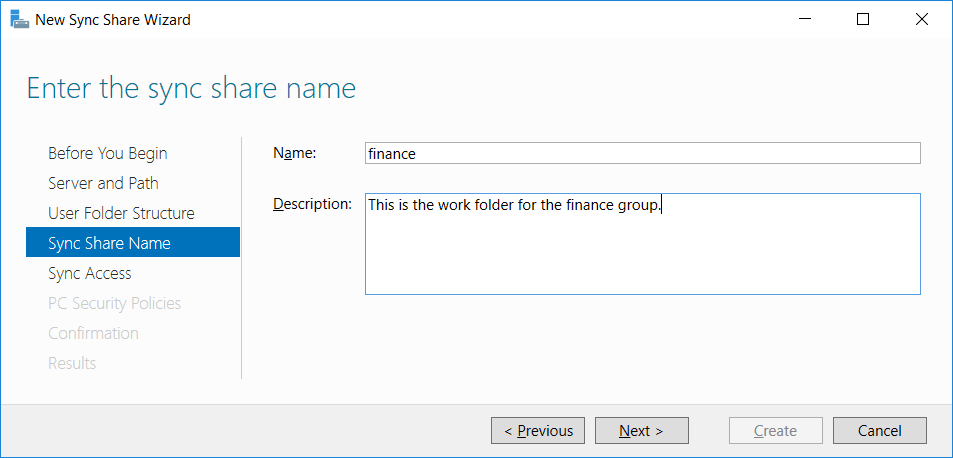
Now we can name the sync share, by default the name field populates with the name of the folder that we selected previously, which we’ll use here.
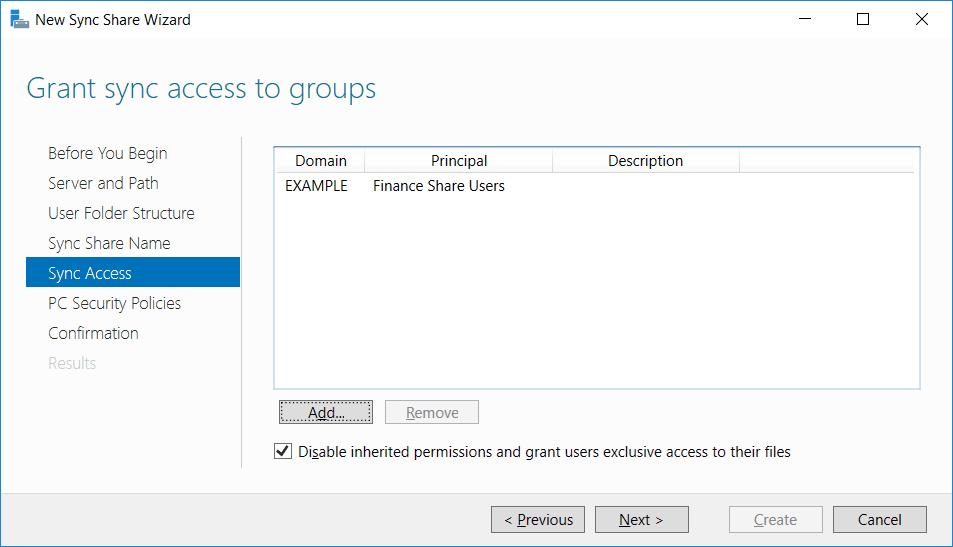
We can now grant sync access to our finance group, simply click the Add button and search for the group in AD. We can see that our “Finance Share Users” group that we created earlier from the EXAMPLE domain has been specified to be allowed access to the finance work folder sync share.
We can now specify our security policies for the work folders on the client. By default the automatically lock screen and require password option is selected. This makes the client system automatically lock the screen after 15 minutes of inactivity and require a minimum six character password to unlock. Accounts will be locked out for 10 minutes after failed login attempts.
We can optionally select to encrypt work folders on the client side, which is recommended as it protects the files in the event that the machine is stolen. If BitLocker is in use however then this may not be as useful.

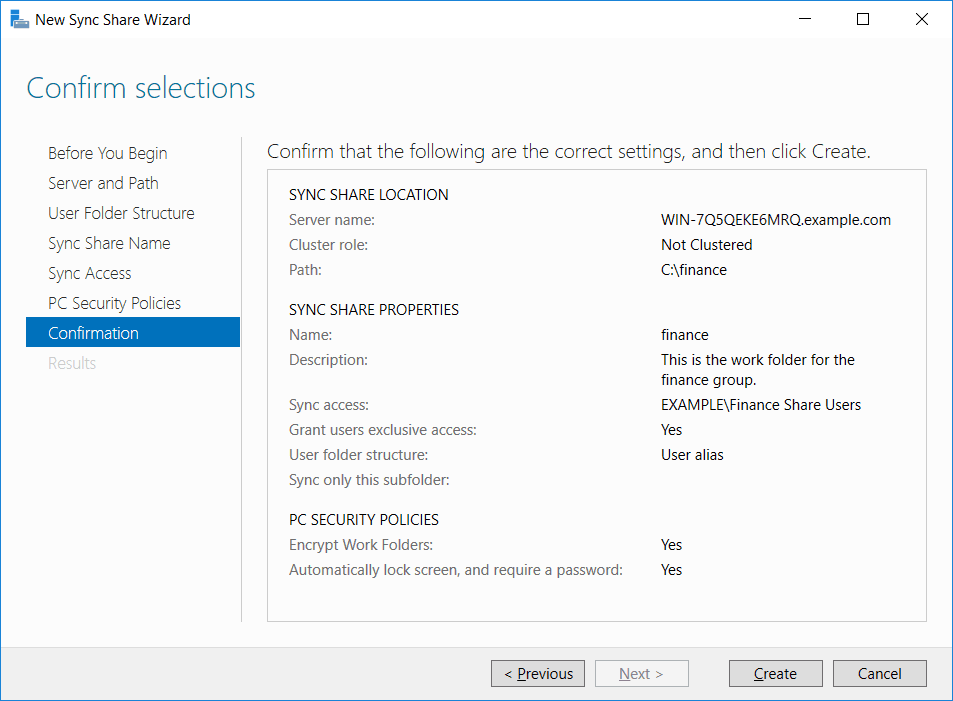
Finally we are presented with a summary of the settings selected, review these and click create to proceed.
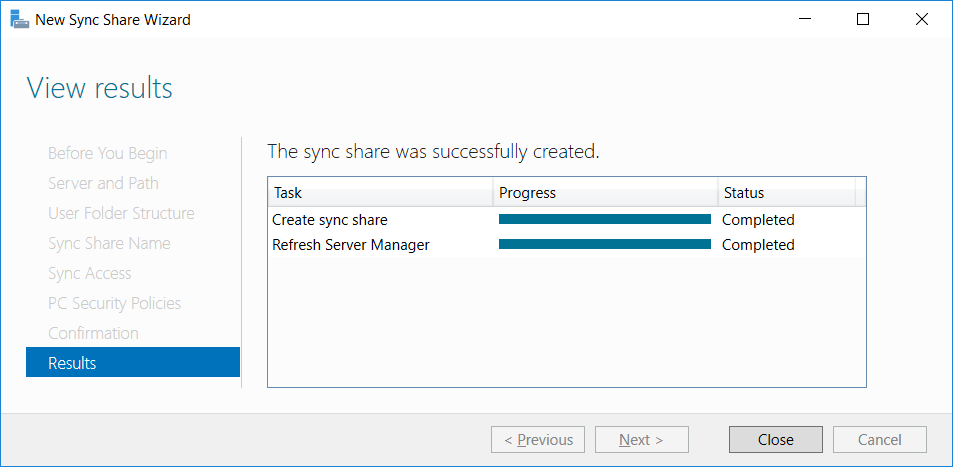
We can see that the file sync share has been created successfully.
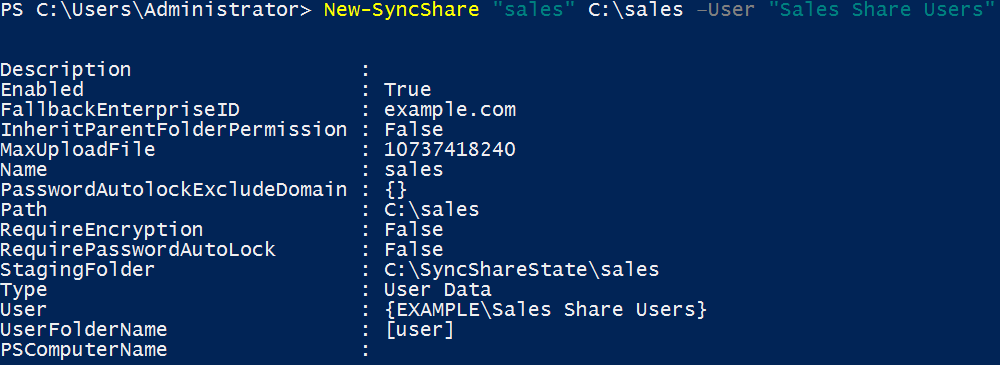
We could have also completed this through PowerShell rather than the GUI using the New-SyncShare cmdlet. While the group specified will already need to exist, the directory specified will be created if it does not already exist.
New-SyncShare "sales" C:\sales –User "Sales Share Users"
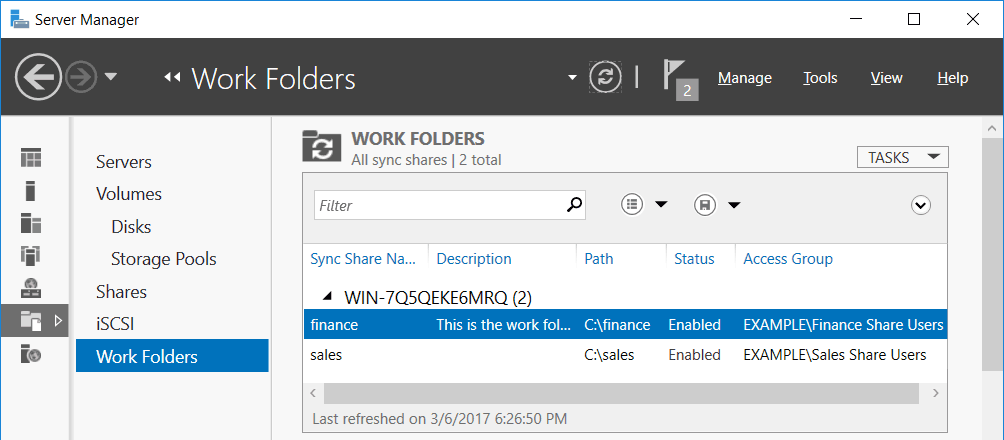
Back in the Work Folders section of Server Manager we can see our sync shares are listed with the details that we specified. The finance sync share was created through the GUI, while the sales sync share was created through PowerShell.
Create Client Work Folders
First we’ll discuss how a client can manually access a work folder, followed by how this can be automatically deployed through group policy.
Manually Configure Work Folders
A user logged into their Windows workstation can setup work folders. Note that the user must be a member of the group that was allowed access to the sync share. In this example, the user we are demonstrating with is a member of the “Finance Share Users” group and will be accessing the finance sync share. The example also takes place in Windows 10.
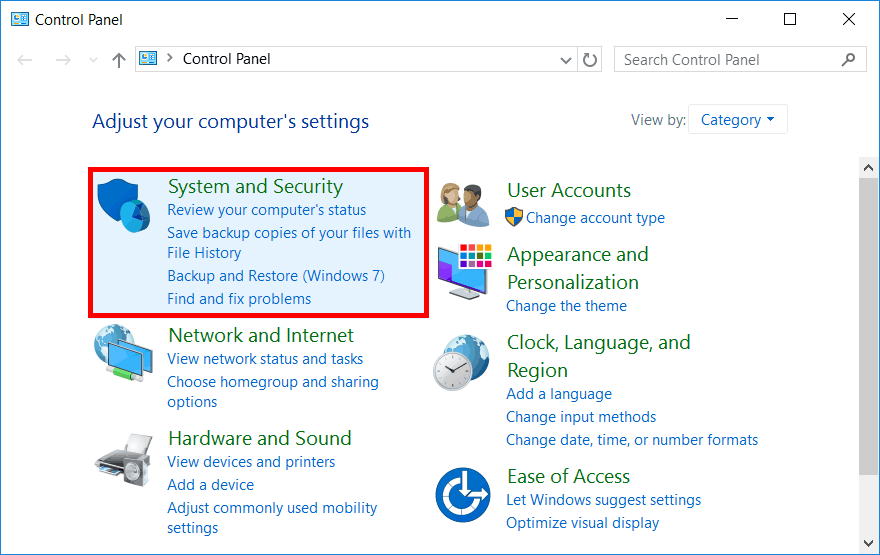
In Control Panel, select System and Security.
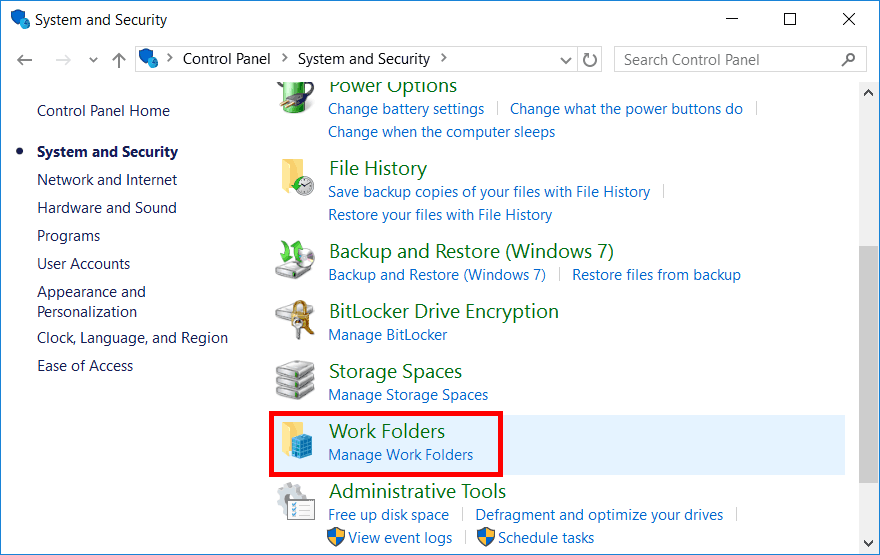
Next select Work Folders, note that this option does not appear on the server OS.
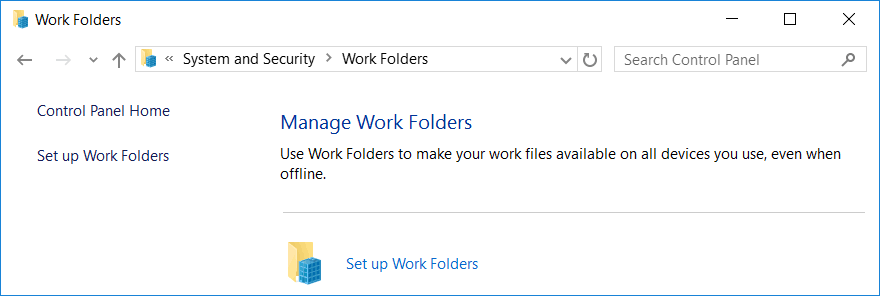
We can now select set up work folders.
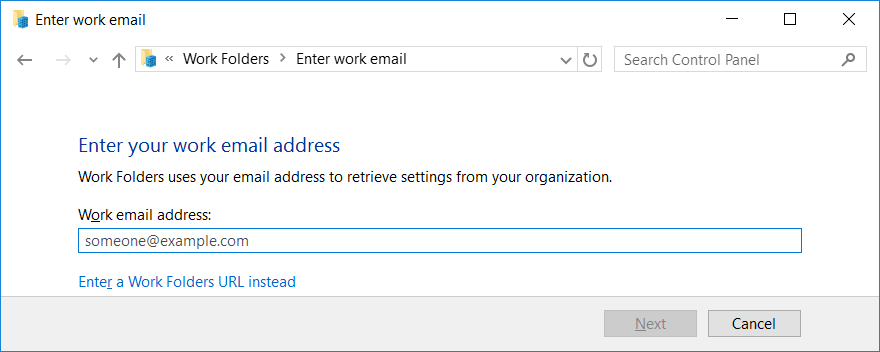
At this point we can either enter our work email address, or instead use a URL.
Once you provide your credentials to login, you can control where the work folder on the local machine will be stored. By default it will be stored in the users profile, however this can be changed. The user will then need to agree to the security policies to proceed.
This stores a copy of the files from the folder on the server, any changes you make to your local copies are synced to the server.
By default clients connect to the file server URL with HTTPS, in a test environment you can configure the client to use HTTP with the registry entry below. In production HTTPS is recommended so that the files being transferred between the client and server are encrypted.
Reg add HKLM\SOFTWARE\Microsoft\Windows\CurrentVersion\WorkFolders /v AllowUnsecureConnection /t REG_DWORD /d 1
Automatically Configure Work Folders
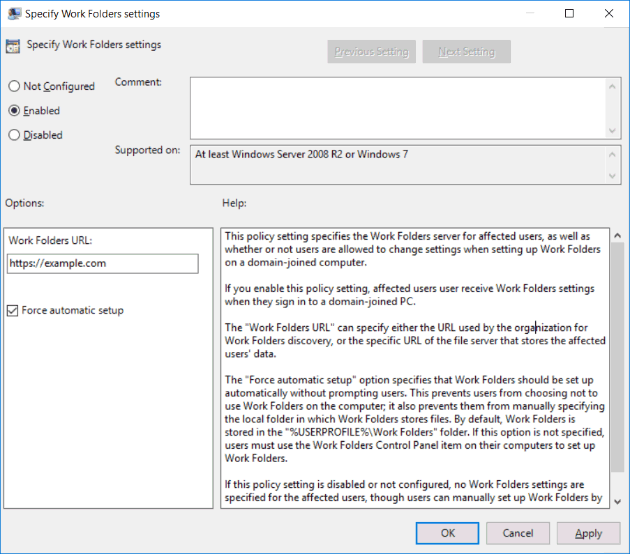
Create a new GPO and edit “Specify Work Folders Settings” from within User Configuration > Policies > Administrative Templates > Windows Components > WorkFolders. This will specify the work folders server URL for user’s that the policy applies to.
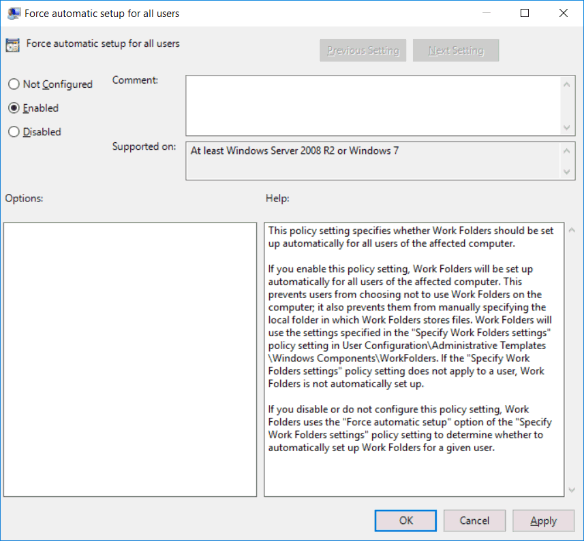
Next we also need to configure the “Force automatic setup for all users” policy from within Computer Configuration > Policies > Administrative Templates > Windows Components > WorkFolders. This will automatically setup Work Folders for all users that access the computer where the policy is applied to.
Both the manual and automatic work folder setup options have created a folder on the client system that is in sync with the folder on the server. By default the client will attempt to synchronize with the server every 10 minutes if there are no changes. If the client system makes a change, it’s synchronized with the server straight away. Additionally if the client makes changes that sync to the server, the server will notify other clients syncing this folder so that they can also update. This allows the user to access any Windows machine with work folders configured so that they can view the same files from the central file server. They can even take the files offline, modify them, and then they will sync with the server later once they are back on the network.
Also note that if the work folders need to be accessible over the Internet, you would also need to create a valid certificate for the file server, and appropriate DNS entries that can be resolved to a public domain.
Summary
We have shown you how to implement work folders in Windows Server 2016 for the file server, and Windows 10 for the client.
Work folders work with existing File Server Resource Manager (FSRM) options, including file quotas to limit how much disk space a user can use, file screening to control the types of files allowed to be stored, and file classification rules to classify files with custom properties.
Work Folders allows users the ability to work from anywhere and from different devices, while allowing system administrators the ability to ensure documents are encrypted on the client devices.
This post is part of our Microsoft 70-744 Securing Windows Server 2016 exam study guide series. For more related posts and information check out our full 70-744 study guide.
will this work with revit?
will this work with revit?