Here we’re going to show you how to install the Internet Information Services (IIS) web server version 10.0 in Microsoft’s Windows Server 2016 operating system.
This can be done both with PowerShell or through the GUI, we’ll cover both methods here.
Install IIS With PowerShell
If you don’t have the GUI installed or just want to use the PowerShell command line interface (CLI) instead, follow these steps. This method is a lot faster than going through all of the GUI options.
- Open PowerShell with administrative privileges and run the Install-WindowsFeature cmdlet as shown below.
Install-WindowsFeature -name Web-Server -IncludeManagementTools
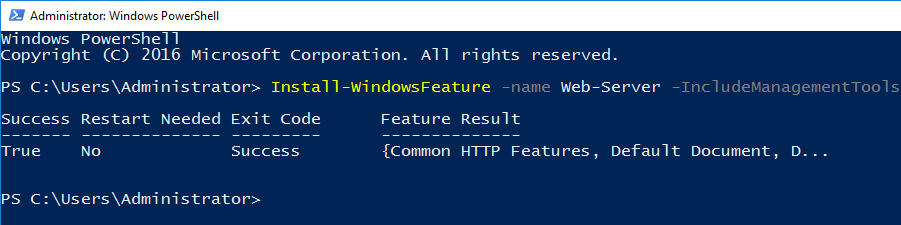
Here we include the management tools so that you can manage IIS on this server, as these are generally installed when using the GUI, making this PowerShell command equivalent with the GUI method below. If you do not plan on managing IIS through this server then you may prefer to not include this option.
- Once the installation has succeeded, you’ll be returned to the PowerShell prompt. At this point IIS should be running on port 80 by default with the firewall rule “World Wide Web Services (HTTP Traffic-In)” enabled in Windows firewall automatically.
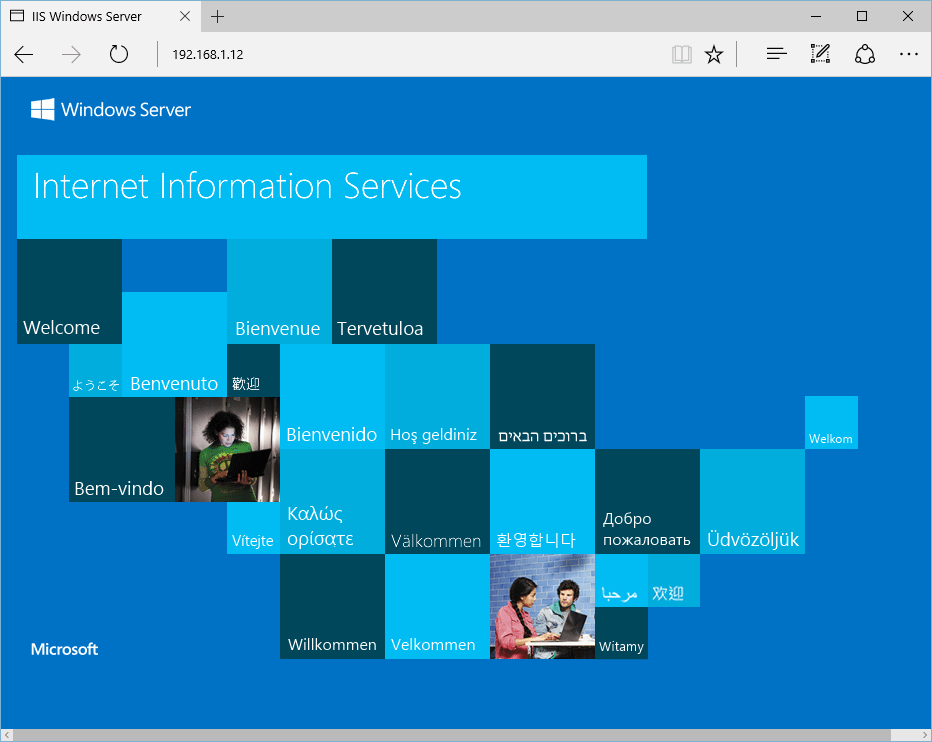
- We can perform a simple test by opening up a web browser and browsing to the server that we have installed IIS on. You should see the default IIS page.
Install IIS Through GUI
If your server has the graphical user interface component installed you can also install IIS by following these steps.
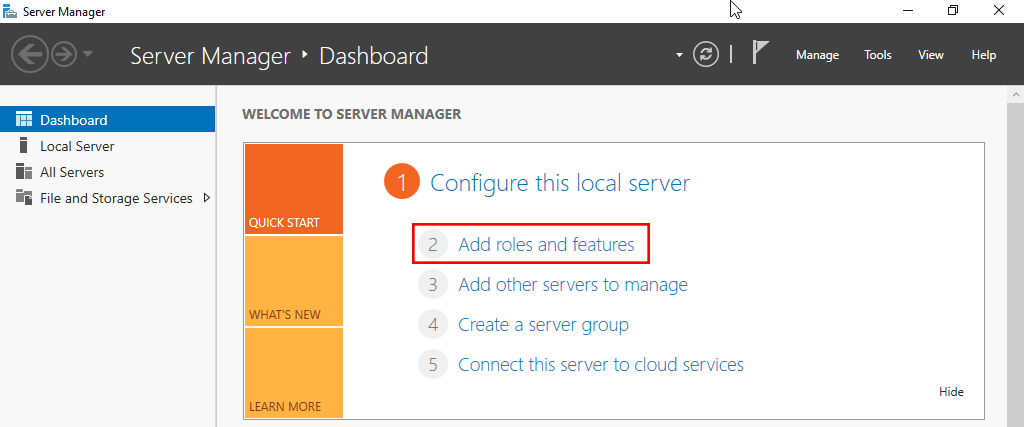
- Open Server Manager, this can be found in the start menu. If it’s not there simply type “Server Manager” with the start menu open and it should be found in the search.

- Click the “Add roles and features” text.
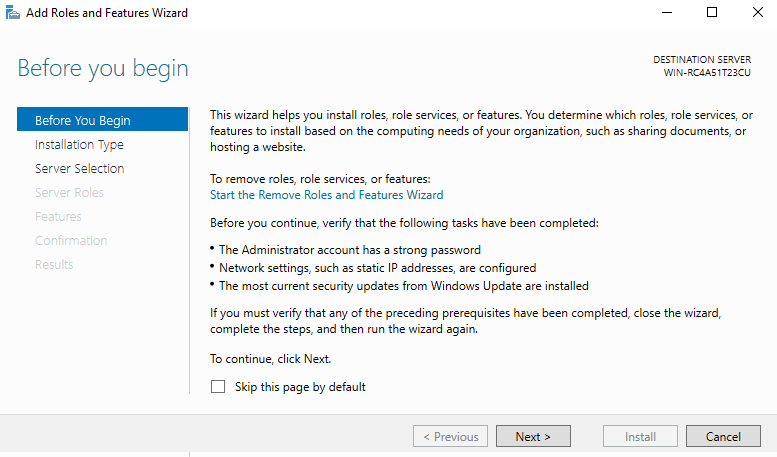
- On the “Before you begin” window, simply click the Next button.
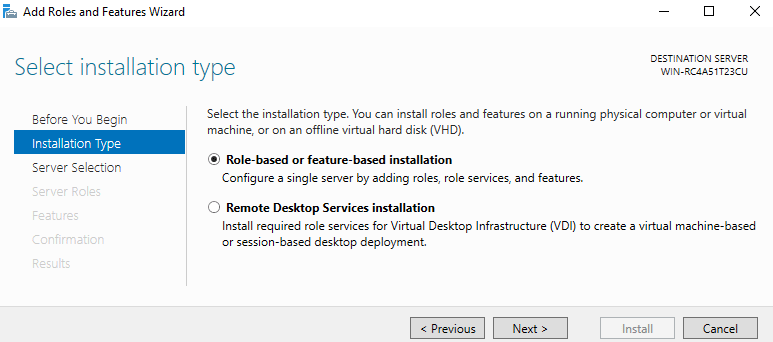
- On the “Select installation type” window, leave “Role-based or feature-based installation” selected and click Next.
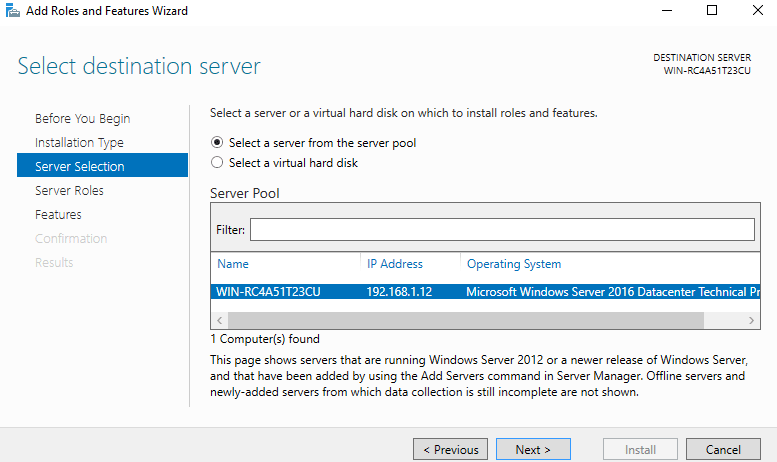
- As we’re installing to our local machine, leave “Select a server from the server pool” with the current machine selected and click Next. Alternatively you can select another server that you are managing from here, or a VHD.
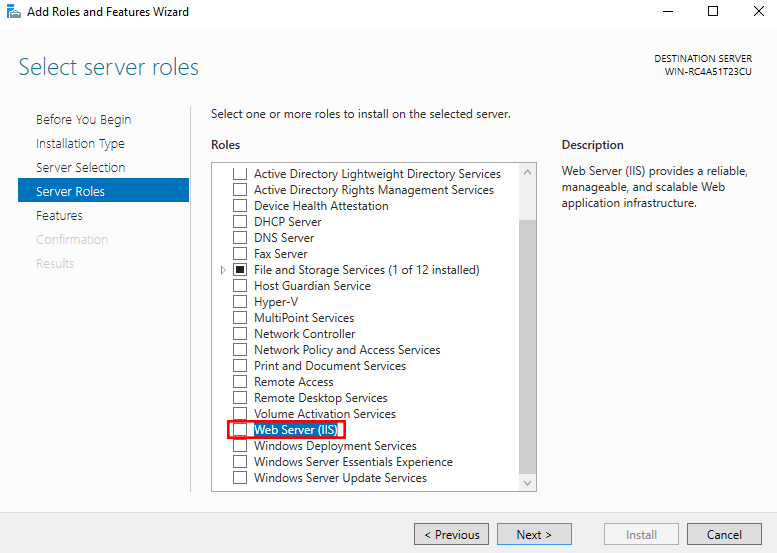
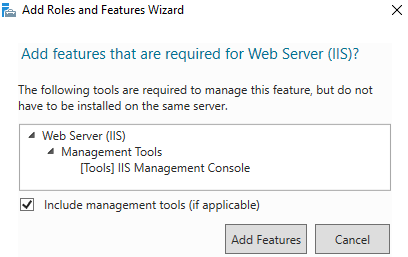
- From the “Select server roles” window, check the box next to “Web Server (IIS)”. Doing this may open up a new window advising that additional features are required, simply click the “Add Features” button to install these as well. Click Next back on the Select server roles menu once this is complete.
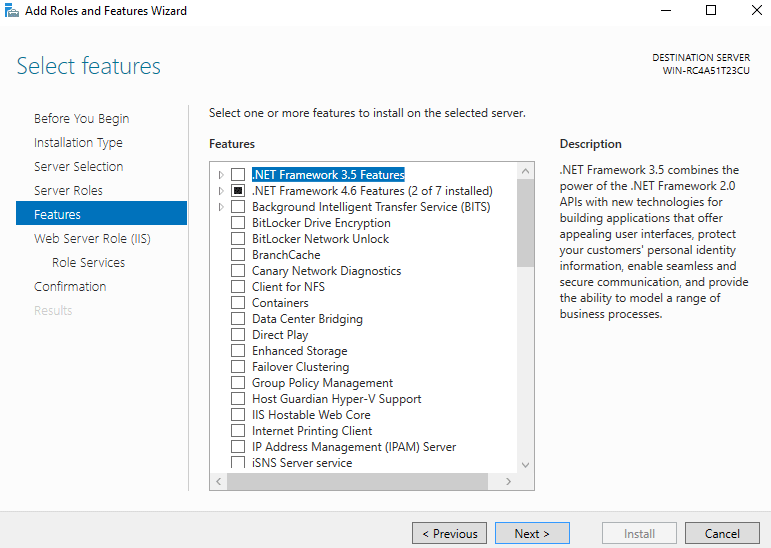
- We will not be installing any additional features at this stage, so simply click Next on the “Select features” window.
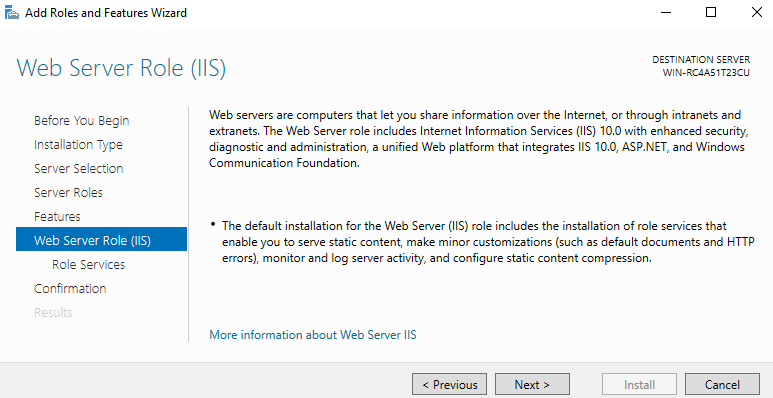
- Click Next on the “Web Server Role (IIS)” window after reading the information provided.
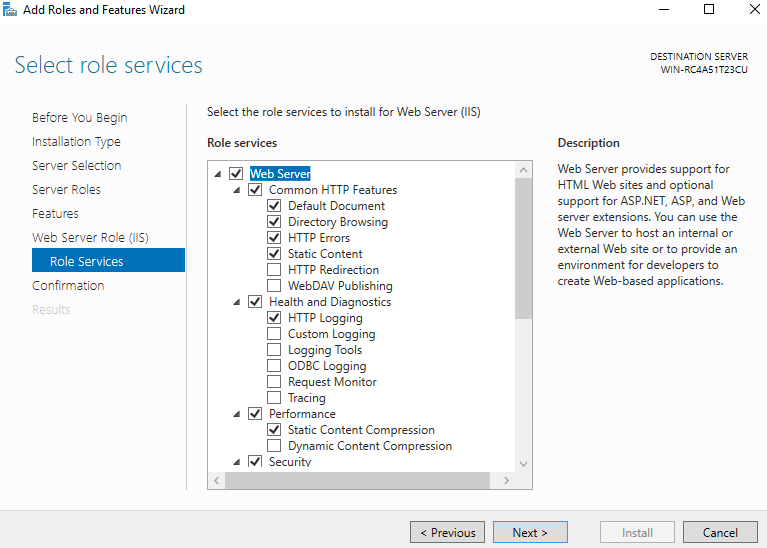
- At this point on the “Select role services” window you can install additional services for IIS if required. You don’t have to worry about this now as you can always come back and add more later, so just click Next for now to install the defaults.
- Finally on the “Confirm installation selections” window , review the items that are to be installed and click Install when you’re ready to proceed with installing the IIS web server.
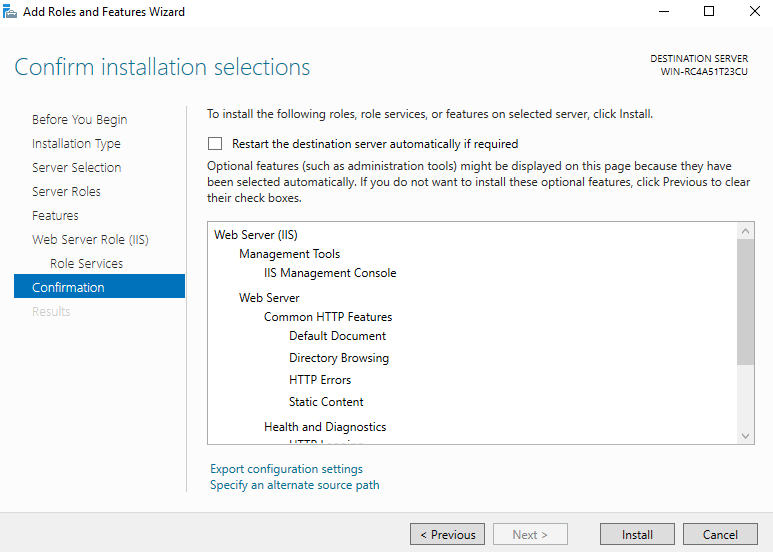
No reboot should be required with a standard IIS installation, however if you remove the role a reboot will be needed.
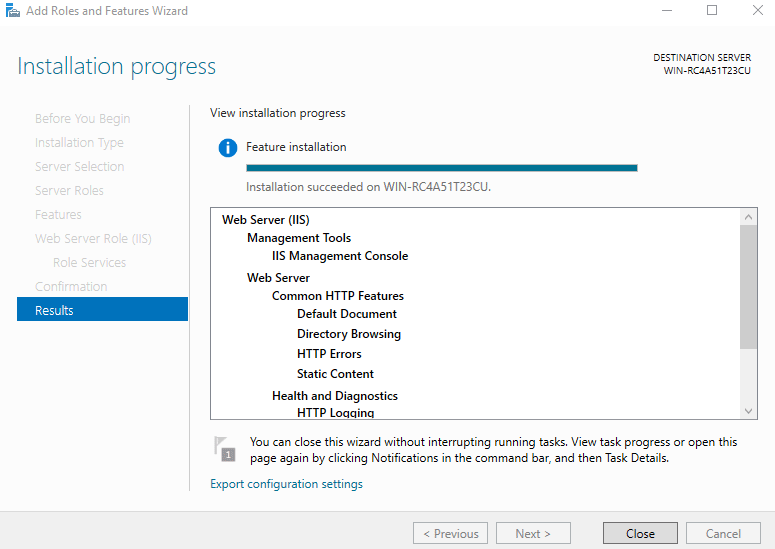
- Once the installation has succeeded, click the close button. At this point IIS should be running on port 80 by default with the firewall rule “World Wide Web Services (HTTP Traffic-In)” enabled in Windows firewall automatically.
- We can perform a simple test by opening up a web browser and browsing to the server that we have installed IIS on. You should see the default IIS page.
As you can hopefully see, it’s quite a lot faster to use PowerShell to perform the same task.
Summary
As shown we can easily install the IIS web server in Windows Server 2016 with both the PowerShell command line or the graphical user interface.
Perfect instructions thank you.
One minor edit. Do not use PowerShell x86.
I was getting some errors in running a script and saw your note not to used PS x86. I switched to ISE and it corrected the problem.
Thank you for making it really simple.
How to check the updates related to IIS in windows server 2016
Sweet thanks for the help
Very helpful. Thank you
Excellent explanation
Hi,
one question:
What can i do if IIS Express is installed, but i need the “real” IIS instead?
I thought it will install the normal IIS, if i go through the guy – unfortunately, instead IIS Express is installed :-(
Regards,
Ralf
Honestly not too sure, is Express needed? You could try uninstall it then add the IIS role, assuming you can’t just add the full IIS role on top of the existing express.
Hi Jarrod,
Thank You for making this visually useful and simple guide ;)
No problem Peter!
Great explanation. Thank you!
As a documentation obsessive, this was great! Appropriate and complete illustrations and each pop-up accounted for with a response. Thanks!
How can I install web IIS features without an internet connection?
Fantastic instructions. Thanks!
Hi, I am trying to ingest IIS logs to ELK for monitoring, when IIS is down for few min need to get an alert.
Could you help me how to achieve this.