This post will show you how to install the telnet client in Microsoft’s Windows Server 2019. I’ll show examples with command prompt, PowerShell, and of course using the graphical user interface.
By default the telnet client in Microsoft’s Windows operating systems is disabled, this is unfortunate as it is an extremely useful tool which can be used for testing TCP connectivity to external hosts on a specified port.
This is great when you’re trying to troubleshoot network connectivity problems, for example, say we have a web server which should be listening on port 80 to serve HTTP traffic but we are not able to load a web page, by using telnet to connect to the web server on port 80 we can verify the connectivity.
It may be that the connectivity is fine but there is a problem with the web server, or that the web server is stopped and the port is not listening at all, for instance. With telnet we can get a better understanding of what’s going on.
Enabling the Telnet Client
Firstly you need to enable the telnet client, if you don’t enable it you’ll get a result similar to the below message when trying to use it.
C:\>telnet google.com 80
'telnet' is not recognized as an internal or external command, operable program or batch file.
C:\>
You can enable the telnet client either by command line or through the graphical interface.
Enabling the telnet client through command prompt
Using the command line is the easiest and fastest way to install the telnet client. Run the below command in command prompt with administrator permissions.
dism /online /Enable-Feature /FeatureName:TelnetClient
That’s it, after a few seconds telnet should be ready to use.
Enabling the telnet client through PowerShell
Again we can also do this instead with PowerShell, we can run the below cmdlet in a PowerShell console with administrator permissions which will install the telnet client.
Install-WindowsFeature -name Telnet-Client
Once complete, you should see the following output returned:
Success Restart Needed Exit Code      Feature Result
------- -------------- ---------      --------------
True    No             Success        {Telnet Client}
Enabling the telnet client through the graphical user interface
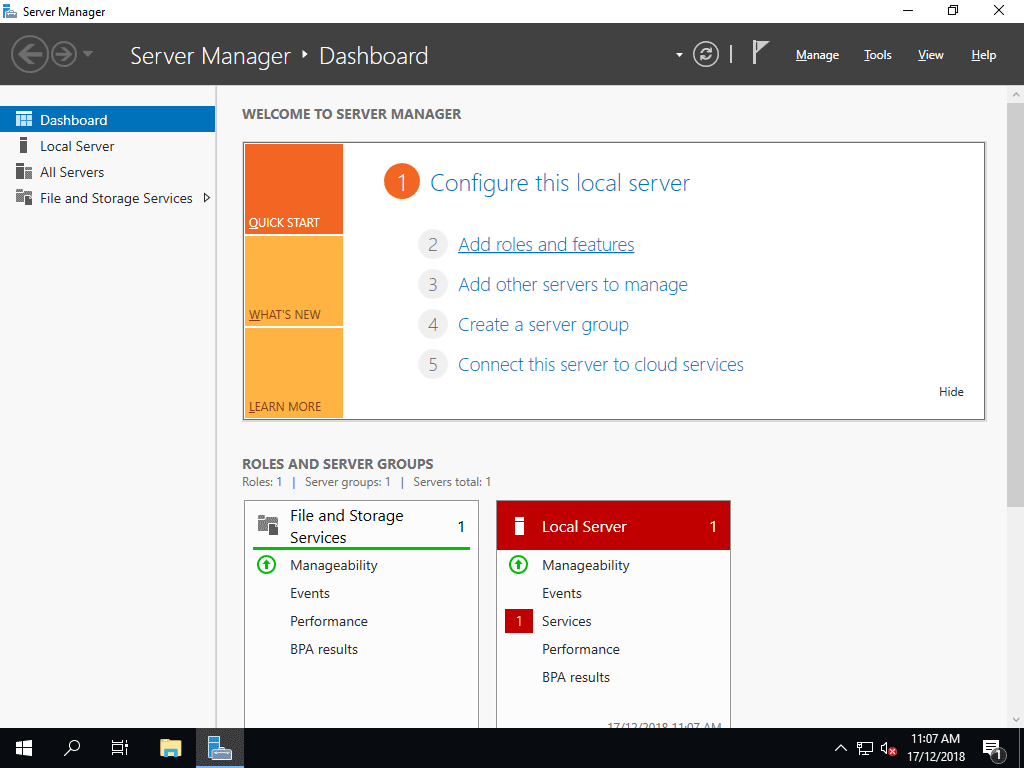
- Open Server Manager.
- From Server Manager click “Add roles and features”.
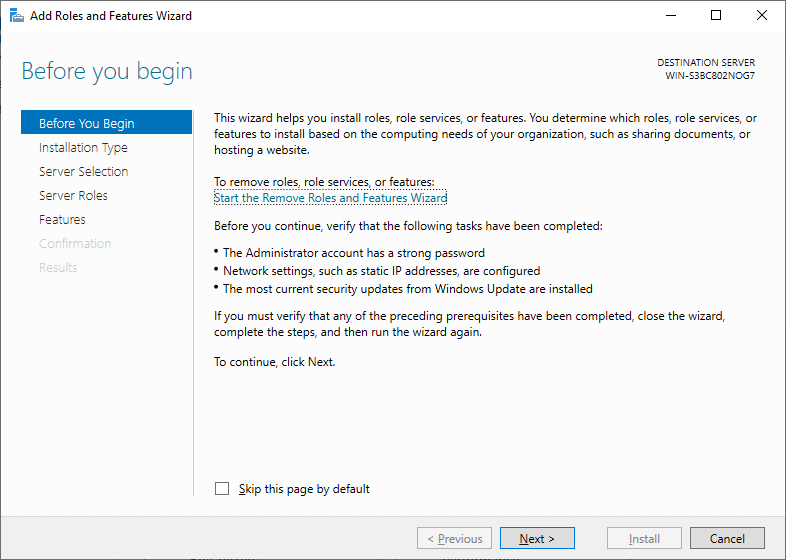
- The Add Roles and Features Wizard opens to the Before you Begin screen, click next.
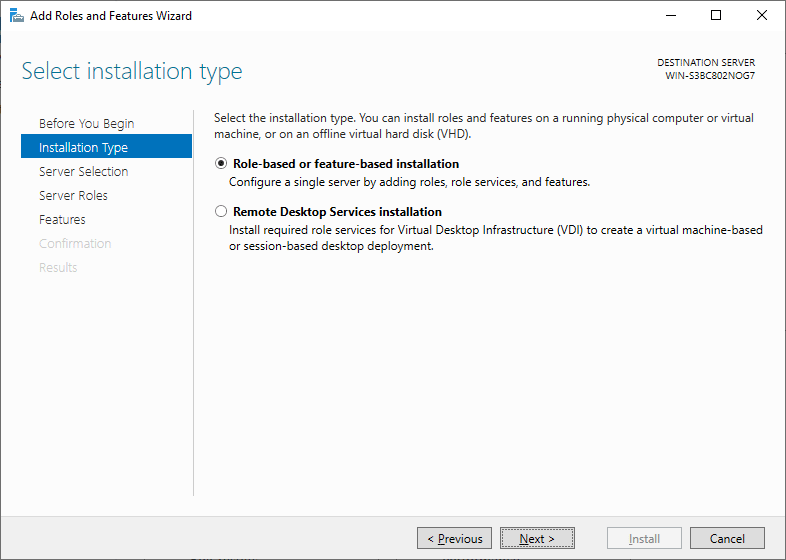
- On the Installation Type screen, leave Role-based or Feature-based installation selected and click next.
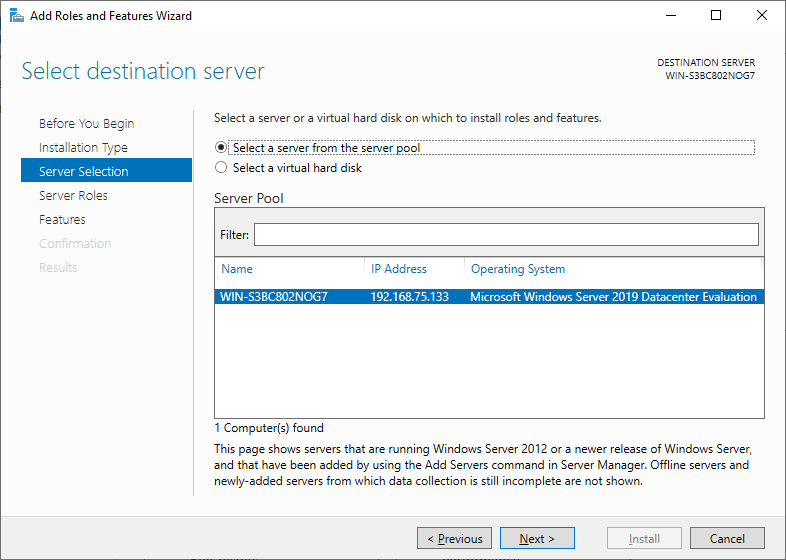
- On the server selection screen, select the server to install on. By default it should be the local server itself, click next.
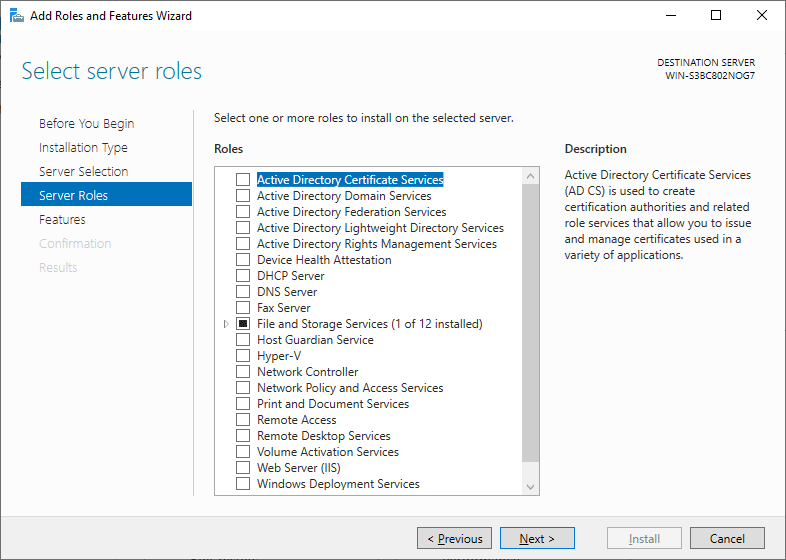
- On the Server Roles screen, click next. We are installing a feature rather than a role so don’t select anything here.
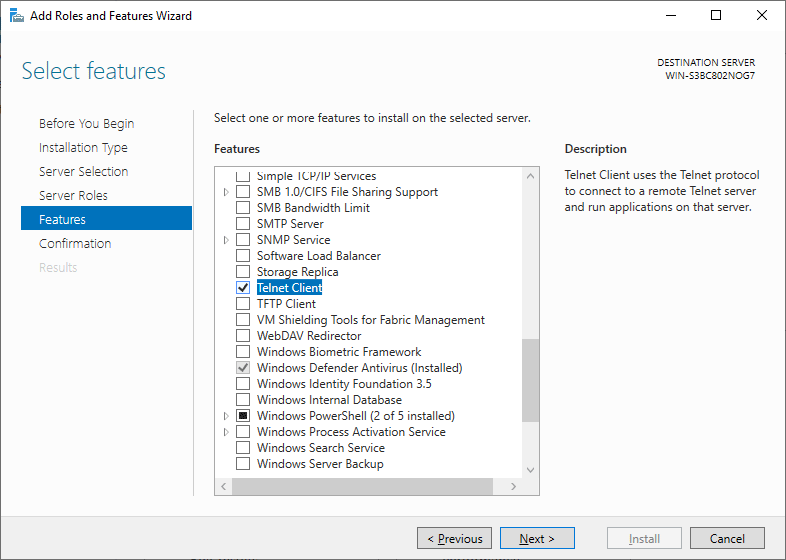
- On the Features screen, tick the check box next to Telnet Client.
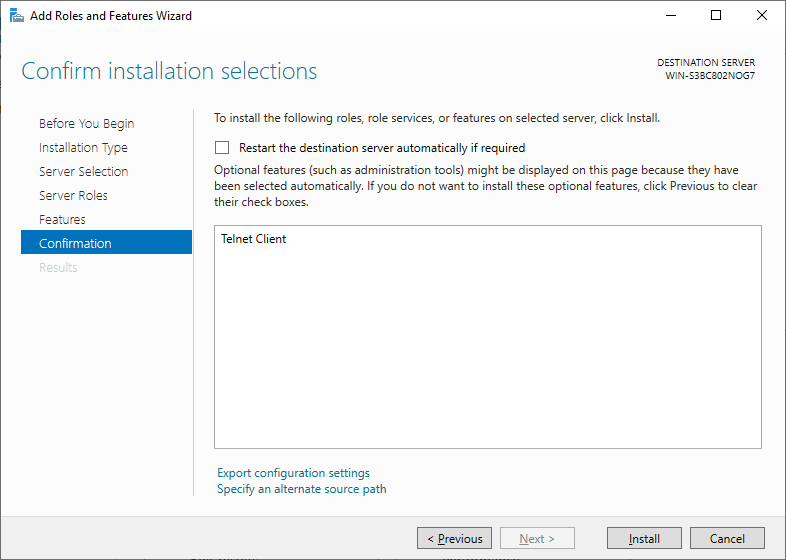
- On the Confirmation screen, click Install.
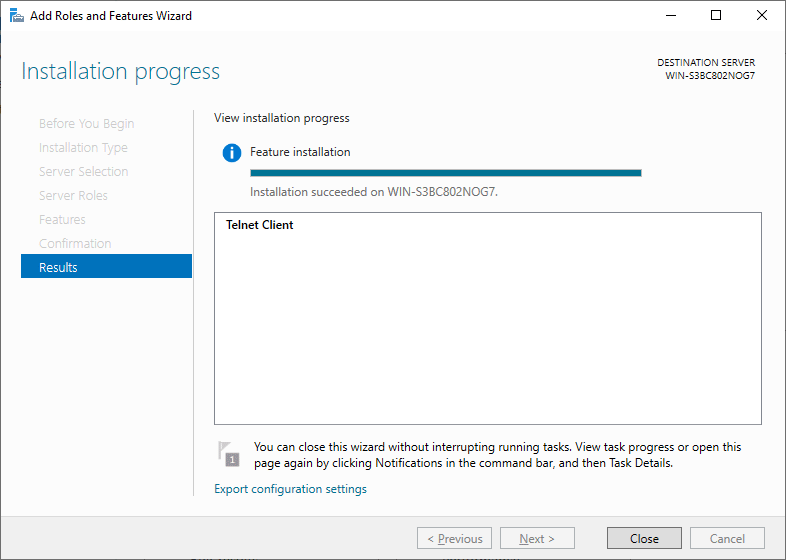
- Once the installation succeeds, click the Close button. The telnet client is now installed and ready for use.
Verifying that the telnet client is enabled
Simply open command prompt or powershell, type ‘telnet’ and press enter. If this was successful you should have a prompt similar to the below:
Welcome to Microsoft Telnet Client

Escape Character is 'CTRL+]'

Microsoft Telnet>
This confirms that you have successfully turned on and enabled the telnet client in Windows Server 2019.
Already have telnet installed but still failing?
In some cases you must run command prompt or powershell as administrator in order to issue the telnet command, otherwise it will give the same error as if it was not enabled at all.
Summary
Now that you have installed telnet in Windows Server 2019 you should be able to start issuing commands with it and using it to troubleshoot TCP connectivity problems.
Great thanks!
Thanks for sharing this blog, which help me to fix my issue.
Great job!!!