We can create and configure Central Access Rules and policies that are automatically deployed to all file servers in our Active Directory based domain.
Central Access Rules (CARs) are used to control access to files and folders based on the resource properties that we have created.
The central access rule uses the user and device claims with resource properties to determine the permissions that should be set on particular files.
Check out our guide on create and configure resource properties and lists and configure user and device claim types for further information on these topics.
This post is part of our Microsoft 70-744 Securing Windows Server 2016 exam study guide series. For more related posts and information check out our full 70-744 study guide.
Central Access Rules
A central access rule is used to select folders and files that have been classified and have access control lists applied, and then selects the users that are authorized based on the claim types. The central access rules are deployed to file servers as central access policies via group policy.
Create and Configure Central Access Rules
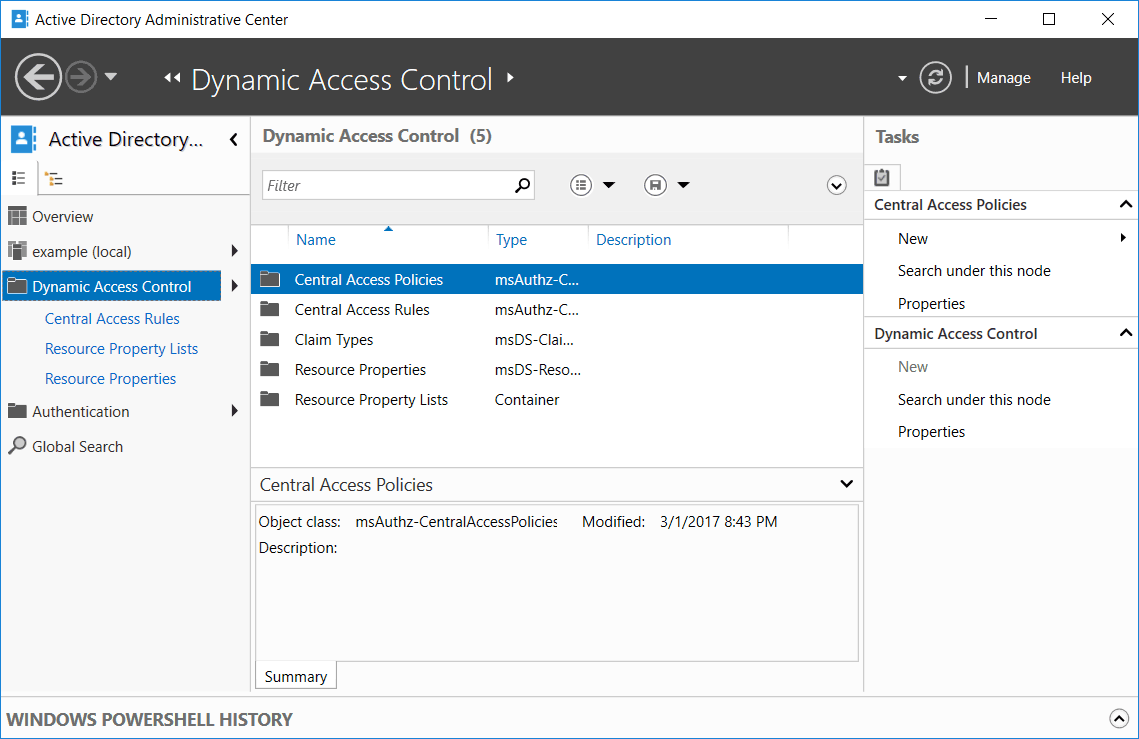
First open Active Directory Administrative Center (ADAC). This can be done through Server Manager > Tools > Active Directory Administrative Center, or by simply typing ‘dsac’ into PowerShell. Select Dynamic Access Control from the menu on the left, followed by Central Access Rules.
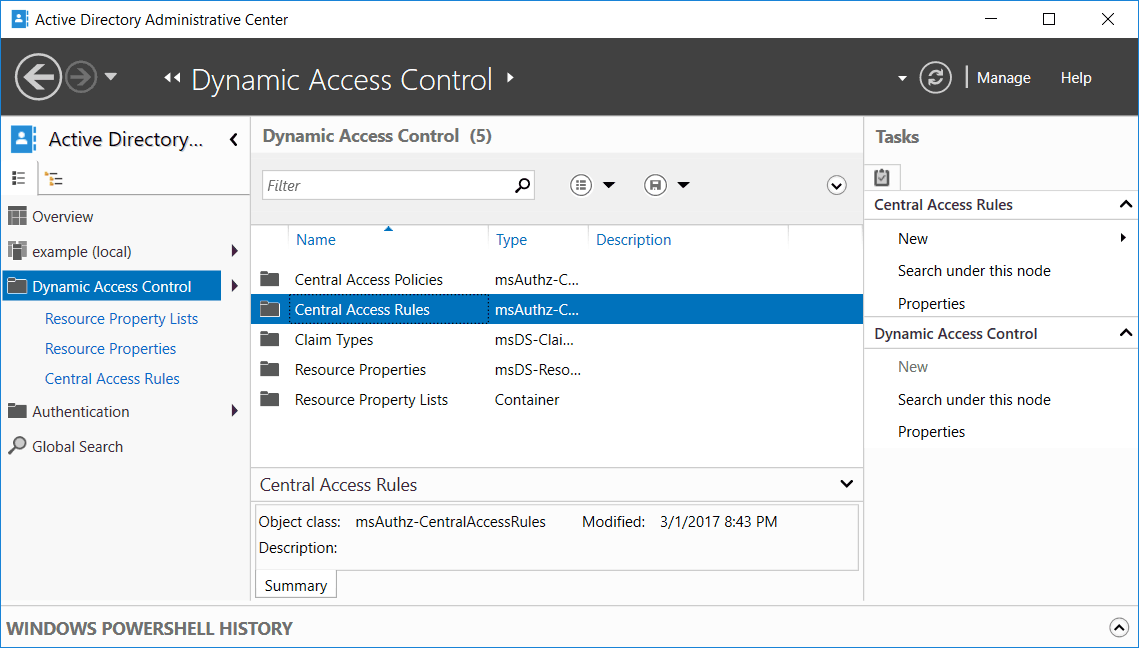
Double click Central Access Rules to enter it, by default there are no rules displayed as we have not yet created any. From the menu on the right, select New > Central Access Rule. This opens the Create Central Access Rule window as shown below.
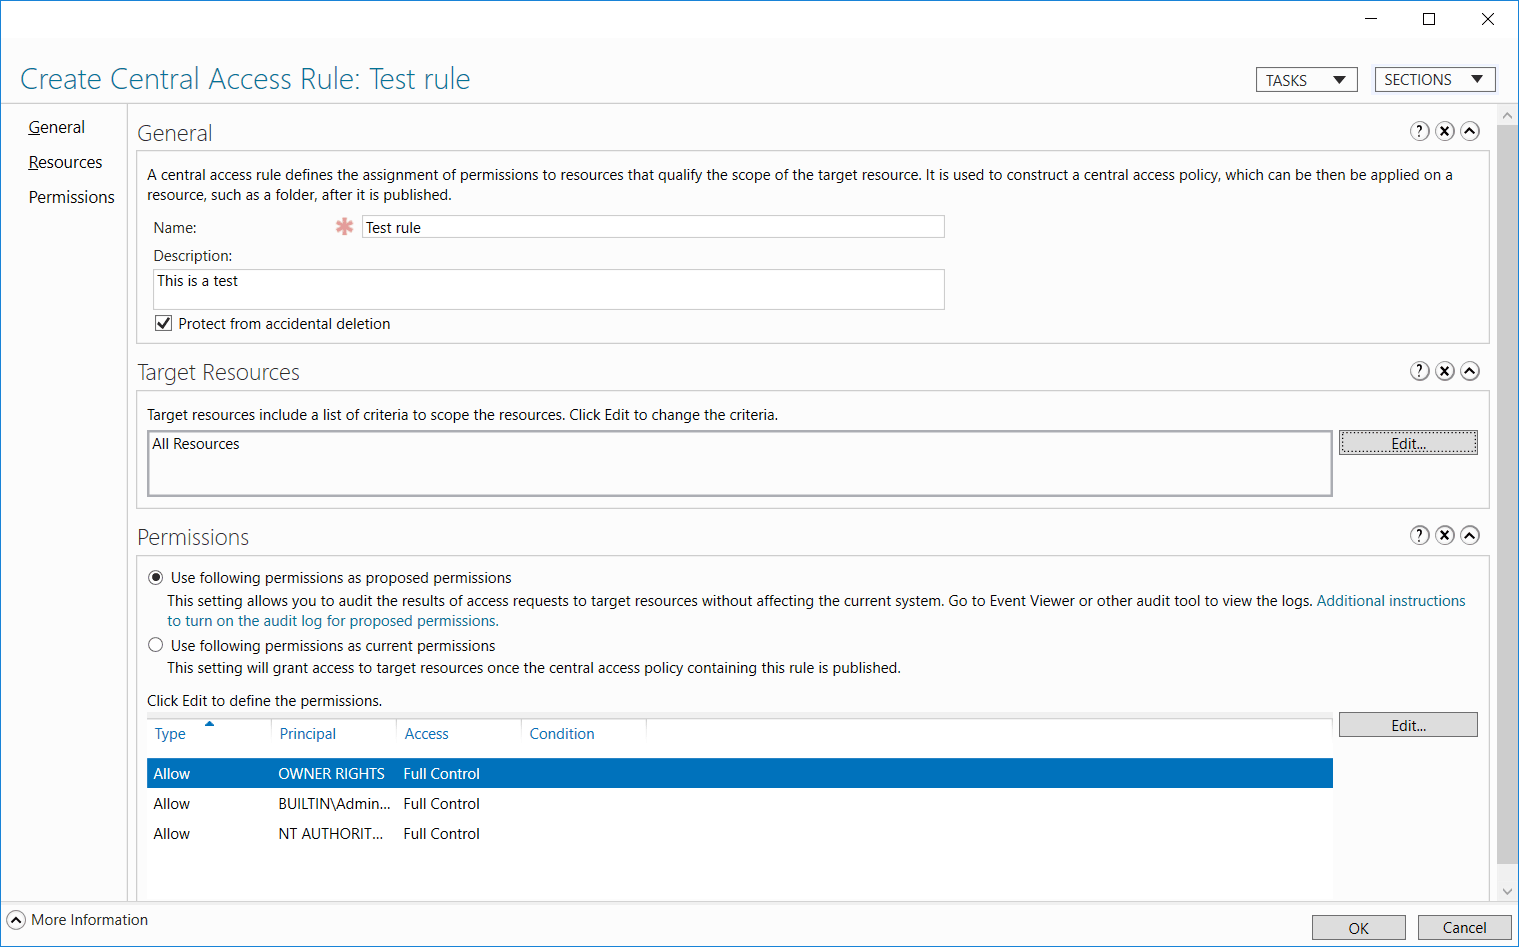
We must give the rule a name, and optionally a description. By default the target resources lists all resources. We can click the edit button to the right of this to create a custom condition.

Select the “Add a condition” text. We can now create a condition here. If you saw our previous Create and Configure Resource Properties and Lists post, we created a resource property called City with some suggested values. We can see here that this resource is selected and we can select from the values that we defined when creating the resource property.
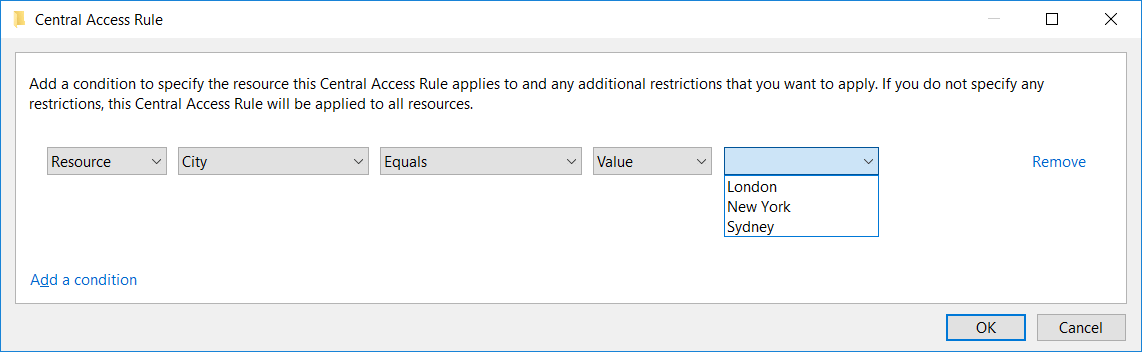
We can then add more conditions if needed, and apply either the ‘and’ or ‘or’ option to use them together, select OK to apply the target resource when done.

Back on the Create Central Access Rule window we can define permissions that users or groups that match this rule should get. We can select proposed permissions which allows us to audit the results without affecting the current system, or otherwise use the defined permissions as current permissions.
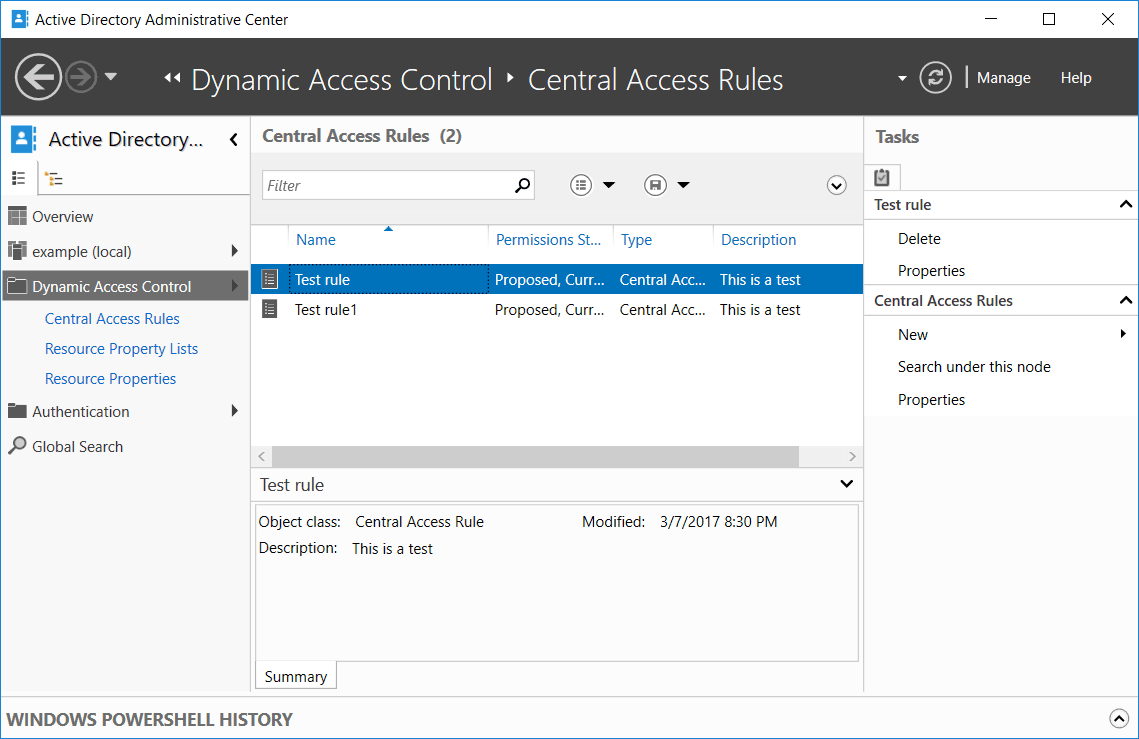
Finally click OK to create the Central Access Rule, we should now see our rule in ADAC.
Create and Configure Central Access Policies
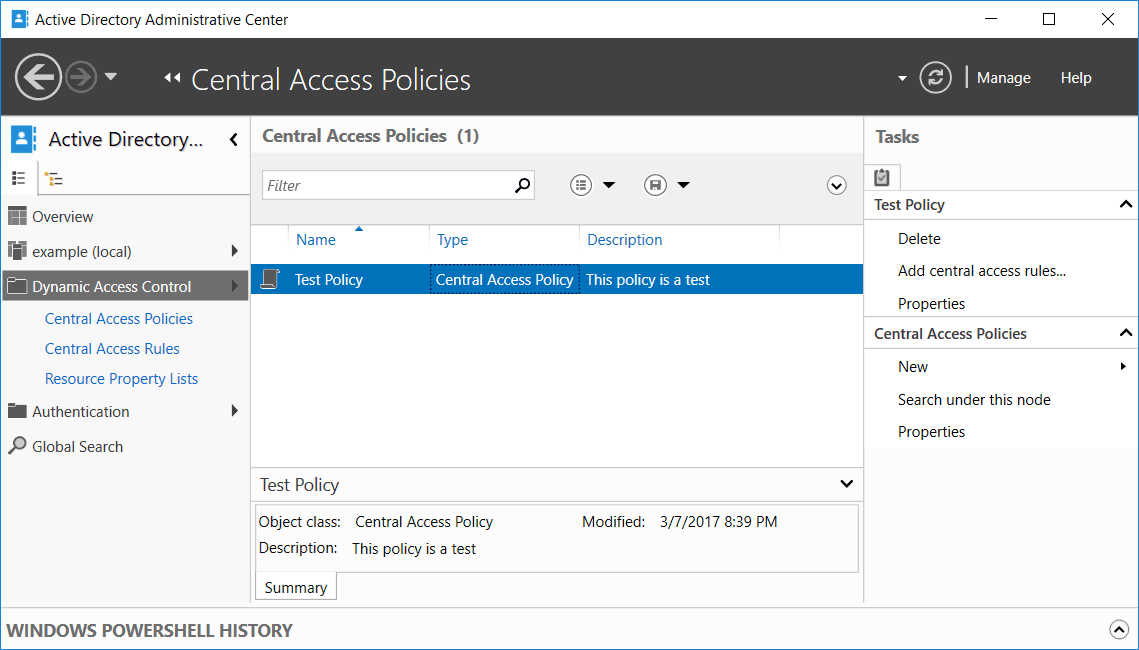
Now that we have a Central Access Rule created, we can package it in a Central Access Policy (CAP). Still in ADAC through Dynamic Access Control, select Central Access Policies.
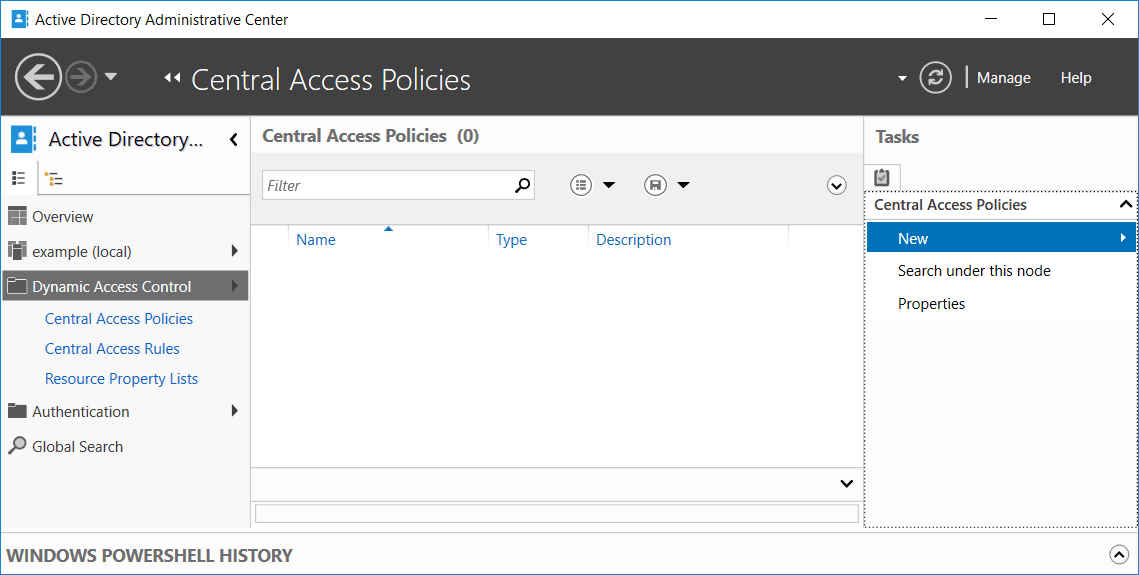
If we double click Central Access Policies we’ll see that there are not currently any created by default. We’ll make a new one by selecting New from the menu on the right, followed by Central Access Policy.
In the Create Central Access Policy window, give the policy a name and optional description.
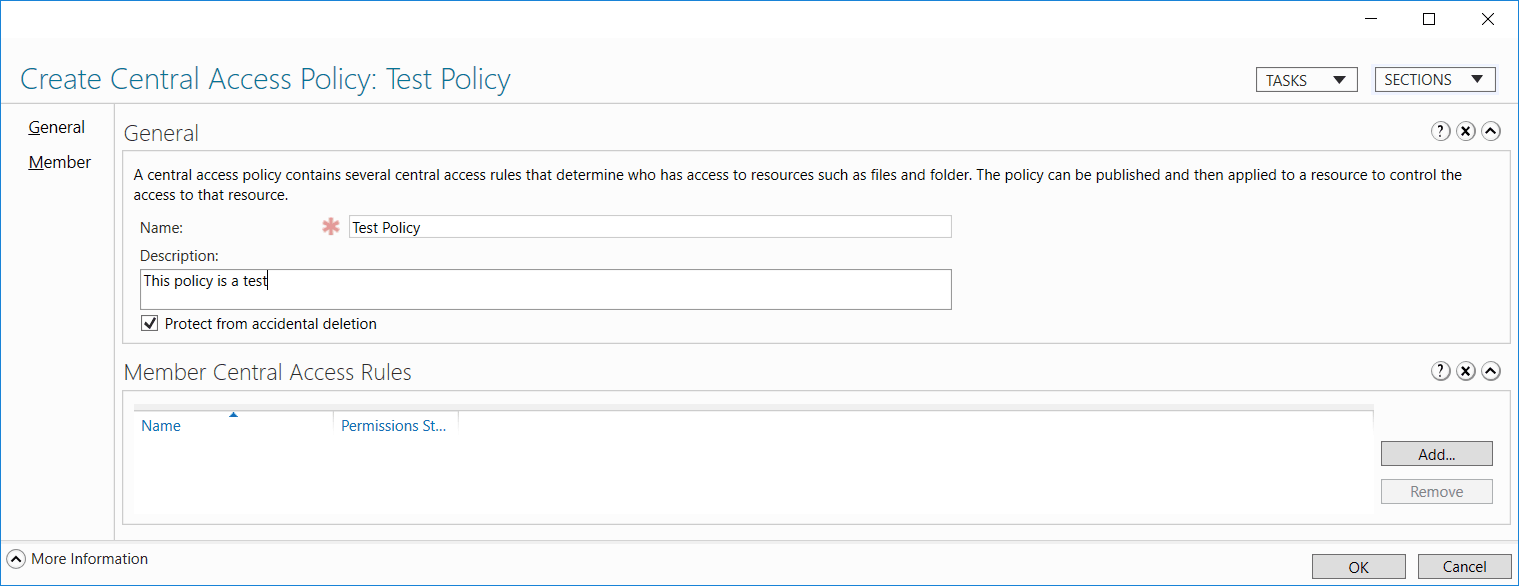
Under Member Central Access Rules, click the Add button. We can then select from the central access rules that we have previously created and add one or more to the policy.
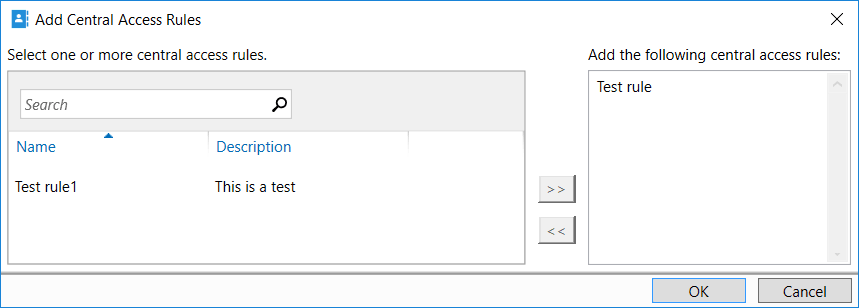
Select OK to add the rule, then OK again to create the policy. We should now see the policy under Central Access Policies.
Using Central Access Policies
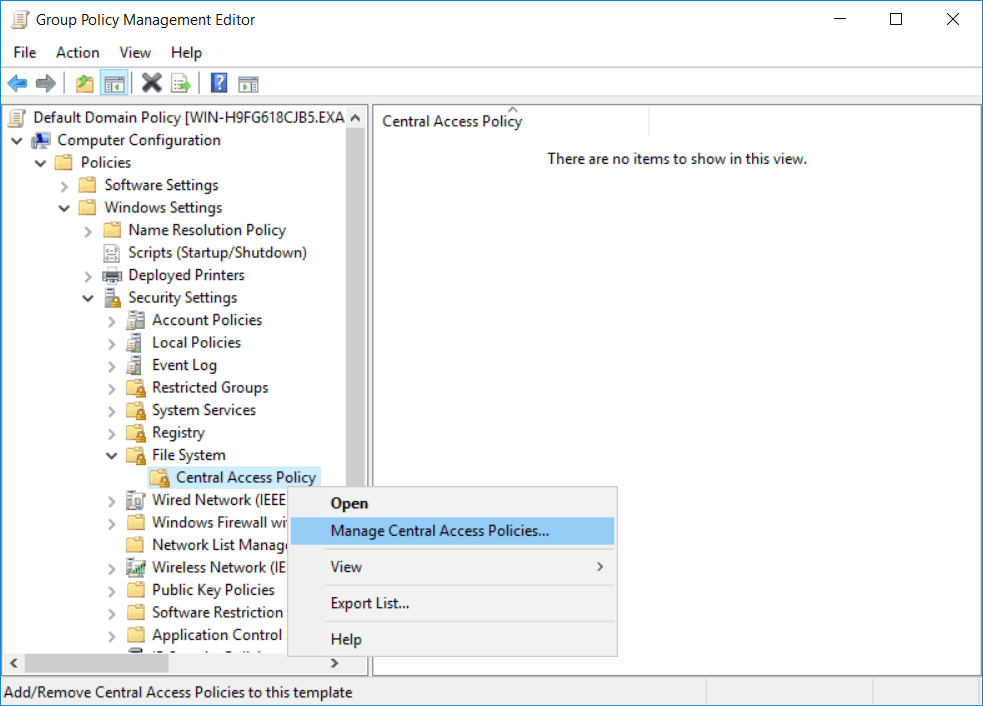
The policy is now ready to deploy. As Central Access Policies are stored in Active Directory, we can deploy them to the domain with the help of group policy. To do this, either create or edit an existing group policy object (GPO).
We then go to Computer Configuration > Policies > Windows Settings > Security Settings > File System > Central Access Policy. From within here, right click Central Access Policy and select “Manage Central Access Policies”.
This will open the Central Access Policies Configuration, as shown below our test policy initially shows on the left under available central access policies, we simply click the “Add >” button to move it over to applicable central access policies section, then click OK to save the changes to the GPO.
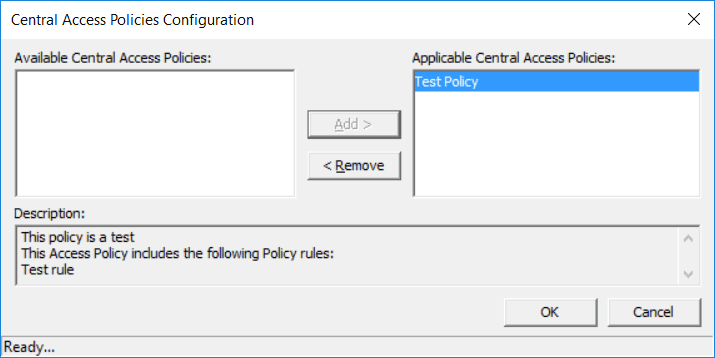
Now where ever we apply this GPO to the Central Access Policy will be available to the file servers there.
Summary
With the help of ADAC and group policy we can create and configure central access rules and policies to deploy to all file servers within our domain.
This post is part of our Microsoft 70-744 Securing Windows Server 2016 exam study guide series. For more related posts and information check out our full 70-744 study guide.
0 Comments.