We can configure file screens with File Server Resource Manager (FSRM) in Windows Server 2016 to restrict users from saving defined file types to the file share. For example, we can configure file screening to deny users from saving large video files on the file server.
In this example we’ll show you how to configure file screens in Windows Server 2016, however the steps are very similar to older versions of the Windows operating system.
To use this feature you must first install the FSRM role.
This post is part of our Microsoft 70-744 Securing Windows Server 2016 exam study guide series. For more related posts and information check out our full 70-744 study guide.
About File Screens
To configure a file screen we need to pick the types of files that we wish to screen and then choose how we want to deal with them. The limitation here is that if a user can edit the file extension or name to something else, the file may not correctly be screened as the content of the file itself is not checked.
A file screen is made up of a file screen template, which contains a file group.
Configure File Screens
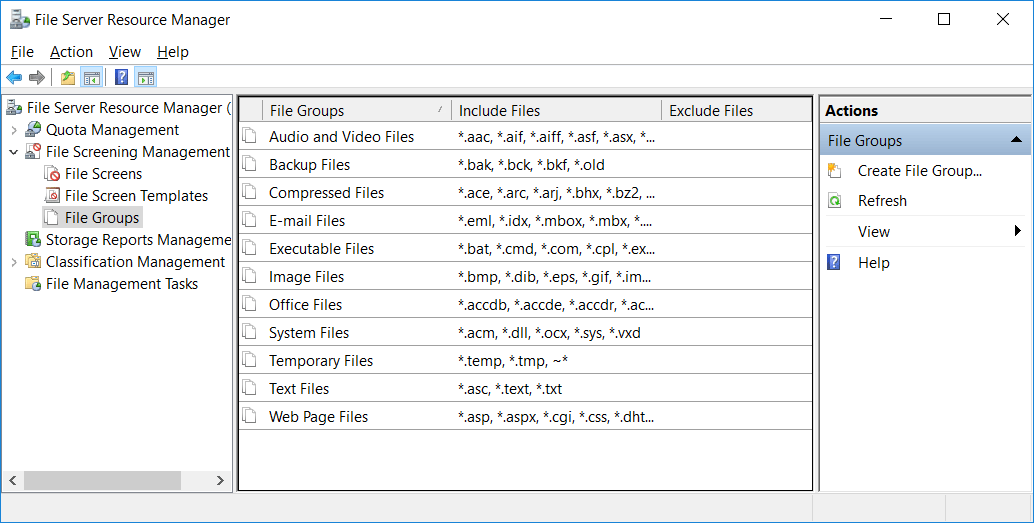
Now that we understand what file screens can do, let’s take a look at configuring some examples. From Server Manager, select Tools > File Server Resource Manager.
File Groups
As file screens work based on file extensions, we must first define the file extensions that we want to block. If we look in the file groups section under File Screening Management we can see the default groups of file extensions that are ready to use.
We can double click any of the existing file groups to see the file extensions that are included. In the below example we can see the text files group will screen out any files with the .asc, .text, or .txt extension.
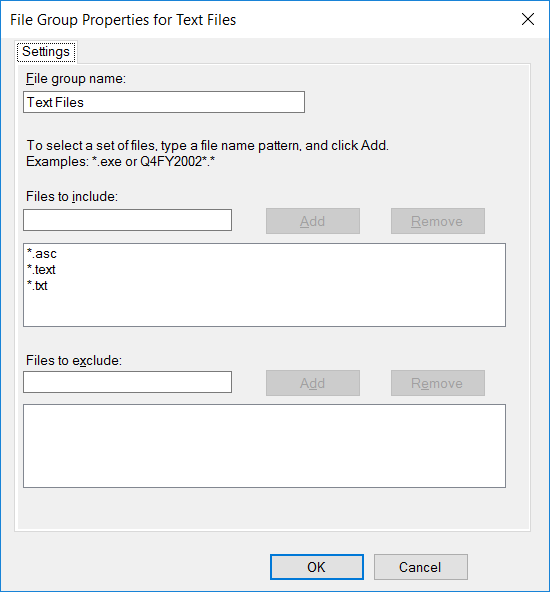
The * before the extension is a wildcard, meaning that any file name with these extensions can be screened. Files can also be allowed or denied based on the contents of the file name itself, not only the extension. We can also optionally add in file extensions or parts of the file name that we wish to exclude from the file screen. Exclusions are useful if a file screen has been applied at a higher level, this way the exclusions can remove file screens inherited from the higher level to the folder the exclusions are set on.
File Screen Templates
Before creating the file screen itself we must first create a file screen template. We can see that there are some existing default file screen templates that can be used or modified.
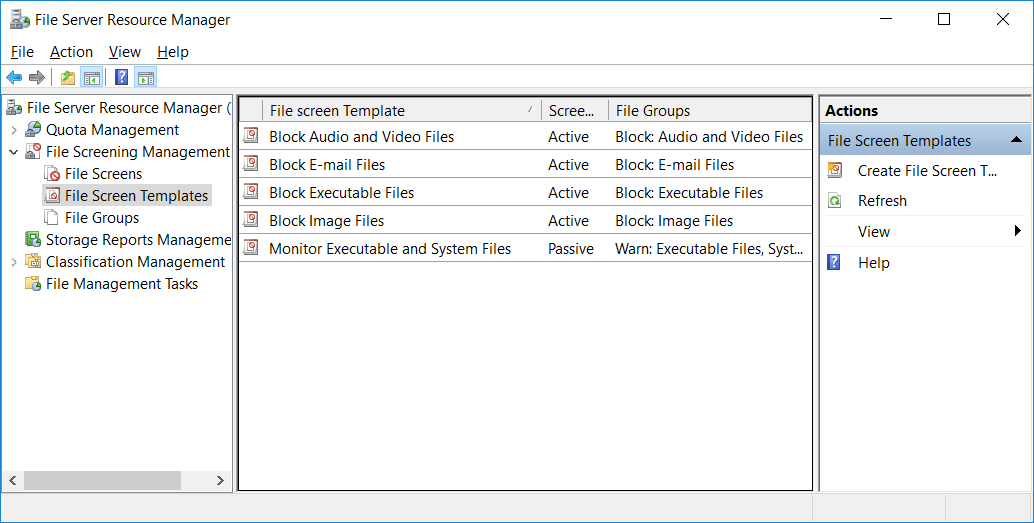
In this example we’ll create a new file screen template, as shown below.
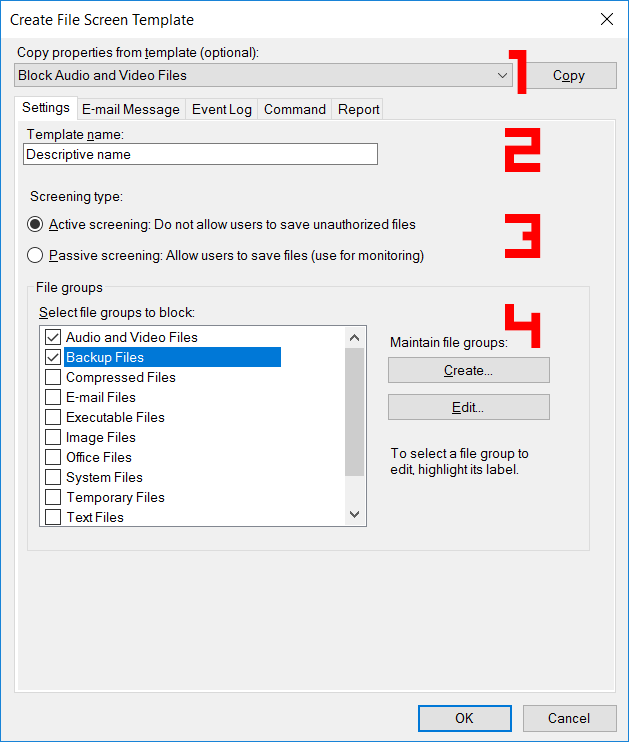
Now let’s look at the settings available in the file screen template.
- At the top of the Create File Screen Template window we can optionally select an existing file screen template to use as a baseline. Simply select one from the drop down and click copy, the settings from that template will then be imported here and you will not have to create everything from scratch.
- Next we can set a name for the template.
- Following the name we can set the screening type as active or passive. Active screening does not allow users to save unauthorized files specified in the selected file group, while passive screening does allow this but the activity is logged.
- Finally we can select the file groups that this template should block, you can select as many as you want and if you click the create button you’ll be presented with the same window that we saw above when creating our file group, so you can instead create the file group completely through here.
Other than the settings, there are also tabs for configuring email, event logs, commands to run, and reports in the create file screen template.
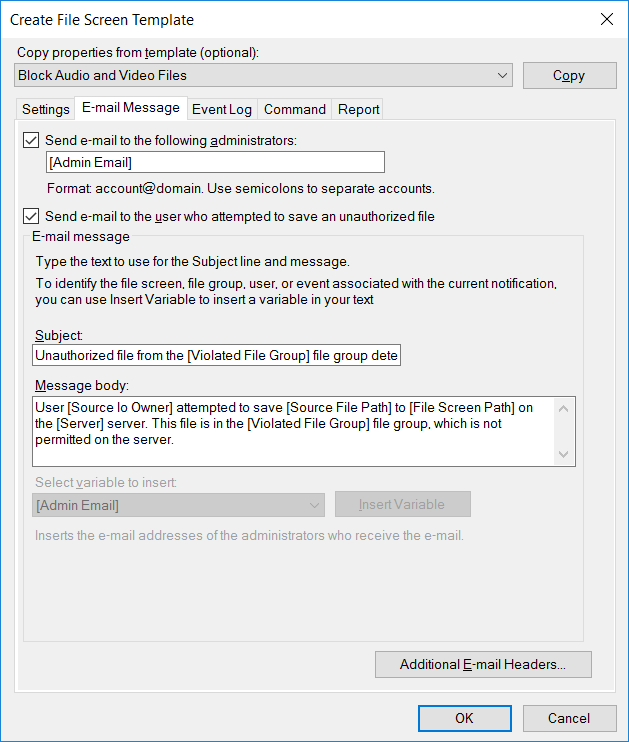
Under the E-mail Message tab we can configure an email notification to be sent to either administrators or the user who attempted to save an unauthorized file every time this happens. This could be useful to advise a user why they are not able to save a file, as the message body can be customized.
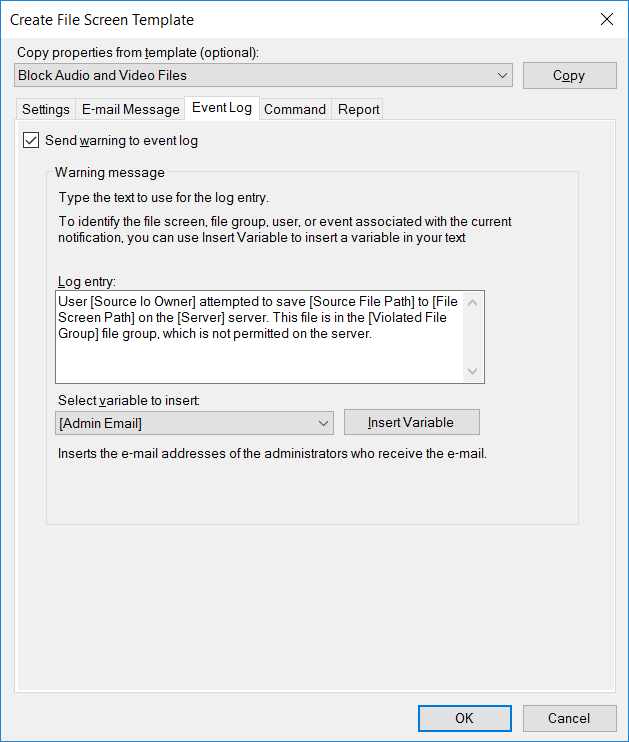
Under the Event Log tab we can configure an event to be logged when a user tries to save an unauthorized file. The log message can be customized with various useful variables available from the drop down menu which can be inserted into the message body. This option may be useful if you have monitoring on log files and want to create an alert when this sort of event happens.
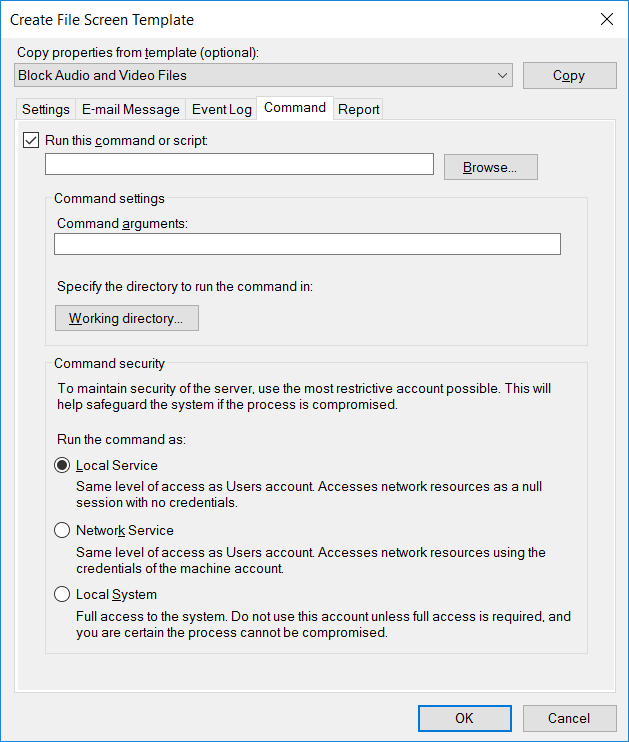
The command tab allows us to configure a command or script to execute along with specific arguments from a defined working directory. This may be useful if you want to automatically trigger some custom action to take place if a user attempts to save an unauthorized file. We can also specify the level of privileges that the script runs with, which can be useful as different accounts will have different access over various files.
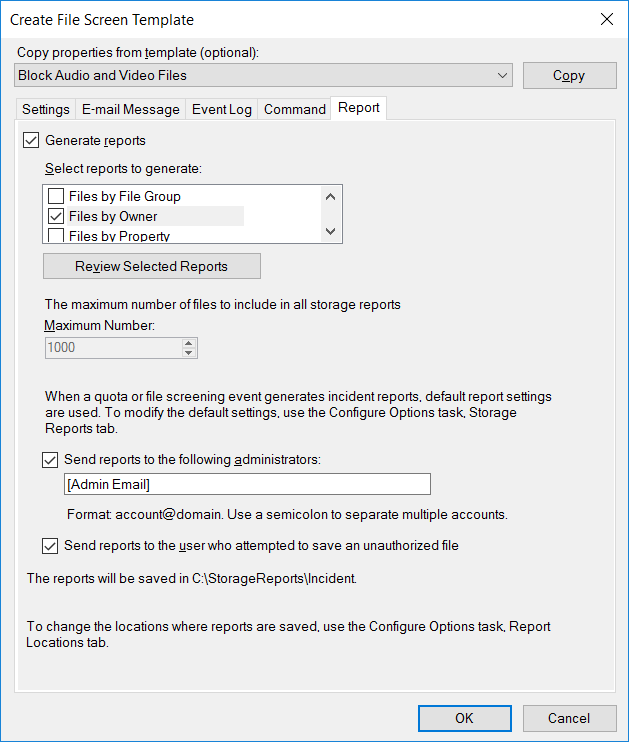
A report can be automatically generated and sent by email to administrators or the user that tries to save an unauthorized file. The types of reports available here don’t seem too useful with regards to having an unauthorized file blocked in my opinion, but it’s an option nevertheless.
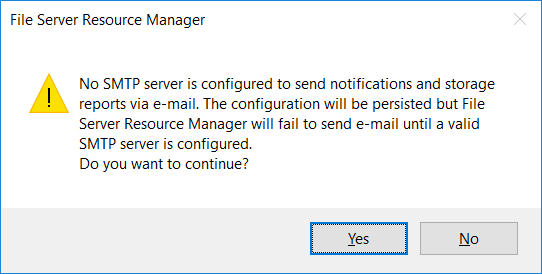
Note that to send mail through any of these options, you must install and configure an SMTP server. You’ll be warned about this if you enable any of the mail options.
File Screens
Now that we have our file screening template created with a file group specified, we are ready to create the file screen itself. This part is fairly straight forward as we’ve already done most of the configuration, we just need to apply it onto a specific folder.
A file screen is created under File Screening Management > File Screens and selecting Create File Screen.
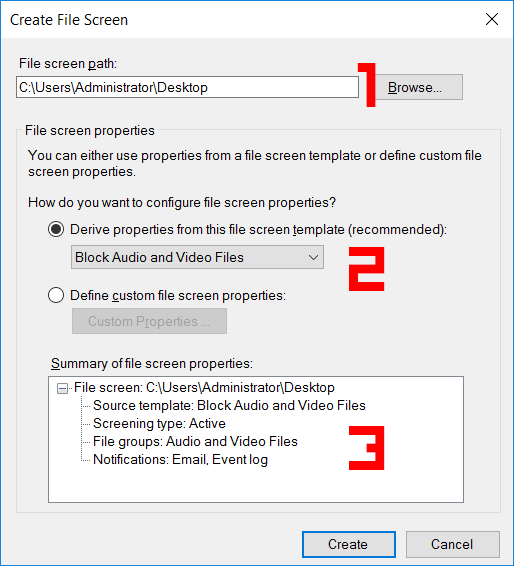
- First select the file screen path, this is the folder that we want to apply the file screen template to.
- We can now select the file screen template that we created previously or any other file screen template. We can instead define a custom file screen which will allow us to create a new template through this interface. As the new file screen template window also allows us to create a new file group, technically we could create all components just by creating a file screen.
- Finally we can view a summary of the file screens properties and get a brief overview of what it will actually be doing.
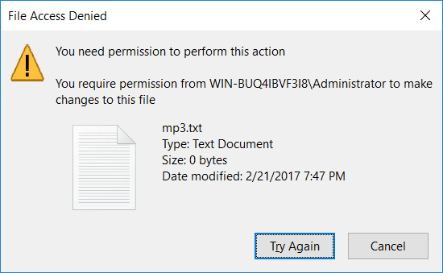
The file screen will apply to all contents within the directory recursively. In the below example I created the file mp3.txt, when I try to rename this to mp3.mp3 we get the below error message, as I have configured a file screen with the audio and video files default file group.
Summary
We can configure file screens with File Server Resource Manager (FSRM) in Windows Server 2016 to automatically deny users from saving files with a specific file extension or string in the file name. While this can be useful to a degree, a savvy user will be able to simply modify the file name or extension and save the file anyway, as the contents of the files themselves are not checked with this feature of FSRM.
This post is part of our Microsoft 70-744 Securing Windows Server 2016 exam study guide series. For more related posts and information check out our full 70-744 study guide.
0 Comments.