We can configure file classification infrastructure (FCI) using File Server Resource Manager (FSRM) in Windows to classify different files based on various attributes. While files have the usual properties on them such as creation date and owner for example, we can use FCI to add our own custom properties to a file. This allows us to classify files in our environment automatically based on the contents of the file.
An example of this is would be allowing a file to be classified as either public or private. Once the custom property has been added to the file, we can create a file management task to perform some action on the file. For example we could encrypt files marked as private with RMS encryption, but not perform this action on files classified as public.
With FCI we can classify many files in bulk based on existing properties and also apply the properties to the required files automatically as they are created. For example we can mark all text files that contain the word ‘private’ as private files, and also have this automatically apply to any such files created in the future.
To use this feature you must first install the FSRM role.
This post is part of our Microsoft 70-744 Securing Windows Server 2016 exam study guide series. For more related posts and information check out our full 70-744 study guide.
Configure File Classification Infrastructure
First open File Server Resource Manager, This can be found in Server Manager > Tools.
In File Server Resource Manager select Classification Management. Under here there are two subheadings for Classification Properties and Classification rules. We need classification properties before we can create a classification rule, so we’ll start by first creating a property.
Classification Properties
Properties are used to define the data that we want to store in our additional file attribute. Within the classification properties section we can see that there are three properties set by default.

We can create a new property by selecting “Create Local Property” from the actions menu on the right. This opens the Create Local Classification Property window, as shown below. We can change the property type with the drop down menu to one of the below options.
- Yes/No: Select if the property is a yes or no boolean value. Note that a yes value in another rule will override a no value if both apply.
- Date-time: A simple date/time property that allows us to store date and time information. Multiple values will conflict and prevent classification.
- Number: A simple number property which allows us to store an arbitrary number.
- Multiple Choice List: A list of fixed values, you can define multiple values that can be assigned to a property at once.
- Ordered List: An ordered list can be defined, top values take precedence over lower values during classification. Lower values can also be overwritten by higher values in other classification rules.
- Single Choice: A single choice value from a list of possible values that you specify.
- String: A string property, allows you to store a string value.
- Multi-string: A list of strings, multiple values can be assigned to a property at a time.
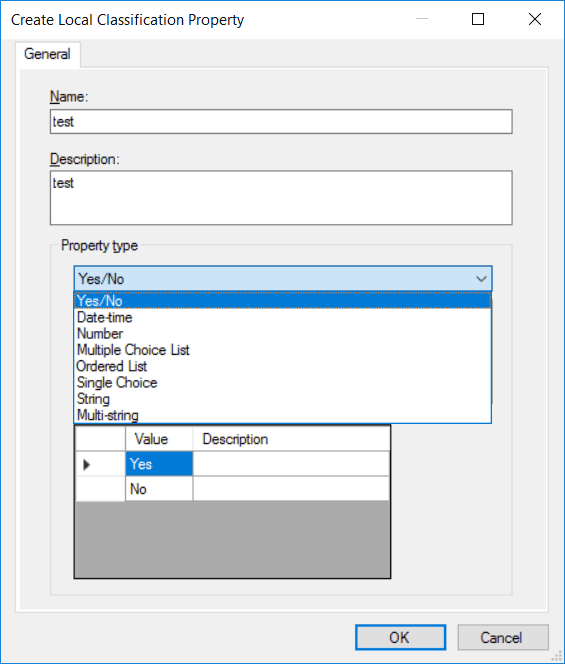
You’ll enter different information based on the property type selected, select OK when complete. In this example we’ll just create a property called ‘test’ with the property type of yes/no, we’ll use this later when we create a classification rule.
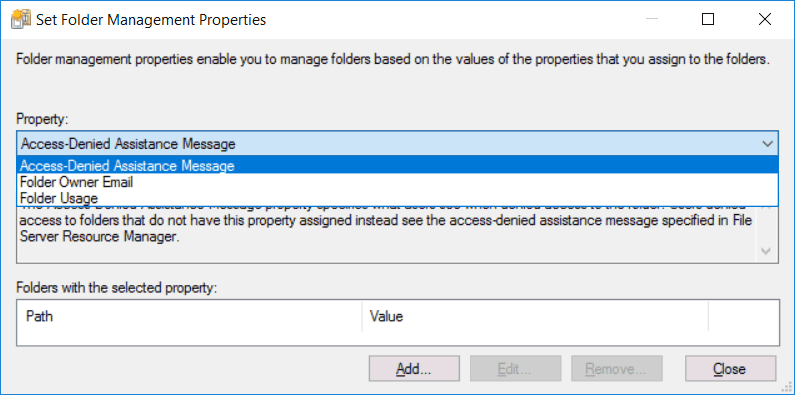
We can also create folder management properties, which as the name suggest apply to folders rather than files. Folder management properties allow us to manage folders based on the values of the properties that are assigned to them. There are three different properties that can be set on folders.
- Access-Denied Assistance Message: This allows us to set a custom message for a user to see when they are denied access to a folder on a per folder basis. This can be useful to provide them with information regarding why they are denied, and who they can contact to seek access.
- Folder Owner Email: This property specifies the email address that a user can contact with a request, such as to access the folder after being denied access.
- Folder Usage: This property can be used to specify the purpose of the folder and outline the type of files that are stored inside.
Classification Rules
Now that we have our classification properties which define the type of attribute we want to define on a file in place, we can create a classification rule. The rule is what actually decides whether or not to apply the property to a set of files.
In File Server Resource Manager, select Classification Management, followed by Classification Rules as shown below.
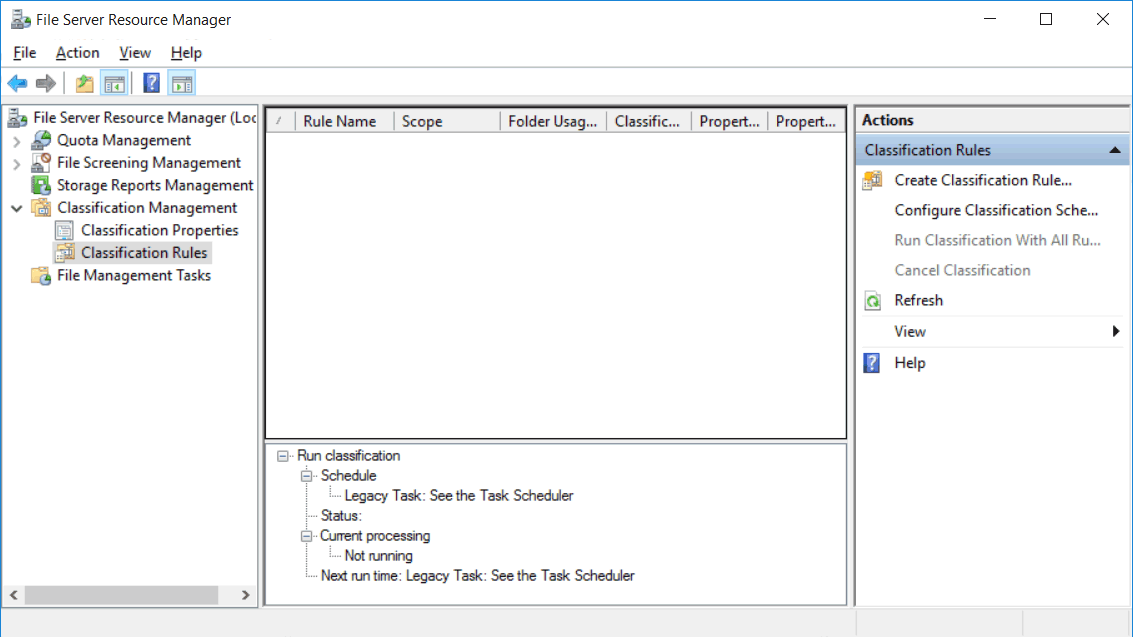
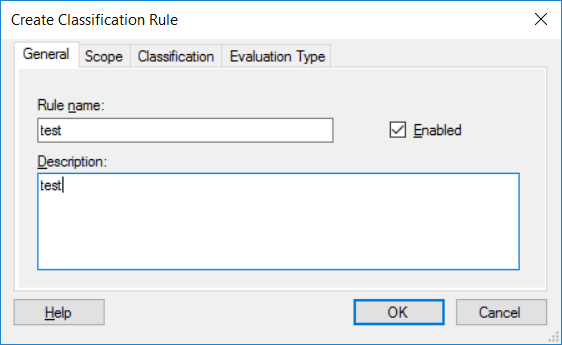
From the actions menu on the right, select “Create Classification Rule”. This will open the Create Classification Rule window as shown below. We begin on the general tab, where we can give our rule a name and description. By default the enabled check box is ticked, we can deselect this to disable the rule.
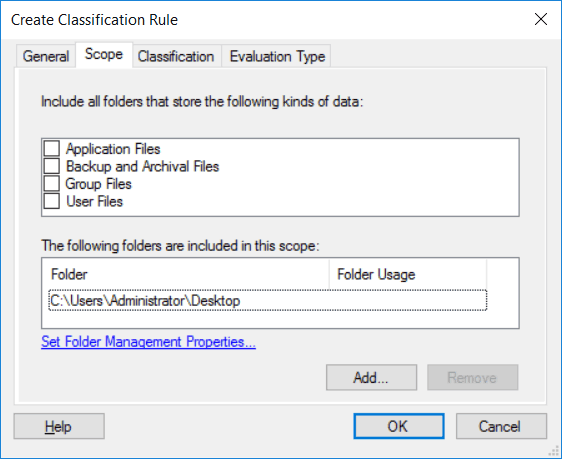
On the scope tab we can control where the rule should apply to. Toward the top we can select if we want the rule to apply to all application files, backup and archival files, group files, or user files. We can also manually specify specific folders that the rule should apply to, in this example we’ve selected the administrators desktop.
On the classification tab we can change the classification method between content classifier, folder classifier, or Windows PowerShell classifier.
- Content Classifier: Searches for strings and regular expression patterns in files.
- Folder Classifier: Classifies all files in folders included in the scope of this rule.
- Windows PowerShell Classifier: Classifies files using Windows PowerShell scripts.
In this example we’ll leave content classifier selected as we want to search the content of a file to classify it. We can then pick a classification property to assign, in this case we’re using the ‘test’ property which we created earlier. This was a simple yes or no property, so we can specify whether the value of the property should be yes or no.
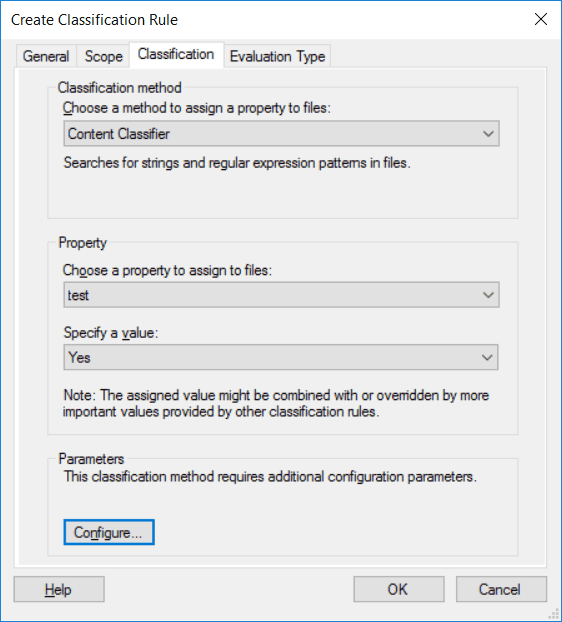
For this rule we also need to set a parameter to search for, so we click the configure button under the parameters section. In this example we’ll use a simple string search, this will search all files defined in our scope for instances of the string ‘test’ that occur at least once. We can add additional regular expressions, and even base it on a particular file name.

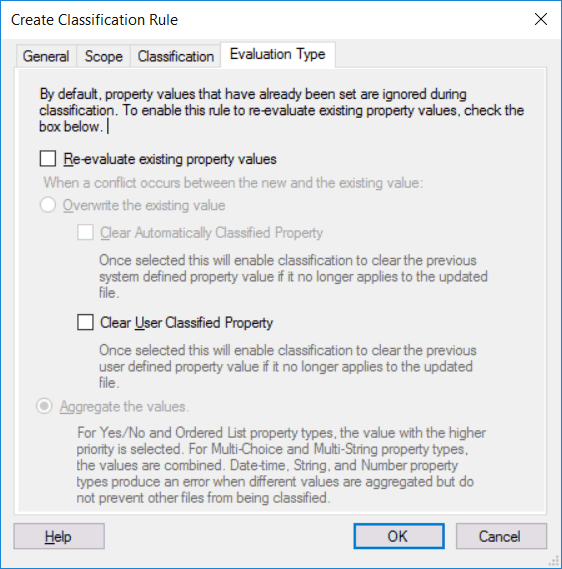
Finally on the evaluation type tab we can optionally select to re-evaluate existing classification properties that have been set on a file.
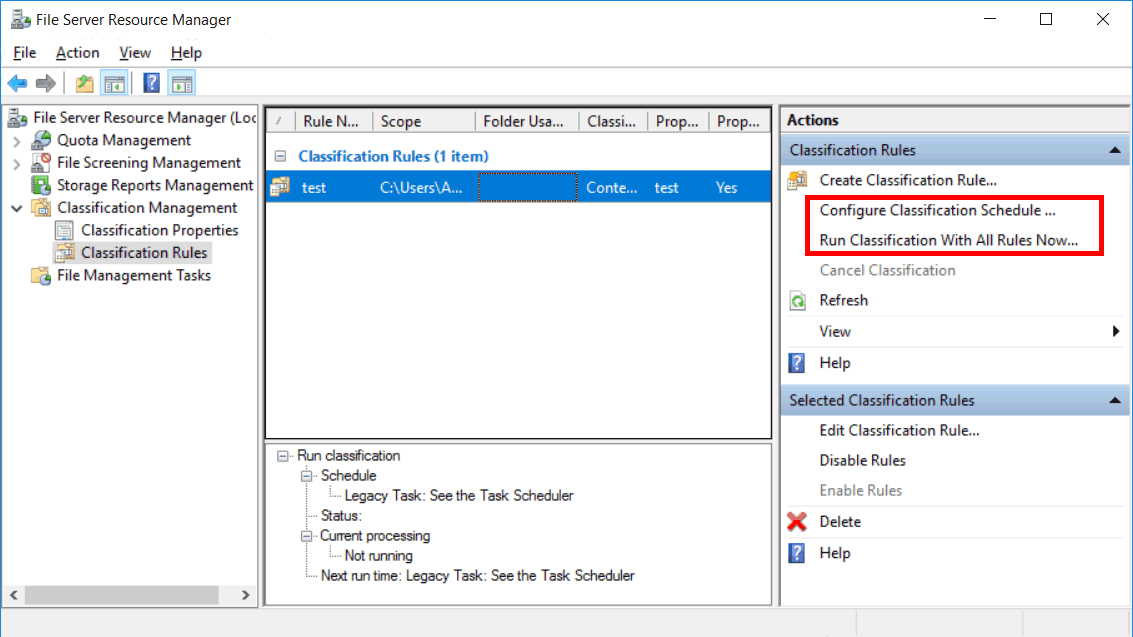
With the rule selected in FSRM, we can select “Run Classification With All Rules Now” from the actions menu on the right to run the classification rule now. Alternatively we can also instead select “Configure Classification Schedule” which will allow you to specify when the classification should take place, as well as how the report should be generated.
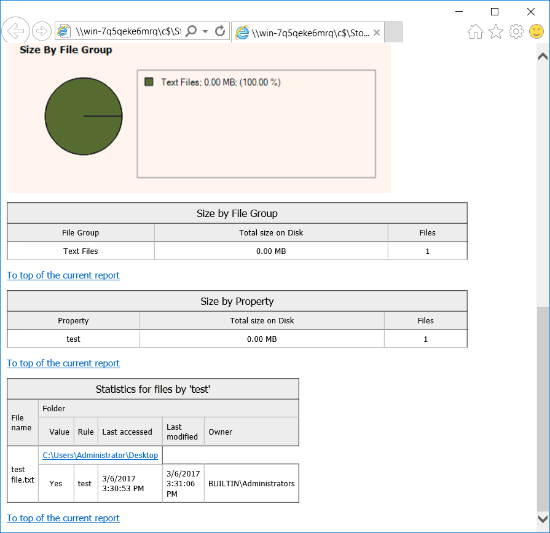
Running the rule now will generate a HTML report outlining the results which will automatically open upon completion. In this instance we can see just one file was classified, which is our test file.
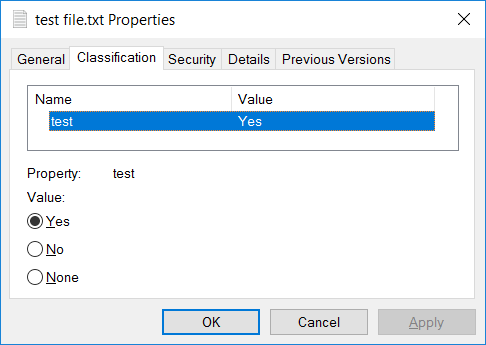
After the classification rule has run, we can right click a file and select to view the properties after it’s been classified and view the classification tab. We can see below that our test.txt file is listed as yes for the test property we created earlier, this is because within the text file the string ‘test’ was present.
It’s important to note that the file classifications that we create on a file server with FSRM only apply to the files while they are on that server. If we move the files to some other file server or a user’s workstation then they will no longer be classified correctly unless the same properties are also configured in FSRM there as well. We can use Active Directory group policy to create file classification rules as part of Dynamic Access Control (DAC) throughout the domain.
Summary
We have covered how to configure file classification infrastructure (FCI) using File Server Resource Manager (FSRM). This involves first creating a classification property, and then creating a classification rule which will apply the property onto a defined set of files or folders within a specified scope that match certain parameters.
This post is part of our Microsoft 70-744 Securing Windows Server 2016 exam study guide series. For more related posts and information check out our full 70-744 study guide.
Regarding classification via file name I’ve never gotten this to work, have you tried this yourself?